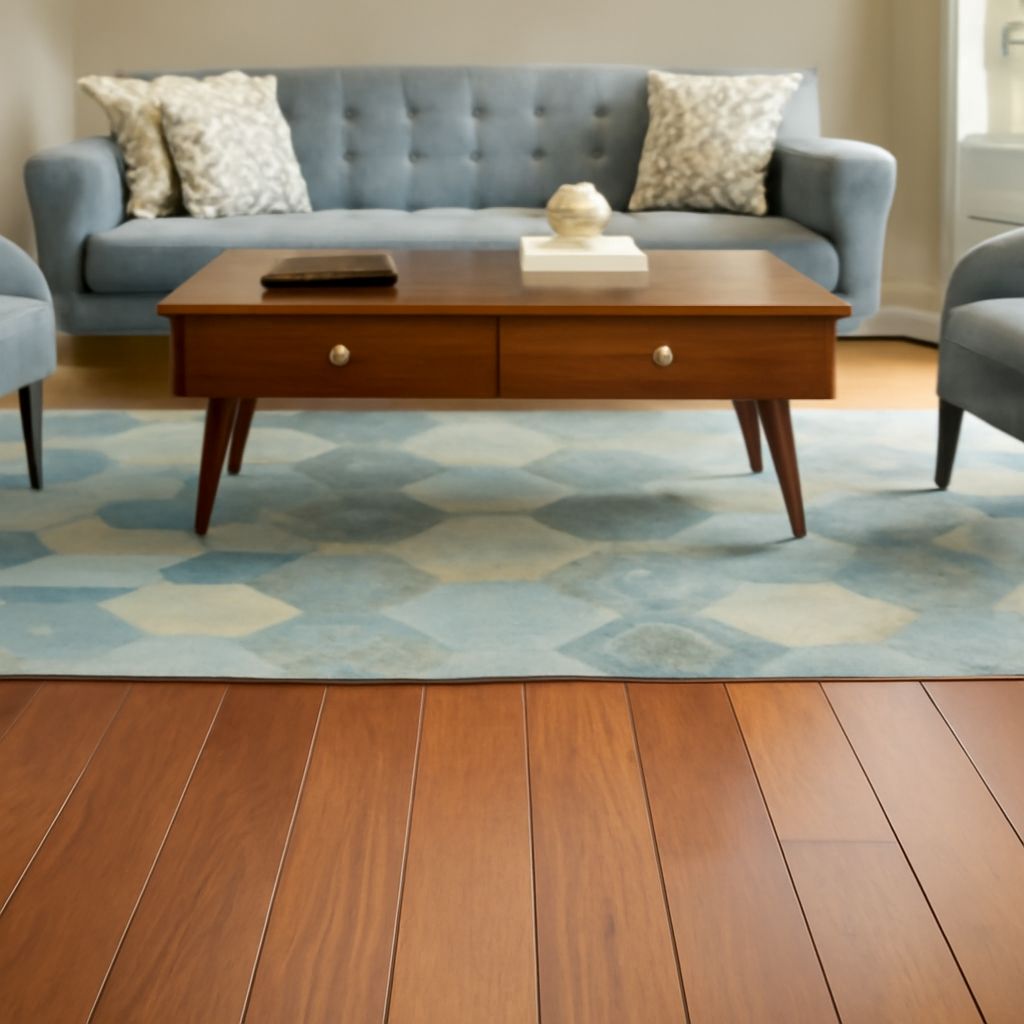
A dull floor may need a fresh coat, while deep scratches and exposed wood can call for sanding to bare boards. Before refinishing a hardwood floor, identify the damage, check how much wood remains, and choose the least aggressive repair that will solve the problem. A careful inspection costs little compared with sanding through a floor.
If you plan to refinish your hardwood flooring, allow time for preparation, application, drying, and curing. The room may be out of service for days, and the exact schedule depends on the products you choose.
Refinish Hardwood Floors or Refresh the Coating?
A maintenance coat cleans and lightly abrades a compatible existing finish before a fresh coat is applied. It can restore a worn or dull surface when the coating is sound and the wood below is undamaged. It will not remove deep gouges, dark stains in the wood, or a worn-through area. Wax, oil, polish, or contamination may prevent a new coating from adhering; identify the existing finish and follow the new product’s compatibility and adhesion-test instructions.
Refinishing hardwood floors by full sanding removes the old coating and a small amount of wood. It can address deeper marks and lets you change the color. The National Wood Flooring Association recommends considering a complete resand when damage reaches the wood or bare wood is exposed. When restoring hardwood floors, repair loose boards and investigate moisture stains.
Check the Floor Before You Rent Equipment
Find out whether the boards are solid or engineered. On solid tongue-and-groove flooring, usable wood is the material above the tongue, not the full board thickness. Previous sanding, exposed fasteners, cracks along board edges, or a thin upper edge can mean there is little left. A flooring professional can inspect an accessible edge or vent opening and assess how much remains.
Engineered boards have a real-wood surface over a core. The thickness of that surface varies; some floors cannot tolerate a full resand. Find the product’s wear-layer specification and refinishing instructions, or have a professional assess an unknown floor. If the remaining wood is too thin, replace damaged boards or consider a compatible maintenance coat instead of sanding deeper.
Cupping, loose boards, black stains, or a musty smell can point to a moisture issue. Before you restore a wood floor, correct the source, let the assembly dry, and assess permanent damage. A finish cannot repair a leak or stabilize a rotten board. Before you refinish a wood floor, an inspection can establish whether it can be sanded safely.
Prepare the Room
Before redoing hardwood floors, remove furniture, rugs, and removable floor vents. Photograph or label trim if you plan to remove it, and protect adjacent rooms with dust barriers. Check for protruding nails and secure loose boards before operating a sander. Follow equipment instructions for dust collection and wear appropriate eye, hearing, and respiratory protection.
If painted flooring or adjacent painted surfaces in a pre-1978 home may be disturbed, address possible lead paint before sanding. The EPA explains that sanding lead-based paint can create hazardous dust and recommends a trained, certified lead-safe contractor. Do not treat an ordinary dust bag as a solution for lead contamination.
Before you refinish hardwood floors, plan ventilation and ignition control for the finish and stain you select. Follow their labels for protective equipment and disposal of used rags; oil-soaked rags can ignite if handled improperly. Keep people and pets out of the work area until the products permit reentry.
Sand, Then Inspect
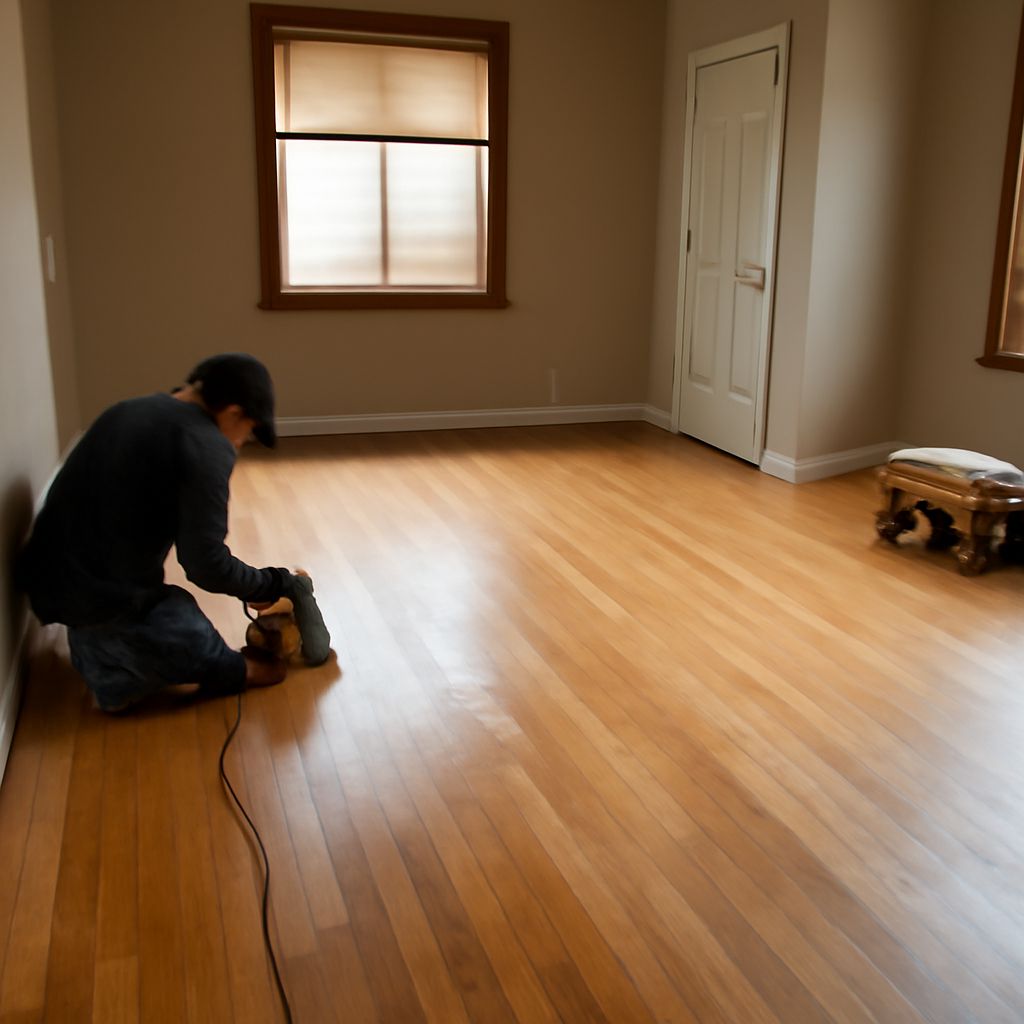
When resurfacing hardwood floors, use a floor sander for the main area and an edger for the perimeter. Practice with the rental equipment as instructed: keep it moving when the abrasive contacts the floor and avoid stopping in one spot. Start with the least aggressive grit that removes the old coating and levels the surface, then progress through finer grits to remove the preceding scratches. The starting grit depends on the coating, floor condition, and machine.
To resurface a wood floor, work consistently along the grain where the equipment and layout allow. Blend edge work with the center so a different scratch pattern does not show after staining. Vacuum between grits and inspect under light angled across the boards. Deep sanding marks that remain now will be more obvious under color.
To refinish hardwood floor areas around thresholds or corners, use the appropriate hand tool carefully rather than forcing the large machine into them. Remove dust from the floor, trim, and nearby surfaces before applying any coating. A clean surface is the foundation of an even finish.
Stain and Apply the Finish
Restaining hardwood floors is optional: clear finish preserves the wood’s natural color more closely, though the finish itself can change its tone. Before changing the stain color of a hardwood floor, test the complete combination on a spare board of the same species. Apply stain as directed, work in manageable sections, and wipe off excess within the product’s stated time. Let it dry fully before coating.
If you want to restain hardwood floors a darker color, test first; old stains or deep discoloration may remain after sanding, and different boards can absorb color unevenly. Do not assume that one extra pass will remove every dark mark when the usable wood is limited.
To refinish wood floors evenly, apply a compatible finish with the recommended applicator, coat thickness, and drying intervals. Refinishing a wood floor may require light abrasion between coats and careful dust removal. When you refinish hardwood flooring, follow the label for ventilation, recoat windows, and cure time; drying enough to walk on is not the same as being ready for rugs and furniture. Follow the product’s directions for cleaning and disposal.
If a newly coated floor shows rough dust nibs or streaks, allow it to dry and follow the manufacturer’s repair and recoating instructions. If dark scratches remain beneath the finish, they point to marks left in the wood; correcting them may require sanding that area back and blending or refinishing the affected floor. For thin or uneven boards, have a flooring professional assess the repair before removing more wood.