If you’ve noticed water pooling around your sink or an annoying drip that just won’t quit, you’re not alone. Knowing how to fix a dripping kitchen faucet is a vital skill for any homeowner or renter, saving you water, money, and frustration. In this practical guide, you’ll discover not only the common causes of a leaky faucet, but also a step-by-step approach to kitchen faucet repair, the essential tools you’ll need, and smart ways to prevent future leaks. Whether it’s stubborn mineral buildup or a worn-out washer, leaking faucet repair can be straightforward with the right know-how.
By the end of this article, you’ll be equipped to tackle most faucet repairs yourself, understand when it’s best to consult a licensed plumber, and know preventive steps to keep everything in top shape. Let’s break down the process for restoring your kitchen faucet—and your peace of mind.
Understanding the causes of a leaky faucet
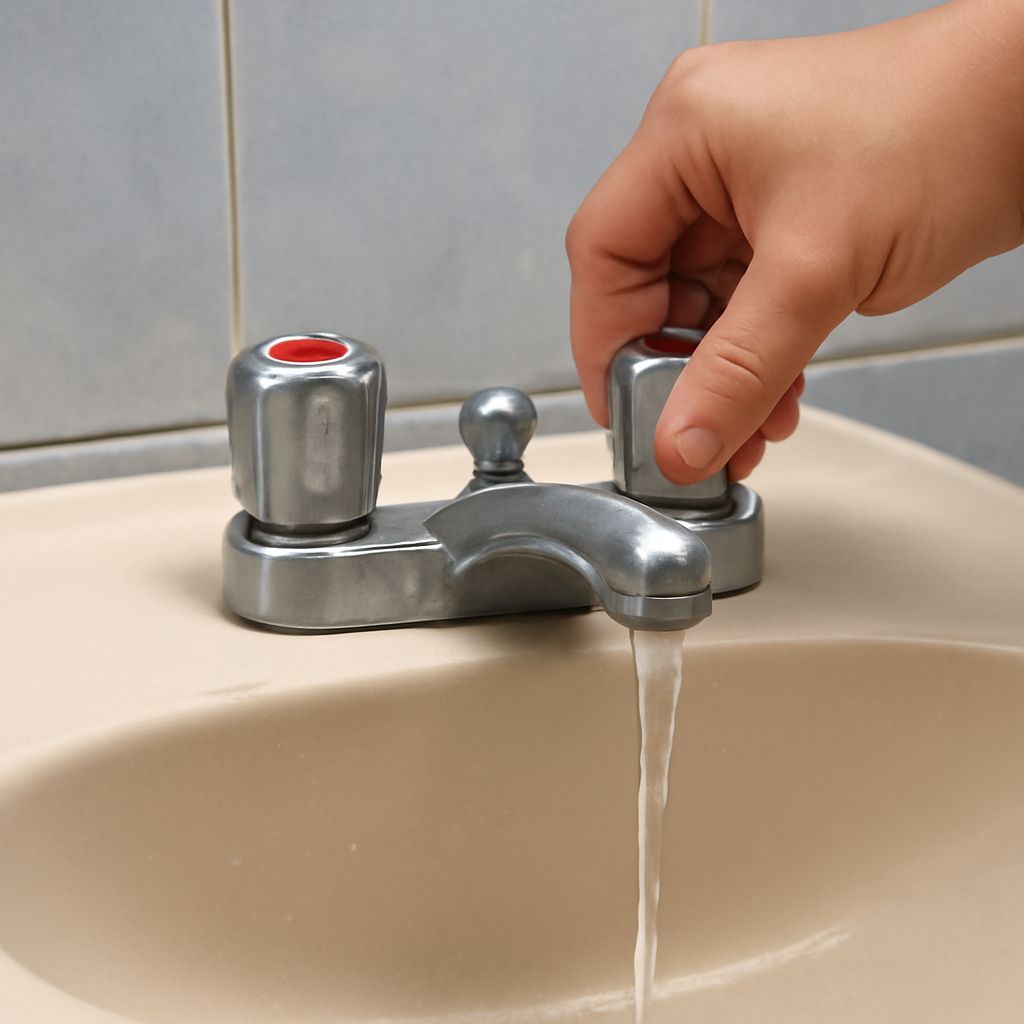
Pinpointing what’s causing your kitchen tap to leak is the first step in efficient leaking faucet repair. The most frequent culprit is a worn-out rubber washer or O-ring. Over time, these components can break down due to constant friction, leading to persistent drips or slow leaks. Sometimes, a faulty cartridge or valve seat is to blame, allowing water to seep through even when the handle is turned off.
Other reasons you might notice your faucet dripping include mineral deposits from hard water. These deposits can build up inside the faucet housing, creating cracks or impeding a tight seal. Occasionally, worn gasket seals or corrosion can interfere with proper water shut-off, especially in older fixtures. Slow or irregular drips may also signal that internal parts are misaligned or deteriorating due to age and regular use.
If you’ve recently installed a new faucet or replaced parts, improper installation could also be at fault. Even a slightly off-kilter washer or loosely fitted valve can lead to leaks. In rare cases, higher-than-normal water pressure in your plumbing system could stress faucet components, causing them to fail prematurely. Understanding these root causes lets you diagnose and address leaks with confidence.
Common tools needed for kitchen faucet repair
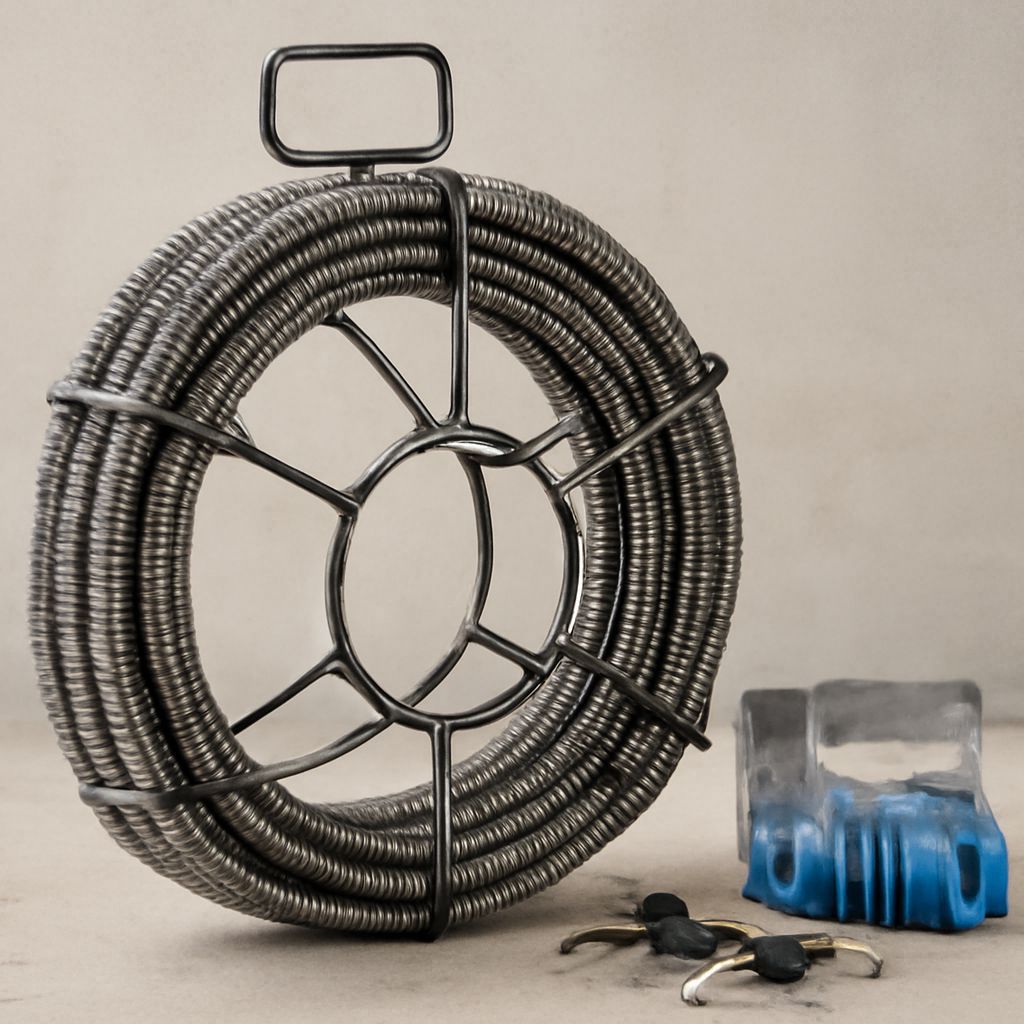
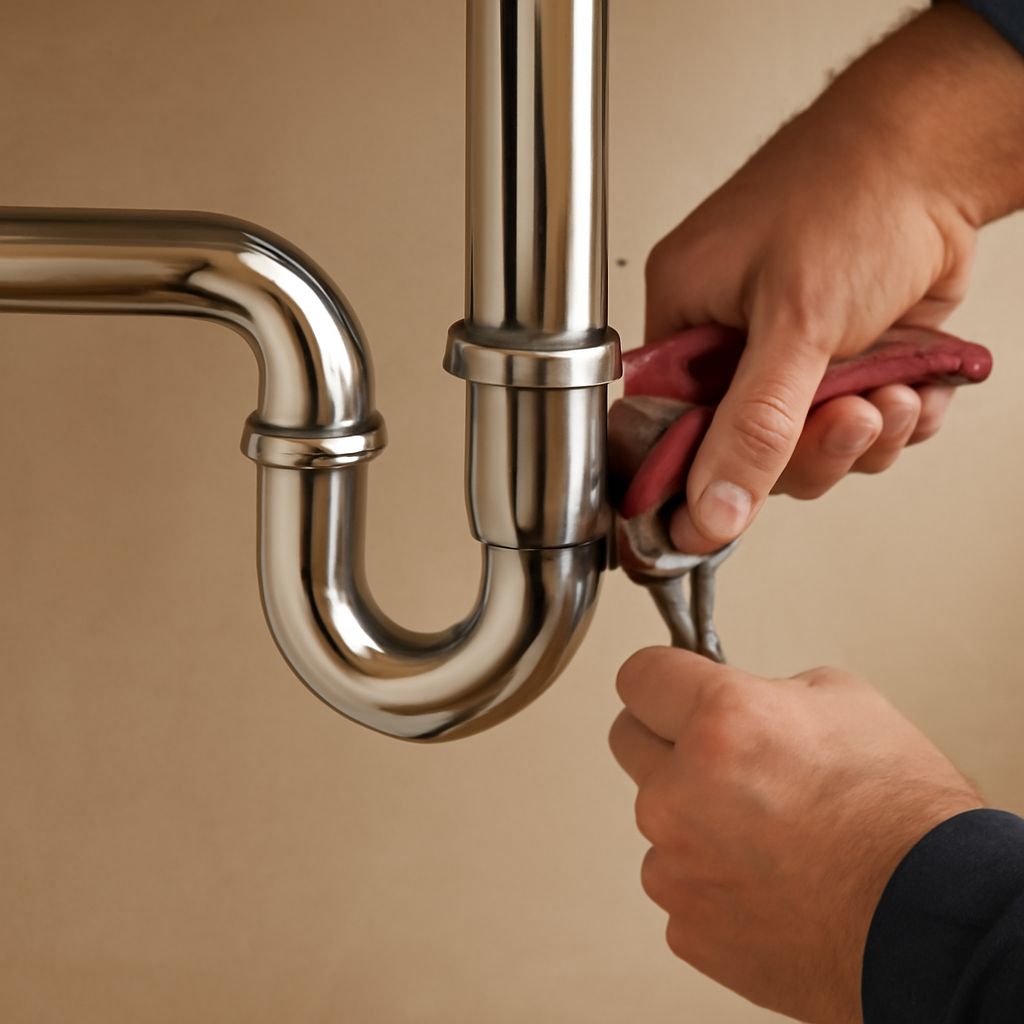
Tackling a leaking faucet repair job requires a handful of basic tools—most of which you likely have on hand. At the top of your list should be an adjustable wrench or a basin wrench, which help you loosen and tighten nuts in tight spaces beneath the sink. You’ll also want a set of screwdrivers, both Phillips and flathead, to remove faucet handles and access internal components.
For removing and replacing washers, O-rings, or cartridges, needle-nose pliers are indispensable. You may also need a utility knife to carefully pry out worn seals or scrape away stubborn mineral deposits. Plumber’s grease is another must-have, ensuring smooth reassembly and providing watertight protection when installing new components.
It’s wise to have a small container handy for collecting screws and small parts you remove during disassembly. Keeping a roll of plumber’s tape nearby is also recommended for sealing threaded connections and preventing leaks after reassembly. These simple tools are the foundation of any successful DIY kitchen faucet repair.
Step-by-step guide: How to fix a dripping kitchen faucet
Ready to stop that annoying drip? Start by shutting off the water supply beneath the sink—both cold and hot lines—then open the faucet to drain any remaining water. Next, carefully remove the decorative cap on your faucet handle, then use a screwdriver to loosen the screw holding the handle in place. Lift the handle off to reveal the underlying mechanism.
Identify whether your faucet uses a cartridge, ball, disk, or compression system. For cartridge and disk faucets, gently pull the cartridge out using pliers. With compression faucets, unscrew the packing nut and take out the stem. Inspect all parts for signs of wear, corrosion, or mineral buildup. Replace any worn washers, O-rings, or cartridges as needed—a kit from the hardware store usually includes several common sizes.
Before putting everything back together, clean faucet seats and housing thoroughly with a sponge or brush to remove debris and buildup. Apply plumber’s grease to all moving parts and reassemble the faucet in reverse order. Restore water supply and test for leaks. If you still notice dripping, double-check that everything is aligned and properly tightened. Sometimes, a second round of troubleshooting is necessary to pinpoint a stubborn issue.
For more complex kitchen faucet repair jobs, such as those involving broken threads, severe corrosion, or specialty fixtures, consulting the manufacturer’s instructions or seeking help from a licensed plumbing professional may be the safest move.
When to call a professional for leaking faucet repair
While many dripping or leaking faucet repairs are within the reach of a skilled DIYer, certain situations call for expert help. If you encounter persistent leaks even after replacing washers or cartridges, or if you find extensive corrosion inside your faucet assembly, it’s time to contact a licensed plumber. Similarly, if you’re uncertain about your home’s water pressure or your faucet’s unique configuration, professional assistance can save you time and prevent further damage.
Complex plumbing issues, such as leaks in hard-to-reach supply lines or evidence of water damage inside your cabinetry, should not be delayed. Attempting to repair these without the proper training can lead to bigger—often more costly—problems. If your fixture is under warranty, check manufacturer guidelines before disassembling, as unauthorized repairs may void coverage.
Don’t hesitate to call a professional if you notice erratic water flow, unusual noises, or leaks that recur despite multiple attempts at repair. Licensed plumbers have the experience and equipment necessary to diagnose hidden issues and ensure your faucet functions reliably and efficiently.
Preventive tips to avoid future leaky faucets
Maintaining your kitchen faucet is the best way to prevent future leaking faucet repair headaches. Start by regularly cleaning the faucet aerator and spout to avoid mineral buildup that can compromise seals and valves. Soaking parts in vinegar once every few months helps dissolve stubborn deposits and keeps water flowing freely.
Be gentle when turning faucet handles off—over-tightening can degrade washers or O-rings faster. Check under your sink periodically for the first signs of leaks, such as moisture, small puddles, or rust stains. Addressing these early can prevent extensive fixture or cabinet damage.
Whenever you replace faucet parts, use quality components that match your fixture’s specifications. This ensures proper fit and longevity. If your home has hard water, consider installing a water softener to reduce mineral content. Finally, inspect your plumbing system annually, or ask a plumber to perform a routine check if you’re unsure. Staying proactive keeps your kitchen faucet dependable and leak-free.
Pro tips recap: Knowing how to fix a dripping kitchen faucet saves money and hassle. Equip yourself with the right tools, diagnose issues early, and don’t hesitate to call a licensed plumber for difficult jobs. With regular upkeep and awareness of common causes, you’ll keep your kitchen faucet—and your sanity—in top condition.