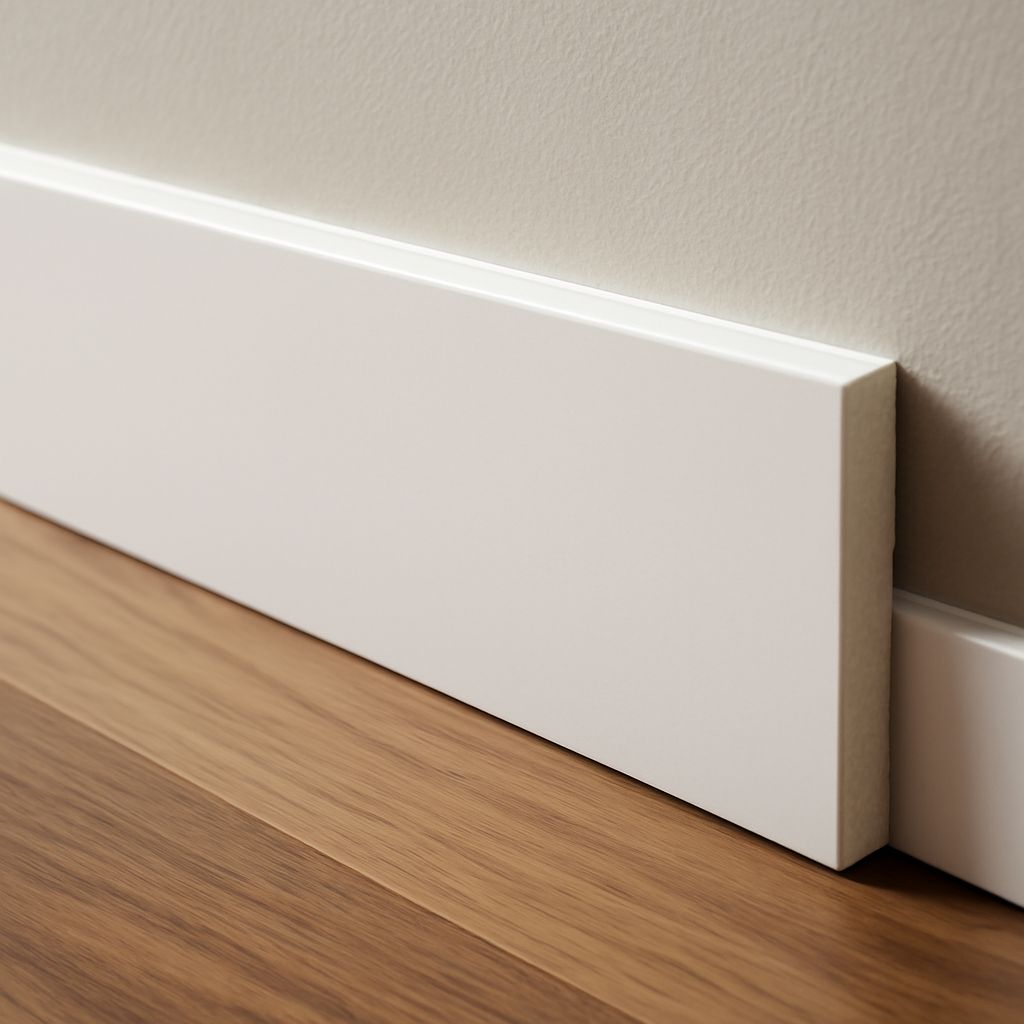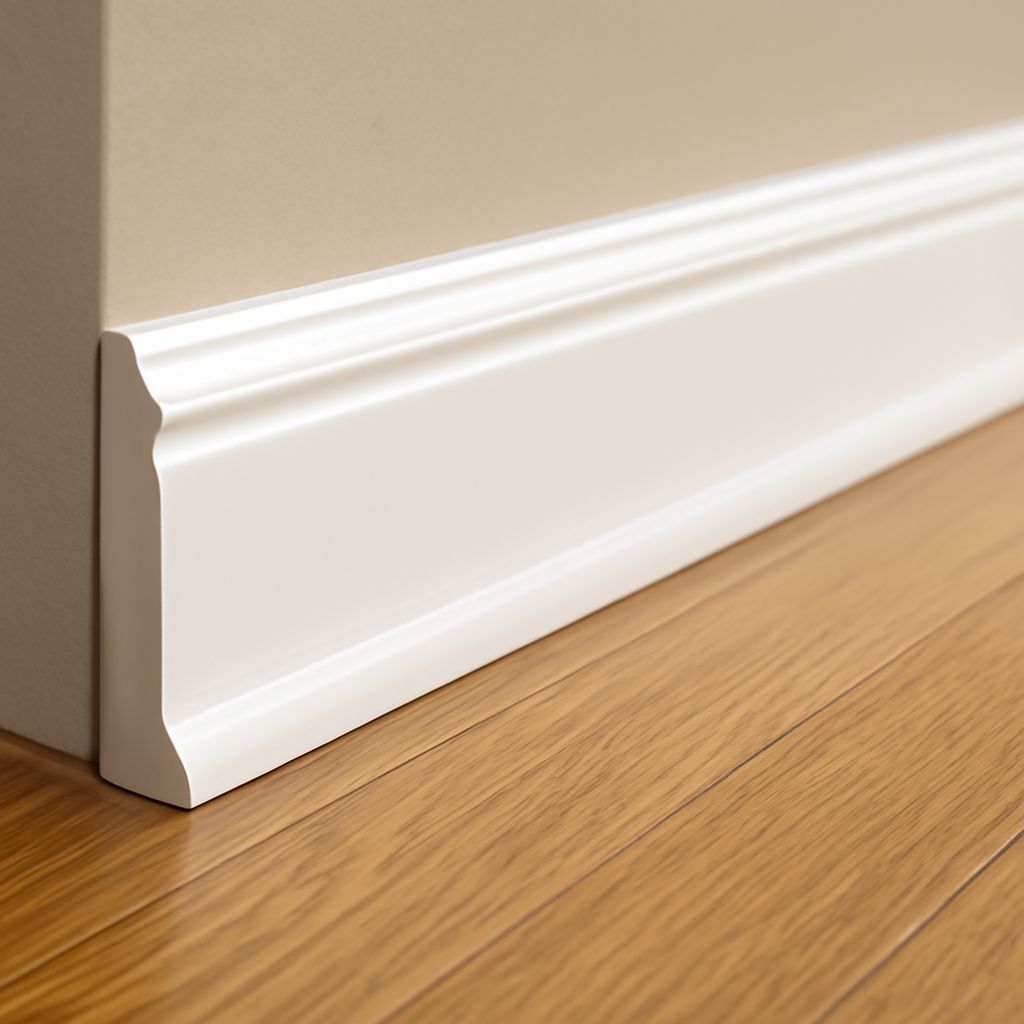
A new floor can leave an uneven-looking edge beside the baseboard, even when the installation is correct. A small piece of rounded base trim can cover that edge while leaving the expansion space a floating floor needs. Measure the gap first, then select a profile wide enough to conceal it and fasten the trim to the baseboard.
Quater Round and Shoe Molding: What Is the Difference?
Quarter round has two flat sides of equal width and a curved face, like a quarter of a circle in cross-section. It sits at the junction of baseboard and floor. Shoe molding has a similarly curved face but is generally taller than it is wide, giving it a slimmer footprint. Either can finish a floor edge, provided it covers the required gap without obstructing doors or other trim.
The round quarter profile is a useful choice when the gap is too wide for a narrower shoe. The slimmer profile may look less prominent against a detailed baseboard. Hold a short quarter-circle molding sample in place before buying: the best-looking piece is one that covers the edge throughout the room without drawing undue attention to itself.
Quater round trim hides the perimeter space; it does not fill it. Check the flooring instructions for the required clearance around walls and other fixed objects. Remove temporary spacers after installation when directed, and leave the space clear so the floor can move.
Pick a Size and Material
Common quarter round sizes include 1/2-by-1/2-inch and 3/4-by-3/4-inch profiles, though stock varies. Measure from the baseboard face to the exposed edge of the flooring at several points. Select a molding wide enough to cover the largest visible gap with a little overlap, while preserving the full expansion space underneath. If the gap is wider than the trim can cover, correct the flooring installation or use an appropriate wider trim; do not pack the gap with filler.
Solid wood can be painted or stained and is a good match when a natural finish matters. Primed wood is convenient for paint. MDF offers a smooth painted finish but is less suitable where it may be repeatedly wetted. PVC can be appropriate in damp areas; follow its manufacturer’s instructions for cutting, fastening, and finishing. Compare samples with the existing baseboard and check the product’s intended use.
Pre-finished quarter round can save painting time. Unfinished stock gives you more control over color but needs preparation and finishing. Check straightness and look for damage before buying; a twisted piece is difficult to hold neatly against a long baseboard.
Measure the Room and Plan the Joints
Measure each wall along the baseboard, stopping at door casings and other interruptions. Record each length separately and note inside corners, outside corners, and exposed ends. Add an allowance for offcuts, matching grain, and mistakes. Buy a little extra from the same profile and finish, especially when pieces will meet on a long wall.
Plan the longest runs of rounded base molding first. A single piece avoids a splice; when a wall is longer than the stock, use a scarf joint with matching angled cuts and place it where it will be less conspicuous. At an exposed end, a small mitered return can turn the cut face back toward the baseboard. Practice the joint with scraps before cutting the final piece.
For an inside corner, two miter cuts can meet neatly if the walls are square. A coped joint is another option: cut the first piece square into the corner, then shape the end of the second to fit over its curved face. At an outside corner, cut matching miters and adjust them to the actual angle. Walls are seldom as square as a drawing; test the fit before fastening.
Cut, Fit, and Fasten
To cut quarter-circle trim, gather a tape measure, pencil, eye protection, a miter box and fine-tooth saw or a miter saw, appropriate finish nails or brads, and a nail set. A coping saw helps with coped inside corners. Follow the saw and fastener tool instructions, support the stock, and keep hands clear of the blade.
Place the quarter-circle molding on the saw as it will sit against the baseboard and floor. Mark the length and cut slightly long if you are uncertain; trim to fit after a dry test. Work around the room a piece at a time. Check the direction of each corner cut with a scrap rather than guessing after the good stock is on the saw.
Set the curved floor molding against the baseboard so it covers the flooring edge without pressing the floor down. Drive finish nails or brads horizontally into the baseboard, clear of the floating floor and expansion zone. Use fasteners long enough to hold the trim securely without entering the floor. Predrill where needed to prevent splitting. Shaw’s installation guidance likewise directs installers to fasten the molding to the wall or base, not the floating floor.
Finish and Check the Work
Set nail heads in the rounded molding below the surface and fill holes with a compatible wood filler or color-matched putty. For painted trim, a small bead of paintable caulk between molding and baseboard can hide minor irregularities; do not fill the expansion gap or glue the trim to the floor. Touch up paint or finish after the filler dries.
Check each quarterround joint for a clean fit, especially where an outside corner projects into a walkway. A small gap can often be corrected by recutting the piece rather than hiding a poor fit under a large amount of filler. Keep leftover stock for future repairs.
Before putting tools away, confirm that the quarter round covers the edge while the expansion gap remains clear, every fastener holds the baseboard rather than the floor, and the joints and returns sit securely without sharp projections.