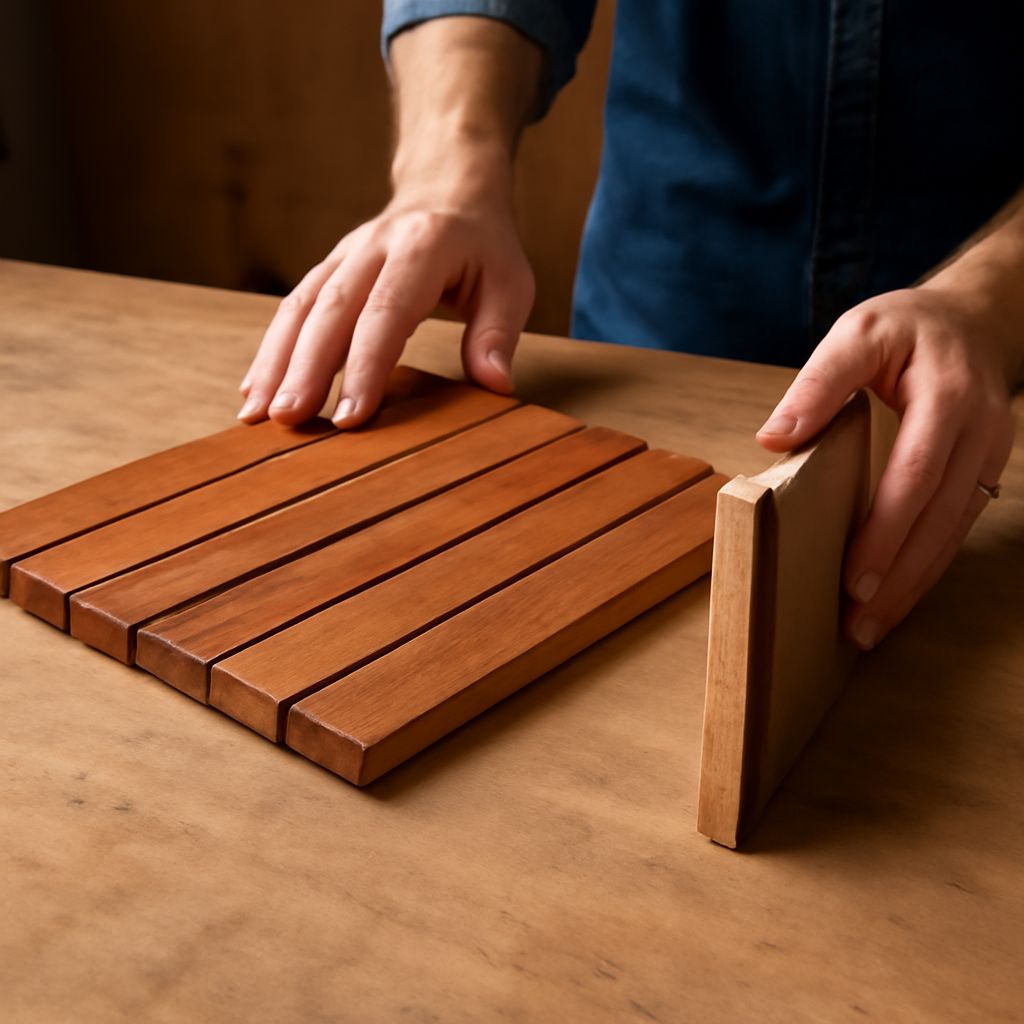
If you’re planning a woodworking or building project, understanding lumber measurements is crucial. Terms like 2×10 actual size, 2×6 actual dimensions, and 1×2 actual size might seem straightforward, but the real numbers can surprise you. While nominal sizes are what you see on store labels, the true measurements you’ll work with are smaller due to planning and finishing practices. Knowing how wide a 2×6 really is, and why these numbers differ from what’s advertised, helps you avoid costly mistakes and ensures your project fits together seamlessly.
This guide demystifies standard lumber dimensions, clarifies the meaning behind phrases like “how wide is a 2×6,” and guides you in selecting the right lumber size for your job. Whether you’re framing a deck, building shelves, or tackling a custom woodworking project, understanding the actual size of 2x10s, 2x6s, and 1x2s will streamline your material choices and improve your results.
What does 2×10 actual size mean in construction?
When you see the term “2×10 actual size” on a project plan or lumberyard sign, it’s important to know you’re not getting a board that measures exactly two inches by ten inches. The numbers refer to a nominal size—how the wood is originally cut at the sawmill before it’s dried and planed smooth. After this processing, the dimensions shrink. For instance, a nominal 2×10 board will actually measure about 1.5 inches thick and 9.25 inches wide in most home improvement stores.
This discrepancy arises from how lumber is prepared for market. After the initial rough cut, boards are kiln-dried and smoothed, shaving off some material to remove imperfections and create a uniform finish. Understanding this difference between nominal and real dimensions prevents you from ordering the wrong quantities or ending up with a structure that doesn’t line up.
When you’re mapping out your next framing or structural project, always look up the actual measurements rather than assuming the labeled size tells the whole story. Many seasoned builders and DIYers keep a lumber size chart handy to double-check the true thickness and width before making a purchase or a cut.
If you’re dealing with intricate architectural plans or load-bearing applications, consult a certified building professional to ensure you’re factoring in the correct lumber sizes for structural integrity.
How wide is a 2×6? Decoding lumber widths
Asking, “how wide is a 2×6?” is one of the most common questions at the lumberyard. The short answer: a 2×6 board you pick up off the shelf actually measures about 1.5 inches thick and 5.5 inches wide. This reduced width is a direct result of the milling process, which trims the original rough lumber down to its finished form.
Exploring the genuine width of a 2×6 highlights the importance of careful planning. If you’re calculating how much material you need or determining spacing for joists, knowing the finished board is 5.5 inches wide (not the nominal six inches) is essential. This subtle reduction influences everything from wall framing to deck building and custom cabinetry.
Most manufacturers and retailers standardize these finished dimensions, but it’s still wise to measure a few boards yourself before cutting. Sometimes, variations occur due to local milling standards or moisture content. You might also notice older homes use “full dimension” lumber, which can be closer to the nominal size than today’s stock. Always double-check before starting joinery or assembly, especially if you’re matching new lumber to existing pieces.
For beginners, carrying a tape measure and jotting notes can help you avoid surprises and ensure your build goes as planned, especially when precise fitting is a priority.
2×6 actual dimensions: Why nominal sizes differ from reality
The phrase “2×6 actual dimensions” refers to the finished size you’ll work with, not the nominal measurements stamped on the board. So, why aren’t the labels accurate? The answer lies in lumber’s journey from raw timber to construction-ready material. Boards are first sawn to a rough dimension—two inches by six inches, in the 2×6 case. Then, as they’re dried and planed, about half an inch is removed from both thickness and width, resulting in the familiar 1.5-inch by 5.5-inch final size.
This industry standardization began in the early twentieth century, allowing for compatibility across suppliers and ensuring builders could rely on consistent sizing. However, the difference between nominal and true sizes can be confusing if you’re new to woodworking or home renovations.
Factoring in these actual dimensions is key when you’re designing layouts or calculating total material needs. For example, if you’re building a bench or framing a wall, using nominal sizes in your calculations will throw off your measurements and could leave you short on material. Accurate planning relies on recognizing these standardized reductions in size.
If you are unsure about which size to use in load-bearing projects, consulting a licensed contractor or engineer is highly recommended. This can safeguard your build from structural issues caused by incorrect lumber sizing.
1×2 actual size and its uses in woodworking
The “1×2 actual size” label is another area where expectations and reality often diverge. Although a 1×2 board should suggest dimensions of one inch by two inches, the real measurements are generally about 0.75 inches thick by 1.5 inches wide. This adjusted size is the result of the same planing and drying process applied to larger lumber.
1x2s are popular for finishing work, trim, edging, or building lightweight frames. Their slim profile and uniform surface make them perfect for everything from picture frame construction to delicate shelving supports. If you’re crafting decorative moldings, knowing the true thickness and width helps you achieve seamless joints and predictable results.
When creating custom furniture or accent details, always verify the actual thickness and width of your 1x2s before cutting. Even slight discrepancies can throw off mitered corners or precise joins. If you require an exact fit for fine woodworking or intricate joinery, consider hand-selecting boards at the lumberyard and measuring them yourself for best results.
Experienced woodworkers often keep a reference list of actual dimensions for common lumber sizes, ensuring their sketches and cut lists reflect the real-world material at hand.
Choosing the right dimensions for your next project
Selecting the proper lumber size goes beyond just grabbing what’s on sale. Evaluate your project needs based on structural strength, appearance, and fit. For example, if you’re building a load-bearing deck, the reduced depth of a 2×10 actual size (1.5 by 9.25 inches) will influence how much weight your joists can support. For trim work, the real thickness of a 1×2 impacts the visual balance and attachment method you’ll use.
Using the true width of a 2×6 or the finished size of a 1×2 in your plans helps you minimize waste and maximize efficiency. Consider how the actual size of each piece fits into your overall design—especially if your cuts need to be precise or you’re matching existing work. Cross-check your blueprints and cut lists to ensure every measurement reflects the actual, not nominal, dimensions.
For specialized projects—such as structural framing, heavy load applications, or renovations requiring a perfect match to old lumber—it’s smart to seek advice from a licensed carpenter or structural engineer. Their expertise can help you navigate complex sizing issues and find the right product for the job.
By mastering the true measurements of standard lumber, you’ll streamline your workflow and deliver results that meet both your aesthetic and performance goals.
Bottom line: Knowing the difference between nominal and actual lumber sizes is essential to avoid headaches and wasted materials. Always check the real measurements before you buy, cut, or build, and don’t hesitate to seek expert guidance for challenging or technical projects.