A dry, sound slab gives you choices; a slab with recurring water needs repair before any floor goes down. The right subfloor for a basement depends on what is happening below it and what finish you want above it. Panels for a basement floor can lift the walking surface from concrete, add insulation, or provide a base for flooring, but they cannot fix a leak.
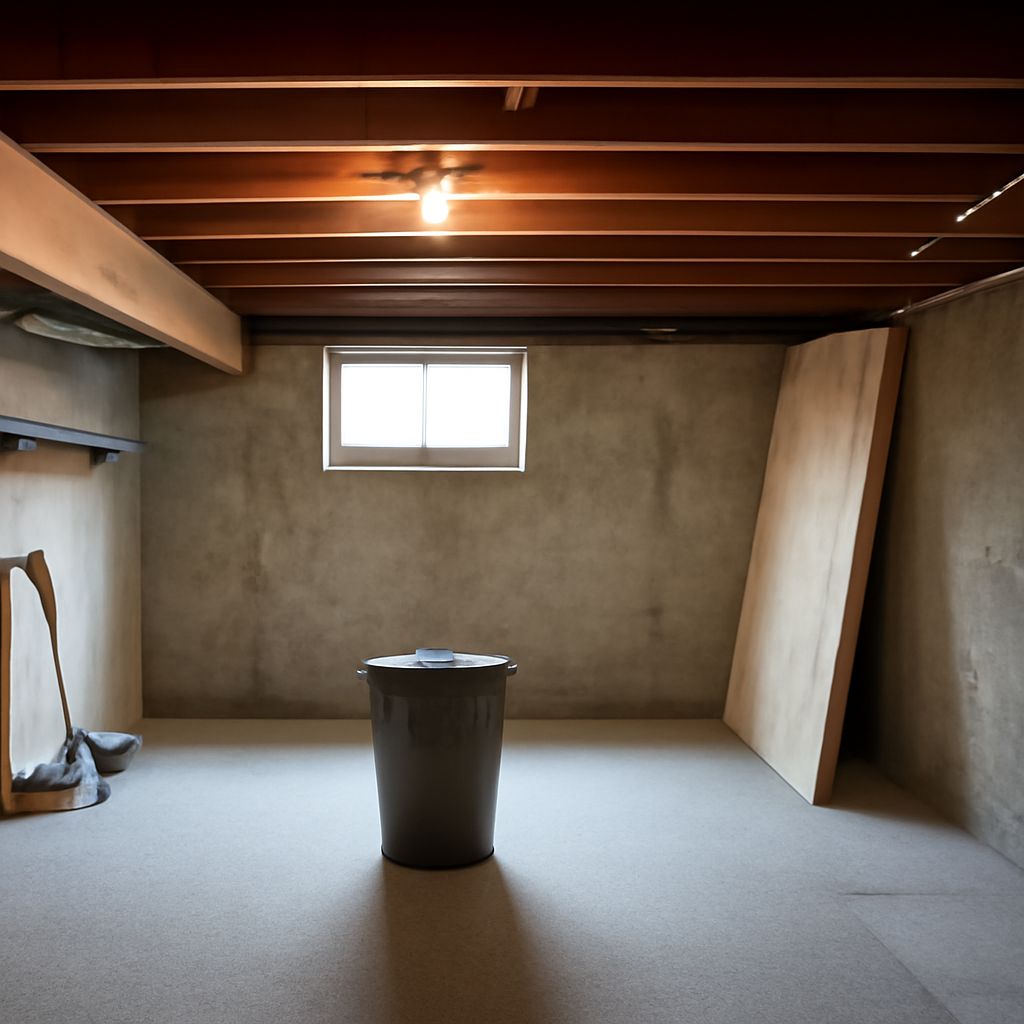
Start by tracing damp patches, musty odors, cracks, and evidence of past flooding. The EPA recommends correcting moisture problems before converting a basement; that may mean redirecting downspouts, changing grading, or addressing a more serious foundation problem. Let repairs dry and resolve their cause before covering the slab. A bargain panel is expensive if the room must be opened again.
Basement subfloor panels: compare the layers
Some wood-faced basement subfloor panels combine an oriented strand board (OSB) surface with a molded plastic underside. The raised underside separates the wood face from the slab and creates channels beneath it. They offer a firm surface for several finishes, but their wood layer still needs the dry conditions specified by the manufacturer. DRICORE’s standard panel is 3/4 inch thick; its insulated R+ panel is 1 inch thick, according to its product comparison.
Insulated panels for basement subfloors trade some height for a thermal break. DRICORE R+ pairs a wood surface with insulation, while its Insul-Armor product uses foam panels. These are distinct basement subfloor options: the finish and supporting layers allowed over one are not automatically allowed over the other. Consult the instructions for the exact product before buying the finish.
Some basement subfloor systems use foam without a wood face. DRICORE’s Insul-Armor product guidance lists compatible floating finishes and says to ask the company about tile; it does not permit full-spread glue directly on the foam. This can suit a project where insulation matters, but the full assembly may be thicker and cost more than the panel alone suggests. Price the required top layer, fasteners, transitions, and waste along with the panels.
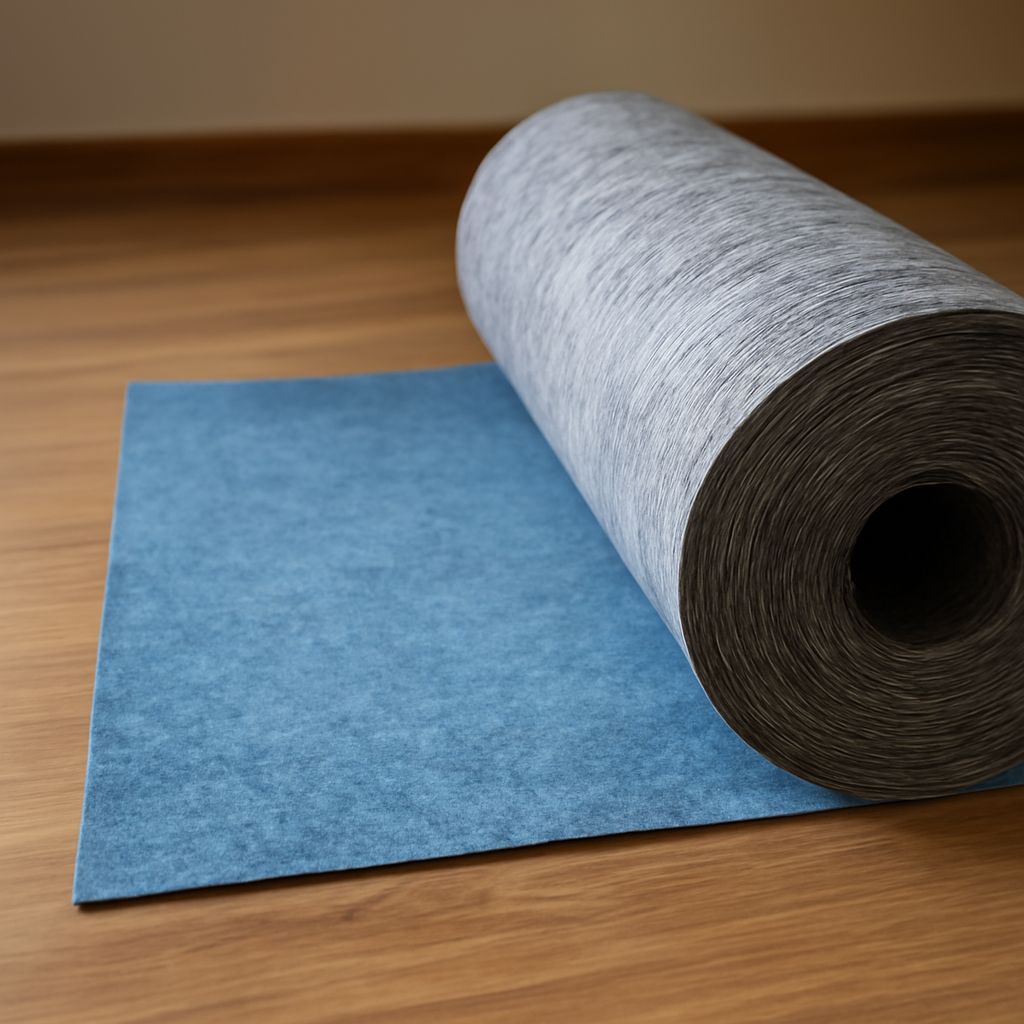
A site-built assembly is another route: a suitable moisture-control layer and rigid insulation may be combined with a wood structural layer when the design and local requirements permit. It offers control over thickness and materials, but the installer must resolve seams, support, moisture control, and attachment as a complete assembly. Manufactured panels package more of those decisions in a single product, with their own instructions to follow.
Check the concrete before ordering
Use a long straightedge to find ridges and hollows, and mark them on a sketch. Flatness and level are different: a uniformly sloping floor may be flat, while a level floor can have dips that leave panels rocking. DRICORE calls for floor variances over 1/4 inch to be leveled with a suitable concrete patching compound. Remove ridges and debris, then check again. Follow the selected finish manufacturer’s flatness tolerance too; the stricter applicable requirement governs the preparation.
A dry-looking surface is only the first observation. Ask the flooring manufacturer which concrete moisture test it requires, where to test, and what result is acceptable for that complete assembly. Arrange the specified test under its stated conditions; a taped plastic sheet or a handheld reading alone is not a substitute when a documented test is required. Record the results before covering the slab. If results exceed the allowed limit, resolve the moisture source and follow the manufacturer’s approved path before proceeding.
Compare the remaining subfloor choices for the basement against the room’s use. A playroom with a floating floor and a utility area exposed to occasional plumbing leaks have different demands. Keep access to drains and equipment, and follow the product’s instructions for clearances around fixed objects.
Match the finish to the assembly
For floating laminate or engineered wood, confirm that the finish is approved for below-grade installation and for the chosen support. Ask the flooring manufacturer whether its approved underlayment is needed over the selected panels for floating laminate or engineered hardwood. Check the finish’s expansion gaps and transitions as well as the panel perimeter gap; each layer has a job.
For sheet vinyl or adhesive-backed vinyl tile over wood-faced panels, confirm with both manufacturers whether an approved intermediate layer is needed, how it is fastened, and which adhesive is compatible. This extra layer changes both the budget and the finished height. Click vinyl has its own requirements; read the instructions for its thickness and approved substrate rather than treating all vinyl alike.
Tile adds another set of demands for stiffness, fastening, and a suitable tile underlayment. Check the panel and tile manufacturers’ directions together before purchasing. For carpet, account for the specified pad and any additional support needed by the particular panel. These basement panel alternatives are only comparable when the complete finish assembly is included.
Plan the height and installation
Measure from the slab to door bottoms, stairs, thresholds, and any low ceiling or equipment. Add the actual panel thickness, required underlayment, adhesive where applicable, and finish. Check local rules for headroom and stair dimensions before committing to a raised floor. A small change at a stair landing can make the first or last riser differ from the others.
Acclimate materials as directed, clean the slab, and lay out cuts so joints and edges follow the chosen instructions. Use spacers for the specified perimeter gap, engage the panel joints, and check for movement as you go. Check the panels for vertical movement before installing a floating finish and correct unstable support using the product’s approved method. Do not cover a rocking panel and expect the finish to make it steady.
Choose among basement flooring base options by starting with a dry, prepared slab, then selecting the thinnest complete assembly that supports your intended finish and provides the insulation you need.