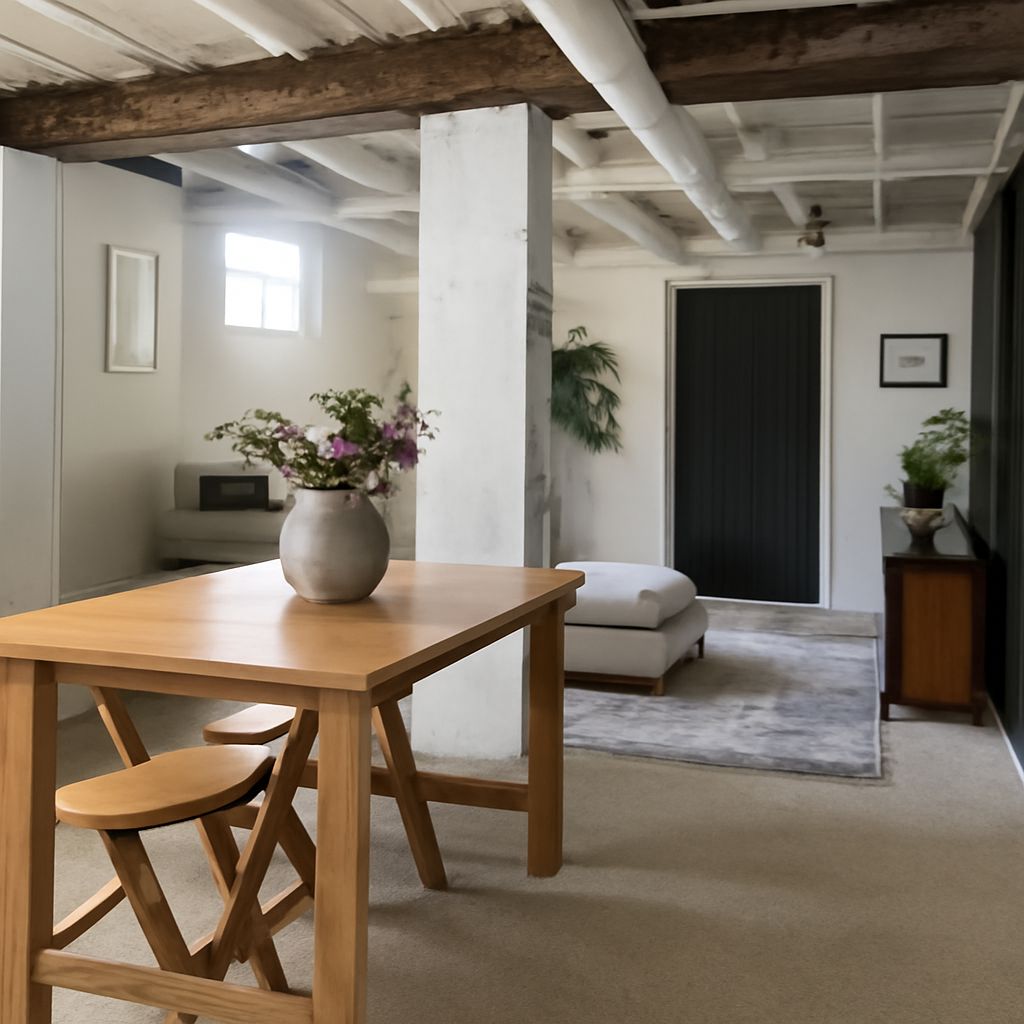
A basement can look dry until a heavy rain sends water behind a newly framed wall. To finish the basement without hiding that problem, start with its intended use, investigate moisture, and settle the construction and inspection sequence before buying finishes. The order of work is as valuable as the materials.
Finishing a basement starts with the intended use
Draw a simple plan showing exterior walls, stairs, windows, columns, equipment, drains, and the ceiling height beneath ducts. Add the use you want: a playroom needs open floor space; a bedroom may need an approved emergency escape opening and other features. Mark a separate path to the furnace, water heater, cleanouts, and electrical panel. These items need the access and clearances required by the applicable rules and equipment instructions.
When finishing a basement, take the sketch and measurements to your local building department. Ask which permits, inspections, ceiling heights, emergency exits, and smoke or carbon monoxide alarms apply to the proposed use. Rules depend on the jurisdiction and scope. A bedroom or bathroom can change the requirements and budget substantially; resolve those questions before ordering materials.
List what you will hire out and what you can do yourself. A qualified professional should assess structural alterations and the capacity and layout of electrical, plumbing, heating, and ventilation systems. Get written bids that identify demolition, permits, inspections, disposal, and repairs. The cost to finish your basement should include each of these items. A basement finishing estimate that omits a new drain or electrical circuit is a poor basis for comparing prices.
Find water before covering concrete
Inspect the floor and walls after rain and during a dry spell. Look for damp patches, white mineral deposits, musty odors, peeling coatings, rust, and cracks. Note their location and whether they change with weather. Check gutters, downspouts, grading, window wells, and plumbing for likely water paths. A stain tells you where to investigate; it does not identify the source on its own. Finishing work in the basement should wait until the cause is known.
Water entering from outside calls for a drainage or foundation repair suited to the cause. Condensation on a cold pipe or wall calls for a different response: control humid air and insulate as designed. If cracks are widening, walls are displaced, or leakage recurs, bring in a qualified foundation professional before enclosing the area. Allow repairs to prove themselves through suitable weather conditions rather than covering the first dry-looking day.
Department of Energy guidance warns that insulating over an existing moisture problem can make it worse. Before you finish a basement, identify the water source, correct it, and choose an assembly that can manage remaining moisture. A dehumidifier may help control indoor humidity, but it cannot repair a leak through a wall.
Test air and plan building systems
Test for radon before construction, following the test instructions. The EPA notes that correcting a radon problem is usually easier before the room is enclosed. If mitigation is needed, reserve space for the system and arrange the work before walls and flooring conceal access. Retest after major renovation as appropriate.
Have a heating and ventilation professional assess the new room’s air supply, return path, and ventilation. A basement finished as living space may change airflow around existing combustion appliances. Arrange a combustion-safety check after the work, especially if walls or doors alter the equipment room. Do not block combustion air openings or bury service controls to gain a few square feet.
Plan outlets, lighting, switches, plumbing, and any network wiring on the drawing. Account for existing panel capacity and the location of supply and drain lines. A bathroom below the level of the sewer line may need a sewage ejector; have a plumber determine the design and access needs. For basement finishing, place recessed lights and ducts on the reflected ceiling plan so their clearances and final headroom are visible before framing.
Select assemblies for the conditions
Choose wall insulation and vapor control as a complete assembly for the local climate, foundation, and code. The goal is to limit warm indoor air reaching cold concrete while allowing the assembly to manage moisture. Do not add plastic sheeting by habit: its location can trap moisture in a wall. The Department of Energy explains why the choice depends on the assembly. Confirm insulation protection and fire-safety requirements with the building department.
For flooring, check slab moisture using the flooring manufacturer’s specified test and limits. Select a product and underlayment approved for below-grade installation. A waterproof surface can still conceal water beneath it, so plan how a spill or leak can be found and dried. A removable floor covering may be easier to handle around a utility area than wall-to-wall carpet.
Choose a ceiling that balances appearance, height, and access as you finish the basement interior. A suspended ceiling can make pipes and valves easier to reach but consumes headroom. Drywall gives a continuous surface; provide accessible panels where equipment and required junctions need service. The basement finish should leave shutoff valves, cleanouts, and equipment controls reachable without cutting open a new wall.
Build in the right order
A practical sequence for finishing the basement follows the dependencies below. Your permit and local inspector may require specific inspection points:
- Correct water and structural problems, test for radon, and complete any needed mitigation.
- Confirm the plan, permits, material specifications, and the final ceiling and floor heights.
- Frame the approved layout; complete electrical, plumbing, and mechanical rough-ins without compromising structural members.
- Arrange required rough-in inspections and correct deficiencies while the work is exposed. Photograph and label pipes, wires, valves, and other concealed features for future reference.
- Install the approved insulation and air sealing; obtain any required insulation inspection. Close walls and ceilings only after the relevant approvals.
- Install flooring, trim, doors, fixtures, and covers. Complete final inspections and test equipment, alarms, and ventilation as applicable.
Before the walls close, walk through with the contractors. Confirm that service access remains clear, penetrations and fire blocking meet the approved plan, and no leak or damp material has been enclosed. Finishing the basement well depends on this pause: a ten-minute review can save a wall’s worth of repairs.
Keep this checklist
- Define the use, draw the plan, and confirm permits, exits, and inspections.
- Find and correct water sources; assess structural concerns and test for radon.
- Design the mechanical, electrical, and plumbing work with qualified help.
- Choose moisture-appropriate wall and floor assemblies and preserve service access.
- Inspect and document rough-ins before closing; complete final checks before using the room.
Keep the approved plan, inspection records, product instructions, and photographs for your finished basement together. With the basement’s finish documented, the next repair begins with a map instead of a guess.