Choosing the right insulation for your home can significantly impact your energy efficiency and comfort. R19 insulation thickness is an important factor in determining the effectiveness of your insulation. This guide will explore the nuances of R-19 batt insulation thickness, its application in 2×4 wall construction, and how it performs in 23-inch spaces. We’ll also cover key considerations for selecting the appropriate R19 insulation for your project and offer practical installation tips. By understanding these aspects, you can make informed decisions to enhance your home’s energy efficiency and comfort.
Understanding R19 Insulation Thickness
What is R19 Insulation?
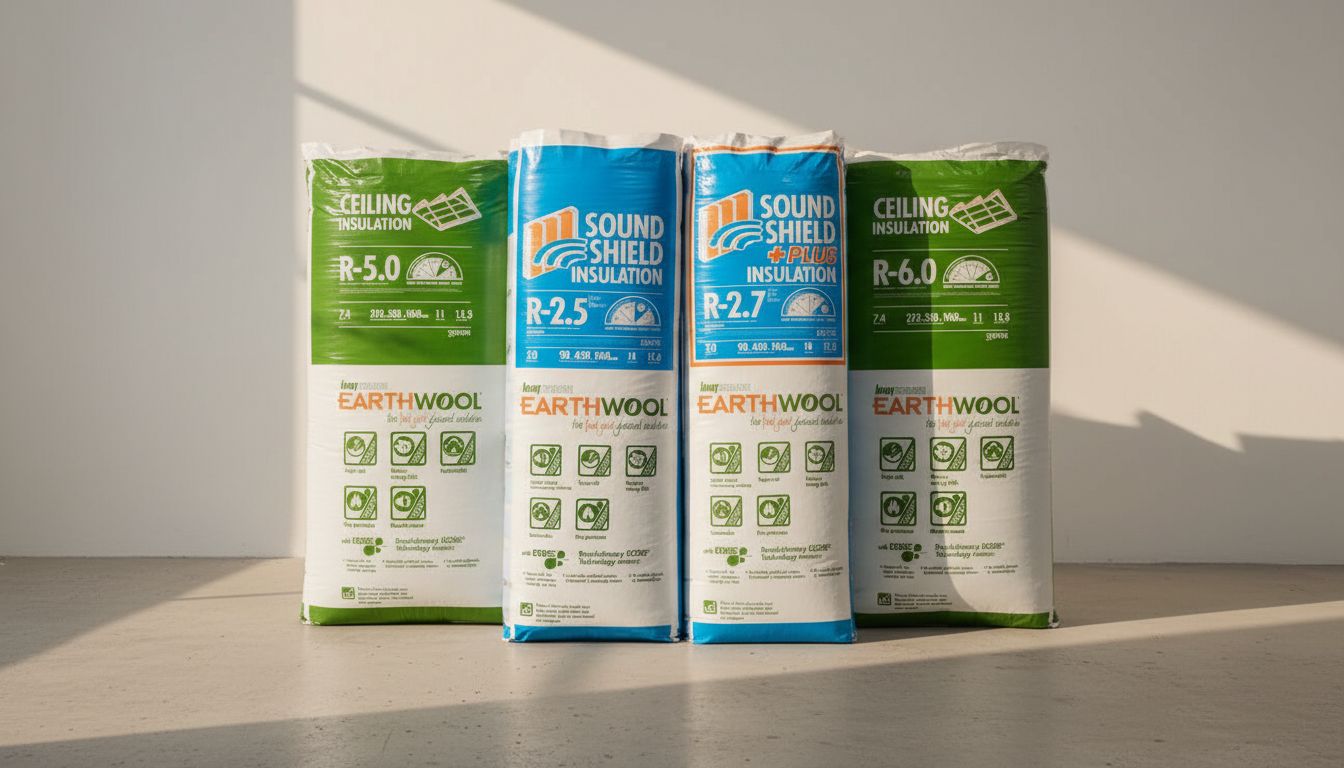
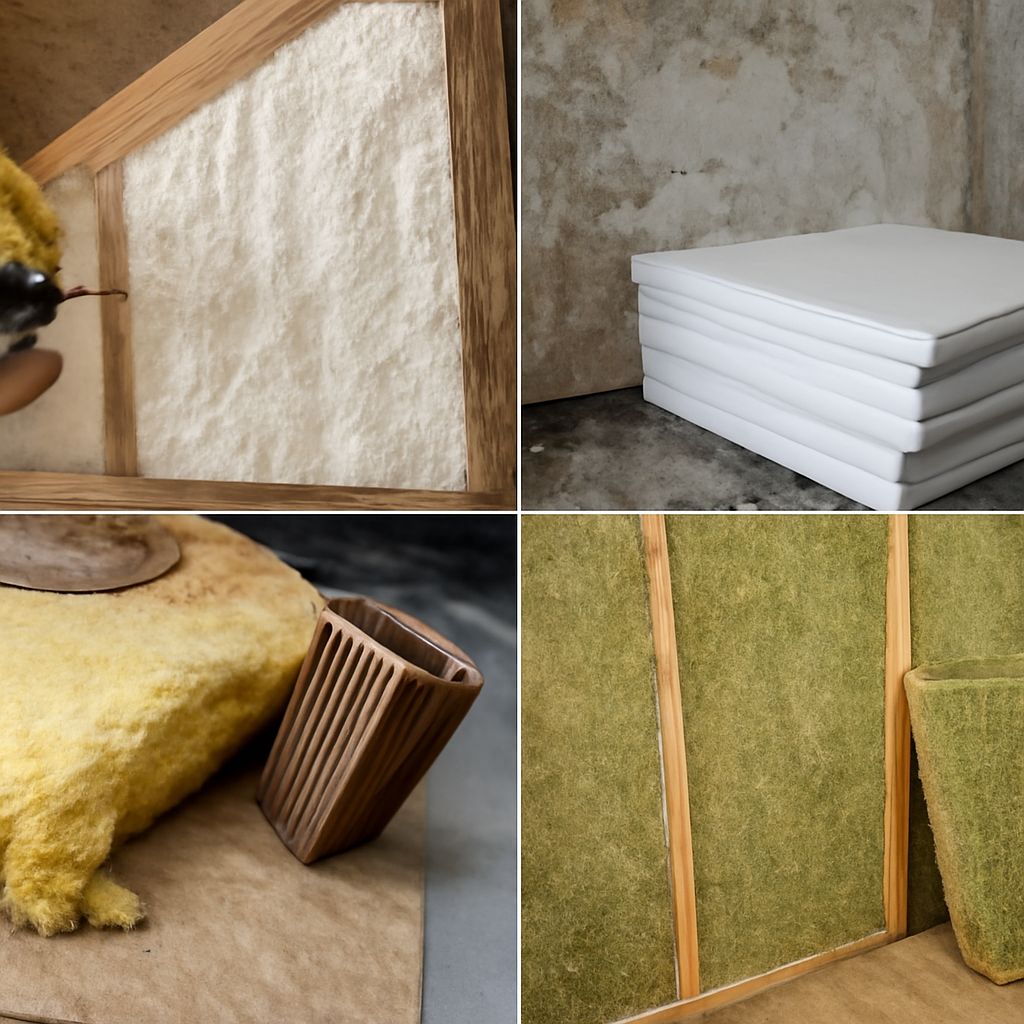
R19 insulation is a type of thermal barrier used to prevent heat transfer, keeping your home warm in the winter and cool in the summer. The “R” in R19 stands for resistance to heat flow, with the number 19 indicating the insulation’s ability to resist heat movement. The thickness of R19 insulation typically ranges from 6.25 to 6.75 inches, depending on the material used. This insulation level is suitable for various climates, offering a balance between cost and energy efficiency.
Benefits of Proper Insulation Thickness
Ensuring you have the right insulation thickness is crucial for maximizing energy savings and comfort. Proper R19 insulation thickness minimizes heat loss during cold months and reduces heat gain in warmer seasons, thereby enhancing the overall energy efficiency of your home. Additionally, it provides better soundproofing, contributing to a quieter indoor environment. Investing in the correct thickness can significantly lower your utility bills while maintaining a comfortable living space.
R-19 Batt Insulation Thickness in Different Applications
R-19 Insulation in 2×4 Wall Construction
In 2×4 wall construction, achieving the desired insulation level can be challenging due to space constraints. However, R19 insulation is often used to maximize the thermal barrier within this limited space. While standard 2×4 walls are about 3.5 inches deep, compressing R19 insulation to fit can reduce its effectiveness. To maintain optimal performance, consider using complementary techniques, such as exterior insulation, to achieve the desired R-value without compromising comfort.
R19 Insulation 23 Inch Applications
When working with 23-inch spaces, such as certain attic installations, R19 insulation thickness can effectively meet the insulation needs. The flexible nature of batt insulation allows it to adapt to various configurations, ensuring a snug fit even in irregular spaces. By maintaining the recommended thickness, you ensure that the insulation maintains its capacity to resist heat transfer effectively, providing consistent thermal protection and energy efficiency.
Choosing the Right R19 Insulation for Your Project
Factors to Consider
Several factors should guide your choice of R19 insulation, including the climate in your area, the specific application space, and material preferences. Consider the thermal resistance properties and compatibility with existing structures. Additionally, evaluate whether the insulation meets local building codes and energy standards. Consulting with a professional can provide valuable insights, especially for complex installations or unique scenarios.
Common Mistakes to Avoid
Avoid the common pitfall of selecting insulation based solely on cost, as cheaper options may not offer the necessary thermal resistance. Ensure that the insulation is properly sized for the space to prevent compression, which diminishes its effectiveness. Also, inadequate air sealing can undermine the performance of R19 insulation, allowing air leaks that bypass the thermal barrier. Proper installation techniques and materials are essential to avoid such issues.
Installation Tips for R19 Insulation
Preparation Steps
Before installing R19 insulation, assess the area to identify any potential obstacles, such as electrical wiring or plumbing. Clean the space to remove dust and debris, ensuring a smooth installation process. Measure the areas accurately to cut the batt insulation to the correct size, avoiding gaps or overlaps that could compromise performance.
Tools and Materials Required
To install R19 insulation effectively, gather the necessary tools, including a utility knife, tape measure, staple gun, and safety gear like gloves and masks. Depending on your specific project, you may need additional materials such as vapor barriers or adhesive spray. Having the right tools and materials on hand will streamline the installation process and help achieve professional-quality results.
Safety Recap: Always prioritize safety when handling insulation materials. Wear protective gear to avoid skin irritation and inhalation of fibers. If you encounter complex installation issues or severe insulation damage, consult a licensed contractor for expert advice and assistance.