Navigating the world of basement plumbing rough ins can initially seem daunting. However, understanding the fundamental concepts and dimensions involved can simplify the process significantly. Whether you’re planning a basement bathroom or tackling kitchen sink plumbing rough in dimensions, mastering the essentials is crucial. This guide will provide you with key tips for England plumbing projects and show you how to install plumbing in an existing concrete slab effectively. Engage with these insights to ensure your basement project is both functional and code-compliant.
Understanding basement plumbing rough in
What is basement plumbing rough in?
Basement plumbing rough in refers to the initial phase of plumbing installation where pipes are strategically placed before walls and floors are completed. This stage involves laying out water supply lines and drainage systems according to the planned layout. Achieving a proper rough in sets the groundwork for a successful plumbing system, ensuring that all pipes are optimally positioned for future connections.
Key considerations for a successful rough in
To ensure a successful basement plumbing rough in, it is crucial to understand the layout of your existing structure. This involves assessing the location of main water lines and understanding the path for wastewater drainage. Additionally, consider the height and location of fixtures like sinks and toilets to align with standard plumbing dimensions, thereby avoiding future complications.
Essential tips for England plumbing projects
Common challenges in basement bathroom plumbing
When plumbing a basement bathroom, you may encounter various obstacles, such as low ceiling heights and limited access to existing pipes. These challenges require creative solutions to fit plumbing fixtures and maintain effective drainage. Careful planning and the use of specialized tools can help overcome these obstacles.
Navigating plumbing codes and regulations
Adhering to local plumbing codes and regulations is a critical aspect of any plumbing project. England plumbing standards may dictate specific pipe sizes, slopes for drainage, and venting requirements. Familiarize yourself with these regulations to ensure your installations meet legal standards and pass inspections.
Basement bathroom rough plumbing essentials
Planning your basement bathroom layout
Begin by designing a strategic layout that accommodates all necessary fixtures, such as toilets, sinks, and showers. Consider the proximity to existing water lines and the location of the main sewer line. A well-planned layout not only facilitates easier installation but also ensures efficient water flow and waste removal.
Choosing the right fixtures and fittings
Selecting the appropriate fixtures and fittings is vital for a functional basement bathroom. Choose fixtures that suit the space available and complement the overall design of your basement. Ensure fittings are compatible with the pipe sizes used in your rough in to avoid leaks and malfunctions.
Kitchen sink plumbing rough in dimensions explained
Standard dimensions for kitchen sink plumbing
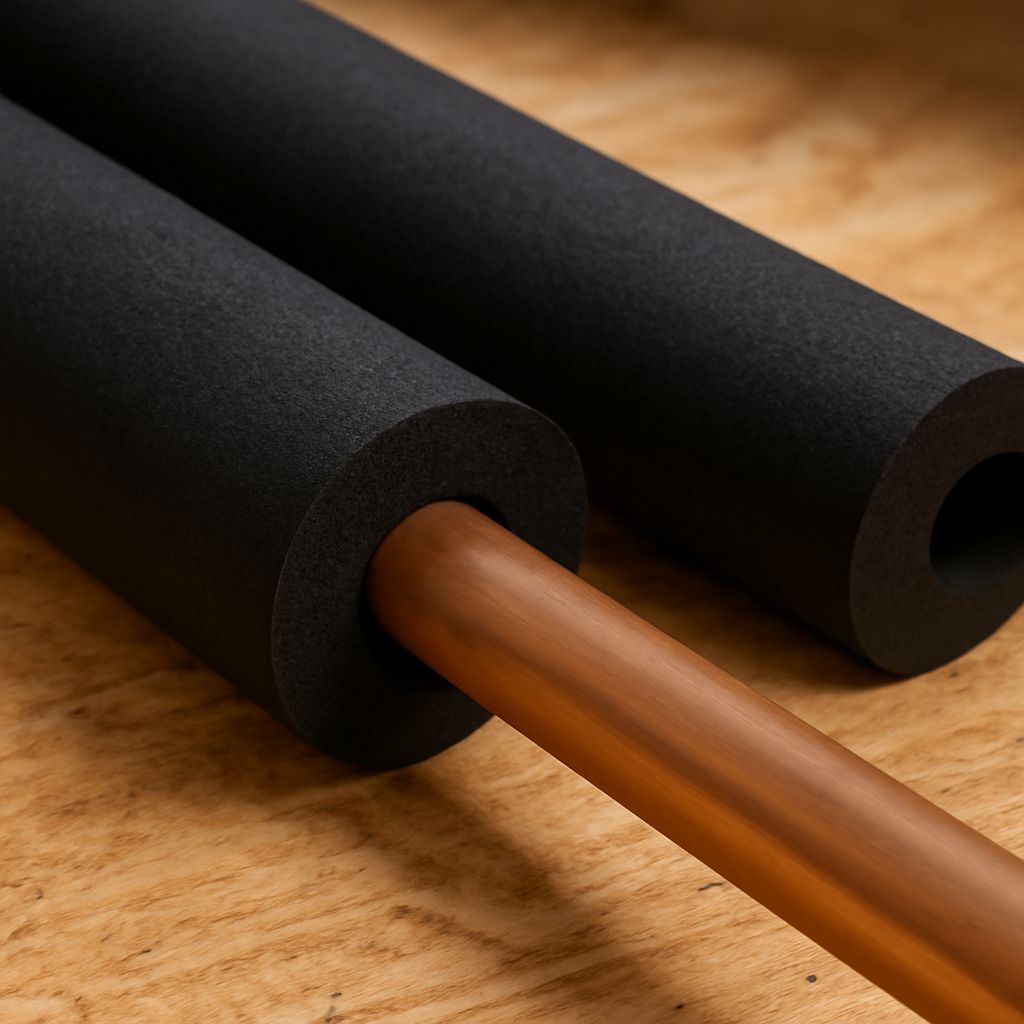
Understanding the standard dimensions for kitchen sink plumbing is essential for a seamless installation. The height of the drain line from the floor typically ranges from 18 to 24 inches, while water supply lines should be positioned about 6 to 8 inches above the drain. These standards ensure ease of use and accessibility.
Adjustments for unique kitchen setups
In some cases, custom kitchen designs may require deviations from standard plumbing dimensions. If your kitchen features unique cabinetry or countertop heights, adjust the positioning of plumbing lines accordingly. Accurate measurements and careful adjustments will prevent installation issues and maintain aesthetic appeal.
Installing plumbing in existing concrete slab
Preparation and tools needed
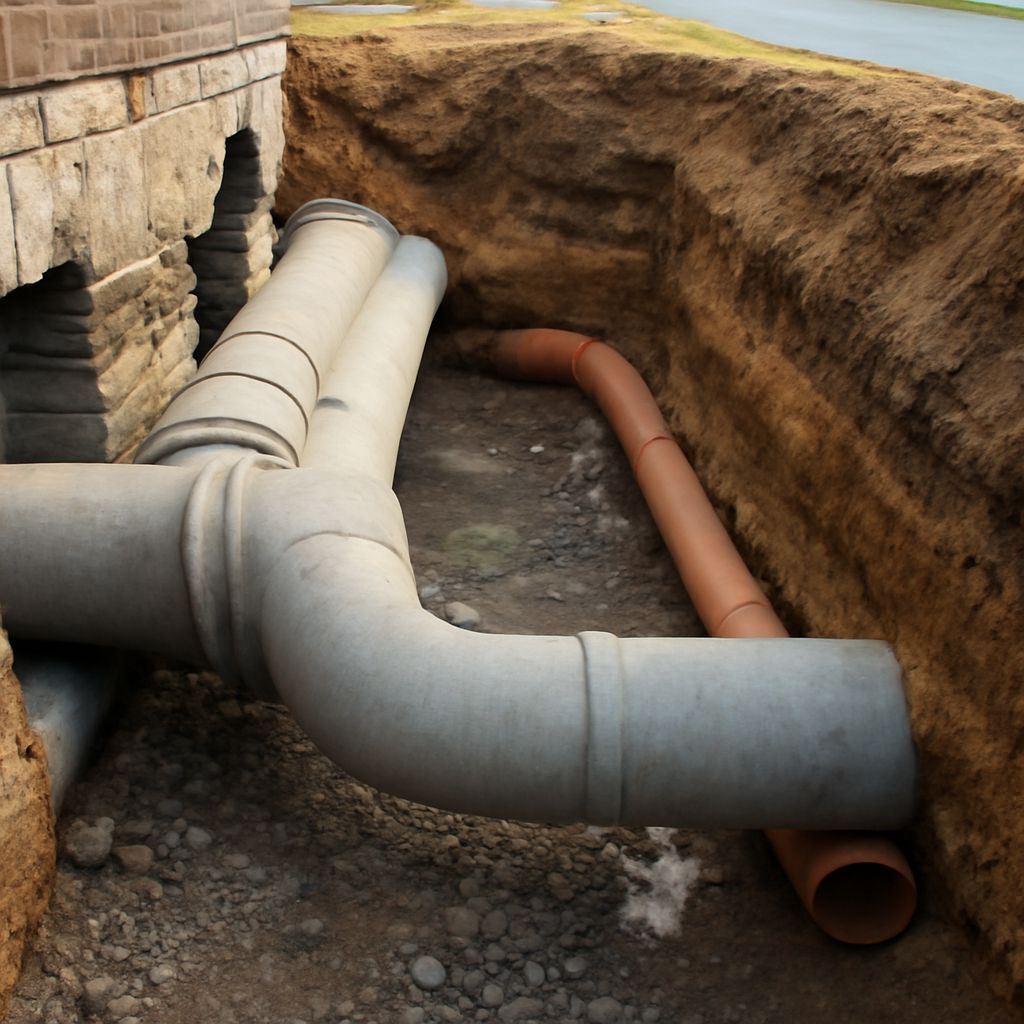
Installing plumbing in a concrete slab requires careful preparation and the right tools. Start by mapping out the required pipe paths and marking the concrete for cutting. Essential tools include a concrete saw, a jackhammer for breaking through the slab, and a pipe cutter for trimming pipes to size.
Step-by-step guide to installation
Follow these steps for a successful installation:
- Cut the concrete slab along the marked lines using a concrete saw.
- Carefully remove the concrete pieces using a jackhammer.
- Lay the pipes in the trenches, ensuring they’re properly sloped for drainage.
- Connect the pipes to existing lines, sealing joints securely to prevent leaks.
- Inspect all connections for integrity before covering with concrete.
Next steps
With a comprehensive understanding of basement plumbing rough ins, you can confidently plan and execute your home projects. Maintain your plumbing systems by conducting regular inspections and consulting a licensed plumber for complex issues or repairs. Prioritize quality materials and adhere to local codes for a long-lasting, efficient plumbing setup.