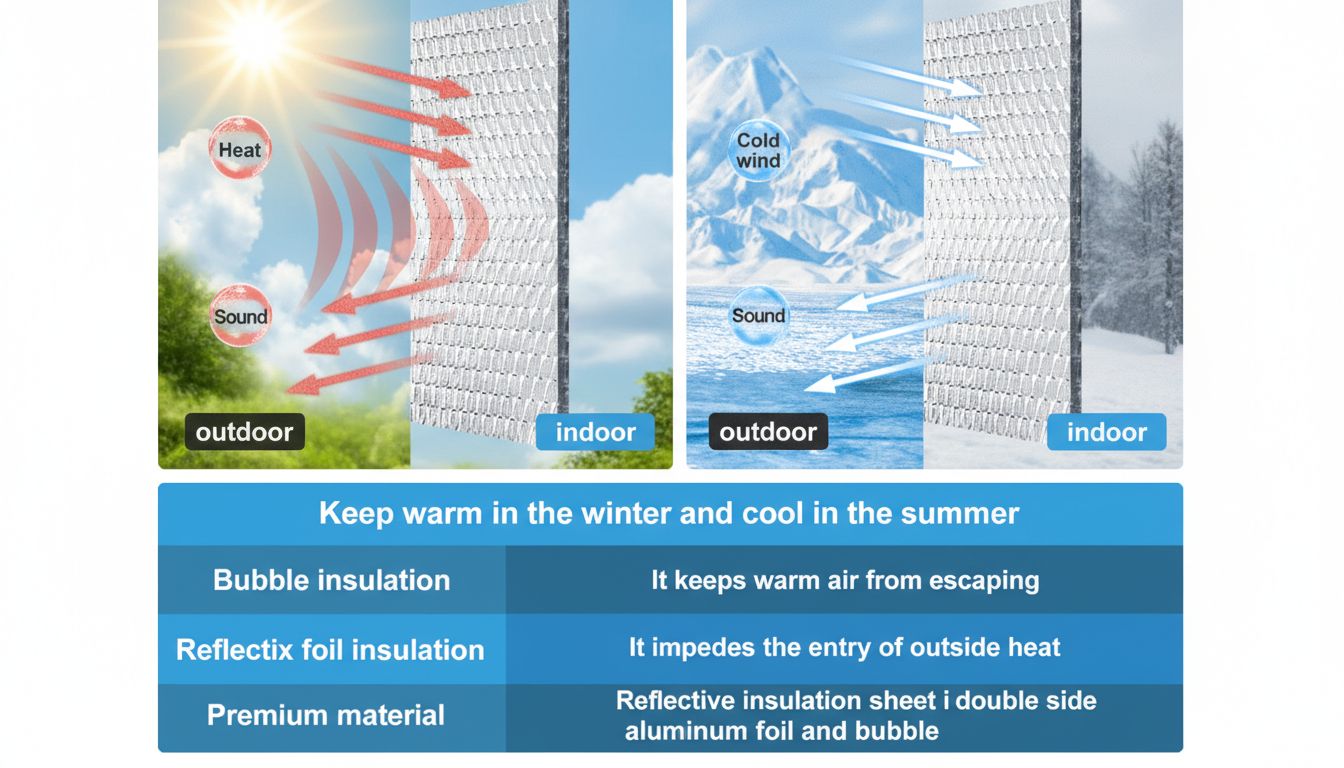
R19 Insulation: When to Use It and Why Unfaced Batts Matter
R19 insulation is the standard choice for 2×6 framed exterior walls and floor assemblies over unconditioned spaces like crawl spaces and garages. Unfaced insulation is the correct product when the batt sits between two conditioned spaces or when a separate vapor retarder is already present in the assembly. R19 unfaced insulation fills 2×6 stud bays to full depth and delivers an R-value of 19 without the kraft-paper or foil facing used in standard batts. Unfaced batt insulation of any R-value works well in cathedral ceilings where ventilation channels must remain open, and as fill in second-layer attic applications over existing insulation. Unfaced fiberglass insulation is widely available in R19 and other ratings and costs slightly less per batt than faced versions.
This guide explains where R19 fits in the building envelope, when to choose unfaced products, and how to install both correctly.
Where R19 insulation is used
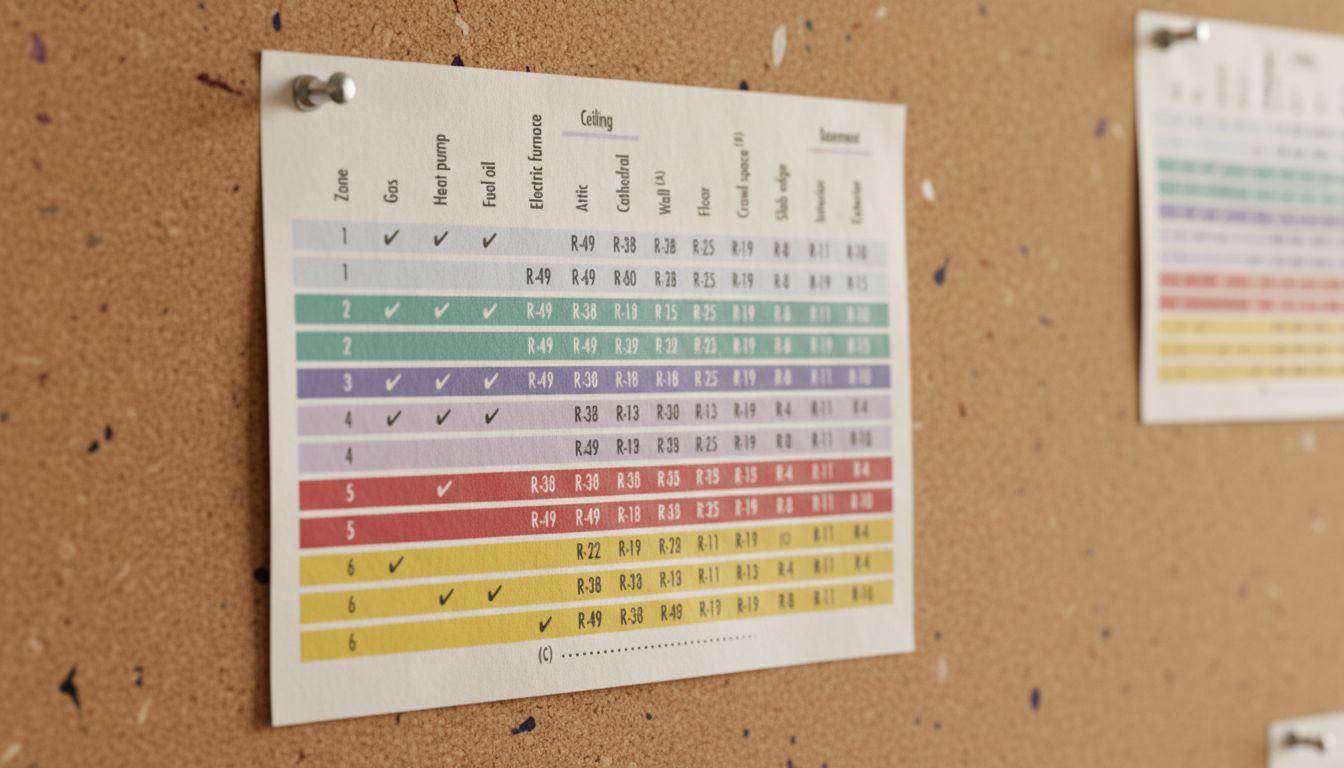
The 2×6 exterior wall is the primary application for R19 batts. Building codes in most US climate zones require R-20 or higher for exterior walls in zones 4 through 8, which means R19 insulation alone falls slightly short of code minimum in those zones without additional continuous insulation on the exterior. In climate zones 2 and 3 (most of the South and lower Midwest), R19 in a 2×6 wall meets or exceeds the prescriptive requirement. Always check your local energy code before specifying R19 for wall assemblies.
Unfaced versus faced insulation: when each is right
Faced insulation has a kraft-paper or foil facing that acts as a vapor retarder. Use faced batts when the facing is the primary vapor control layer and when it will be installed with the facing toward the warm-in-winter side of the assembly. Use unfaced insulation when a poly vapor barrier, house wrap, or rigid foam already provides vapor control in the assembly. Installing R19 unfaced insulation in a floor over a crawl space is standard practice because the vapor retarder belongs on the ground surface, not on the insulation itself.
Installing unfaced batt insulation correctly
Cut unfaced fiberglass insulation batts about 1 inch longer than the cavity height so the batt compresses slightly at the ends and fills the cavity without gaps. Do not compress insulation in the middle of a cavity; compression reduces R-value proportionally. In 2×6 walls, split thick batts around wiring and pipes rather than cutting notches, which creates voids. Support floor batts with wire rods, insulation supports, or mesh stapled between the joists to prevent the batts from sagging and falling out over time.
R19 in attics and special applications
Attic floor insulation typically uses higher R-values like R38 to R60, but R19 batts appear in attic knee walls and in sloped roof rafters where depth is limited. In a cathedral ceiling with 2×8 or 2×10 rafters, installing R19 unfaced insulation in the rafter bay leaves 1.5 inches of clear space above the batt for ventilation. This arrangement keeps moisture from accumulating in the roof sheathing while delivering meaningful thermal performance. If you need more R-value in a shallow rafter bay, look at closed-cell spray foam or rigid foam boards instead of piling in more unfaced batt insulation at the cost of ventilation clearance.
Pro tips recap
Wear a long-sleeved shirt, gloves, and a P100 respirator when handling unfaced fiberglass insulation batts. Glass fibers cause skin and respiratory irritation. Seal all penetrations through the vapor control layer before installing the batts. Gaps around electrical boxes and pipe penetrations bypass the thermal and moisture performance of any R19 insulation product. Seal first, insulate second.