How to Install Architectural Shingles: A Step-by-Step Guide
Installing shingles can be a daunting task, but with the right guidance, you can master the art of laying architectural shingles with confidence and precision. This guide will walk you through everything you need to know, from understanding what architectural shingles are to maintaining your new roof. Whether you’re a DIY enthusiast or looking to gain some insight before hiring a professional, this article covers all bases. Before diving into installation, it’s crucial to familiarize yourself with the benefits and nuances of architectural shingles. Additionally, you’ll learn about the common pitfalls during installation and the maintenance tips to keep your roof in top condition.
Understanding architectural shingles
What are architectural shingles?
Architectural shingles, often referred to as laminated or dimensional shingles, are a premium type of asphalt shingle that offers a more aesthetic and three-dimensional appearance. These shingles are composed of multiple layers of asphalt that are fused together, providing enhanced durability and a richer texture compared to traditional shingles. Architectural shingles are favored for their ability to imitate the look of natural materials such as wood or slate, offering homeowners a more stylish roofing option.
Benefits of architectural shingles
One of the primary benefits of architectural shingles is their superior longevity. With proper installation and maintenance, they can last up to 30 years or more, making them a cost-effective choice in the long run. Additionally, these shingles offer better wind resistance and are less susceptible to curling and warping. Their enhanced thickness not only improves durability but also provides better insulation, contributing to energy efficiency in your home.
Preparing for installation
Gathering necessary tools and materials
Before you start installing shingles, gather all necessary tools and materials to ensure a smooth process. This includes a hammer, roofing nails, a utility knife, a chalk line, and a tape measure. You’ll also need roofing underlayment and starter shingles to kick off the project. Having all tools at hand will save you time and prevent frustration during installation.
Safety precautions to consider
Roofing can be hazardous, so it’s vital to prioritize safety precautions. Always wear non-slip shoes and a safety harness when working on your roof. Ensure your ladder is stable and positioned correctly to prevent accidents. It’s advisable to have a partner on the ground to assist and call for help if needed. Safeguarding yourself during this process cannot be overstated.
Step-by-step guide to installing shingles
Removing old roofing materials
Begin by removing any old roofing materials. This involves tearing off existing shingles and inspecting for any damage that needs repair. Use a roofing shovel or similar tool to strip away the old shingles and nails, ensuring a clean surface for the new installation.
Installing underlayment and starter shingles
Once the old materials are removed, lay down the roofing underlayment. This layer acts as a moisture barrier, protecting the roofing deck. Next, install starter shingles along the edge of the roof. This is crucial because starter shingles provide the initial seal and prevent water infiltration.
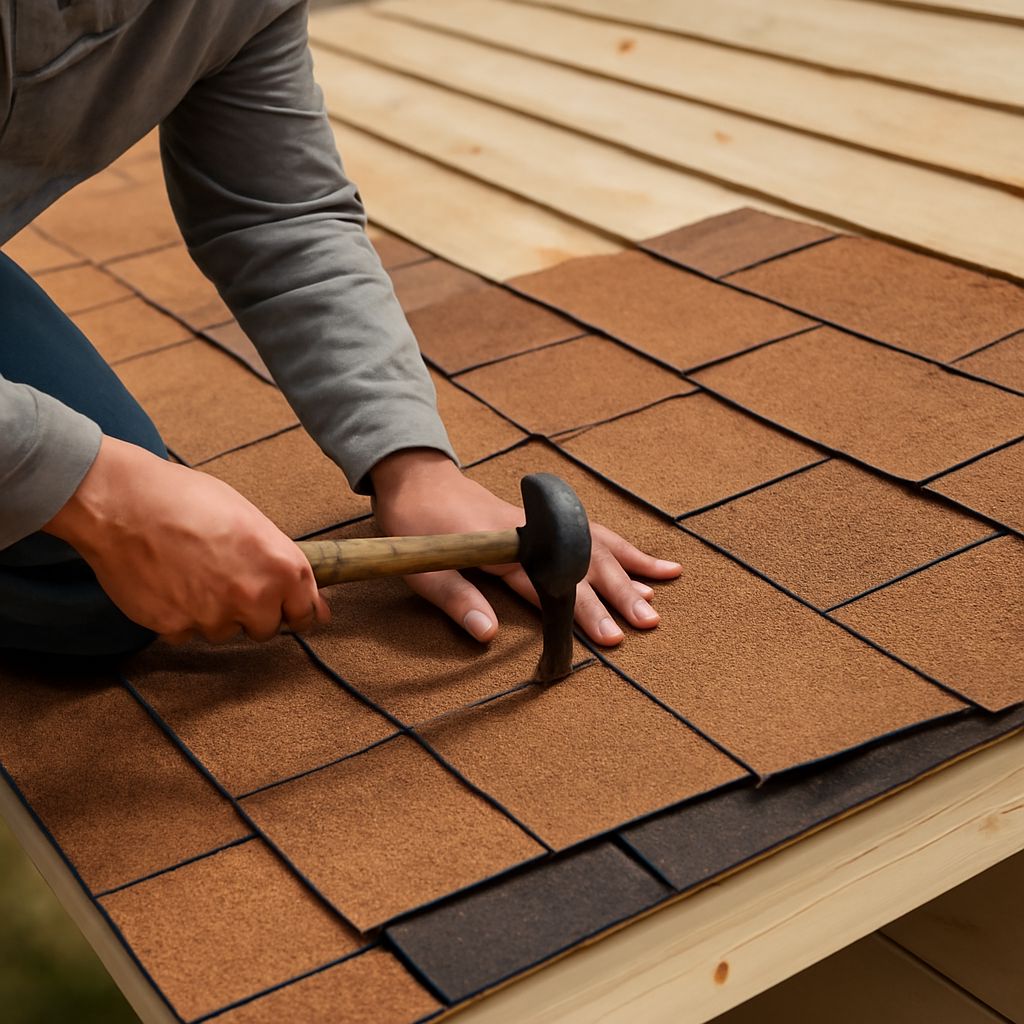
Laying architectural shingles
Now it’s time to lay your architectural shingles. Begin at the bottom edge and work your way up, ensuring each shingle overlaps correctly. Use roofing nails to secure each shingle, making sure they are flush with the surface. Follow the chalk lines to maintain straight rows, which is essential for a professional-looking finish.
Common mistakes to avoid
Incorrect shingle alignment
One common error during shingle installation is misalignment. Uneven rows can affect the roof’s aesthetic and functionality. Carefully align shingles using chalk lines as a guide and double-check your work periodically to avoid this mistake.
Ignoring manufacturer instructions
Each brand of architectural shingles may have specific installation guidelines. Ignoring the manufacturer’s instructions can lead to voiding the warranty or improper installation. Always read and follow the provided instructions to ensure the longevity of your roof.
Maintenance tips for your new roof
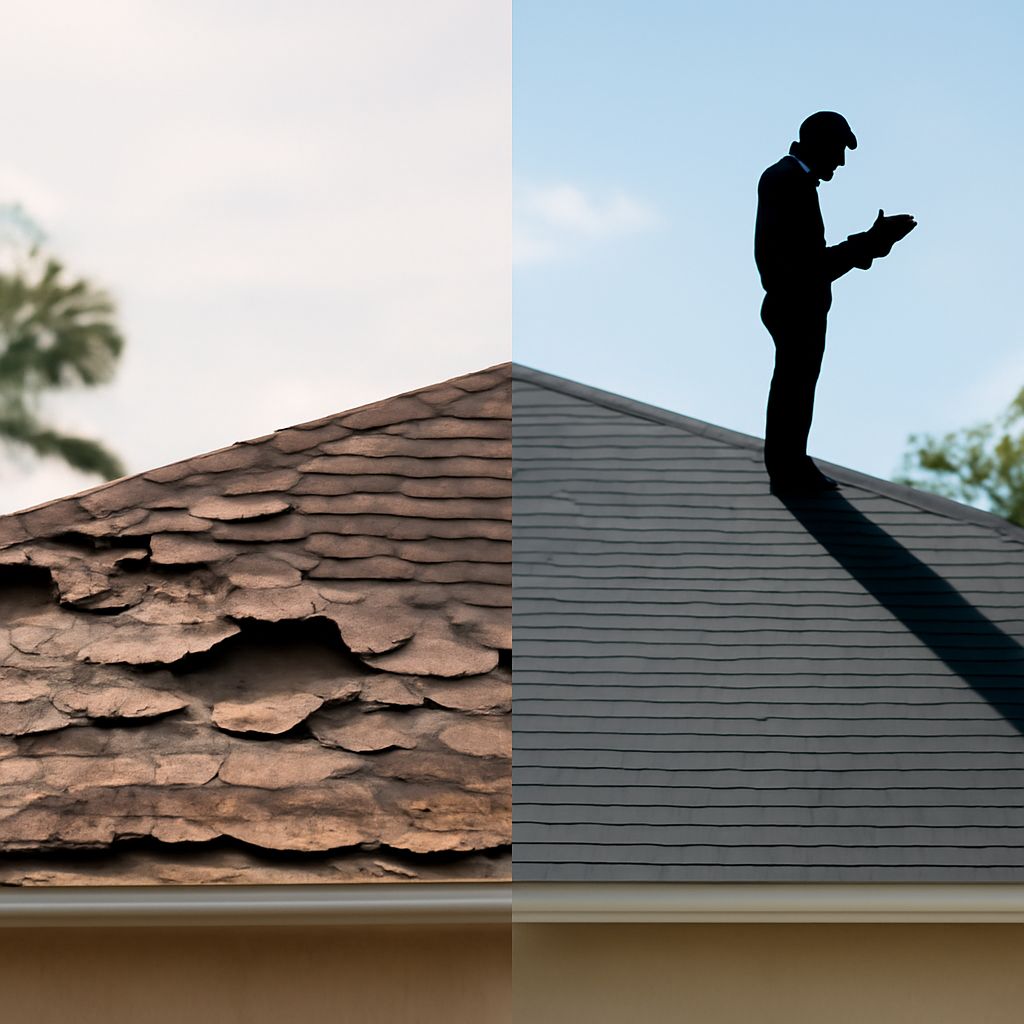
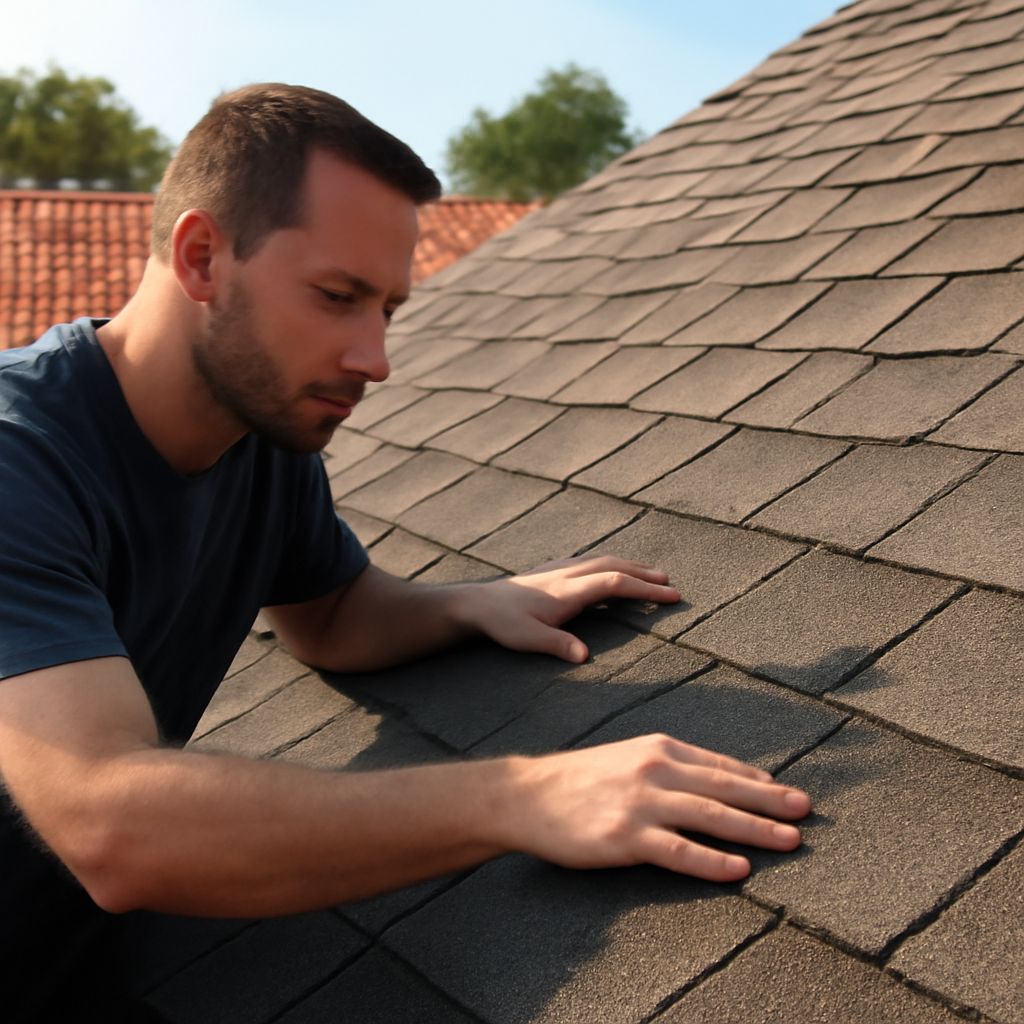
Regular inspections
Once your new shingles are in place, regular inspections are key to maintaining your roof. Check for any signs of wear and tear, such as missing or cracked shingles, especially after severe weather. Early detection of issues can prevent more extensive damage.
Handling repairs promptly
If you notice any damage, address repairs immediately to prevent further issues. Small problems like minor leaks or loose shingles can escalate quickly if neglected. For complex repairs or severe damage, it is advisable to consult a licensed professional to ensure the problem is adequately handled.
Bottom line: Installing architectural shingles can be a rewarding DIY project when approached with the right knowledge and preparation. By understanding the product, meticulously preparing for installation, and adhering to maintenance advice, you can enjoy a durable and aesthetically pleasing roof for years to come.