Drywall Repair: A Comprehensive Guide to Fixing Your Walls
Drywall repair is a task many homeowners face, whether you’re dealing with minor dents or significant drywall damage. Understanding how to effectively manage drywall texture can elevate the aesthetics of any room. However, challenges like drywall dust and the need for drywall replacement might arise, making the process seem daunting at times. This guide will walk you through crucial steps and tips for seamlessly tackling drywall issues, enhancing the overall look of your space.
Understanding the basics of drywall repair
Identifying common drywall damage
When you embark on drywall repair, the first step is identifying the type of damage. Common issues include small dings, cracks, and water damage. Recognizing the severity of the damage will help you determine the necessary repair method. For instance, minor dents might only require a quick patch, whereas extensive water damage could call for more intensive solutions.
Tools needed for drywall repair
Having the right tools is essential for effective drywall repair. You will need a utility knife, drywall saw, joint compound, sandpaper, and a putty knife. Each tool plays a vital role in ensuring your repairs are seamless and professional-looking. Investing in quality tools can save you time and enhance the final outcome.
Step-by-step guide to drywall texture
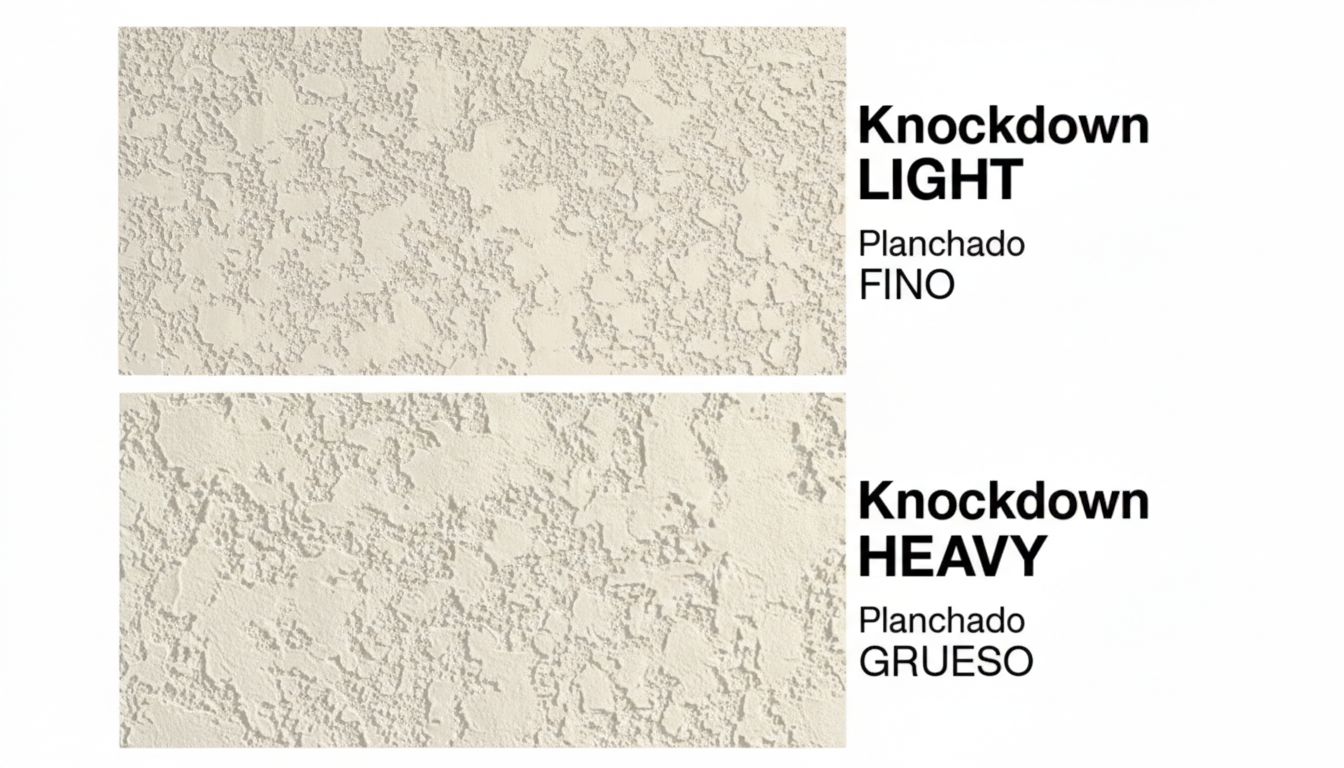
Choosing the right drywall texture
Selecting the appropriate drywall texture is crucial in achieving your desired aesthetic. Whether you prefer a smooth finish or a more decorative touch like a knockdown or orange peel texture, the choice will significantly affect the room’s ambiance. Consider the room’s purpose and existing decor when making your decision.
Applying drywall texture
Once you’ve chosen your texture, applying it requires patience and precision. Begin by preparing the surface, ensuring it’s clean and smooth. Using a trowel or a spray gun, apply the joint compound evenly. Practice your technique on a spare piece of drywall to ensure consistency before tackling the entire wall.
Dealing with drywall dust effectively
Preparation before repair
Before you start any repair work, take steps to minimize drywall dust. Cover furniture with plastic sheeting and seal off areas not under renovation. Dust masks and goggles are essential for personal protection, ensuring that you can work safely and comfortably.
Cleaning up after repairs
Post-repair cleanup is crucial in maintaining a tidy workspace. Use a vacuum with a HEPA filter to capture fine dust particles, and wipe surfaces with a damp cloth to eliminate residual dust. Proper cleanup not only leaves your home looking fresh but also improves indoor air quality.
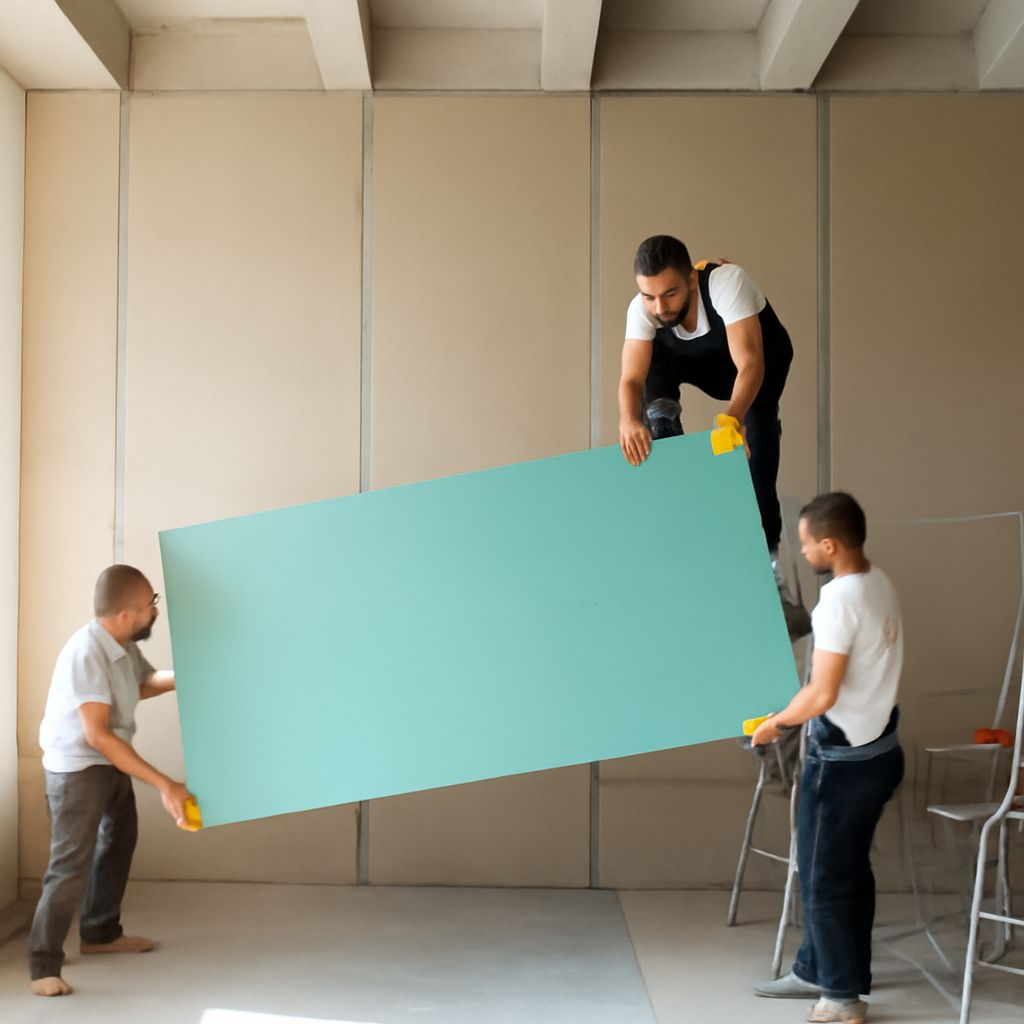
When to consider drywall replacement
Sometimes, repairs might not be enough, and drywall replacement becomes necessary. If the drywall is severely damaged, such as large holes or extensive water damage, replacement is often the most viable option. Consulting with a licensed contractor can offer professional insight into whether replacement is needed, ensuring structural integrity.
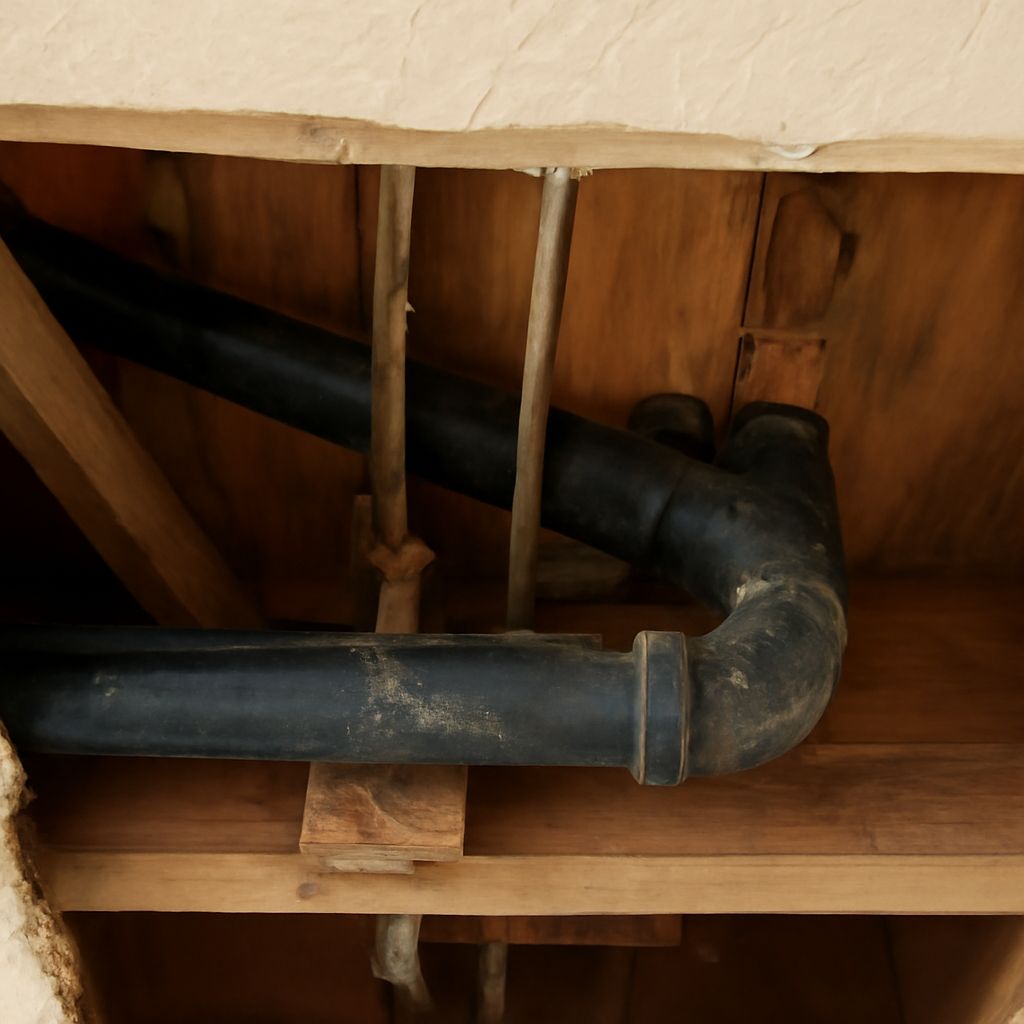
Preventing future drywall damage
Preventing future damage involves regular maintenance and being mindful of potential risks. Simple measures such as installing corner guards, fixing leaks promptly, and avoiding excessive moisture can prolong the life of your drywall. Regular inspections can help you catch issues early, preventing costly repairs down the line.
Key takeaways: Mastering drywall repair and texture application can significantly upgrade your home’s appearance. By understanding when to repair or replace and adopting preventive measures, you ensure your walls remain pristine. Always seek professional advice for complex problems to ensure optimal results.