When it comes to home improvement, achieving a seamless finish is key. Whether you’re looking to transform your space by making paneling look like drywall or you aim to tackle projects like installing metal roofing over OSB, understanding the nuances of these processes can make all the difference. This guide will explore the details of drywall window returns and offer a step-by-step on how to drywall over wood paneling. From preparing the OSB surface to applying the final finish, learn how to elevate your home improvement skills with ease.
Understanding drywall window returns
What are drywall window returns?
Drywall window returns are the part of the wall that wraps around the inside of a window opening. Essentially, they are the narrow strips of drywall that line the reveal of a window, providing a clean edge that frames the opening. These returns are critical in creating a polished look for any room, ensuring there are no rough edges or unfinished surfaces around your windows.
Benefits of using drywall window returns
Incorporating drywall window returns offers multiple advantages. Firstly, they enhance the aesthetic appeal by providing a seamless transition between the window and the wall. Secondly, they protect the edges of the window opening from wear and tear, increasing the durability of your finishes. Thirdly, drywall returns improve insulation around the windows, which can lead to energy savings.
Drywall over wood paneling: A step-by-step guide
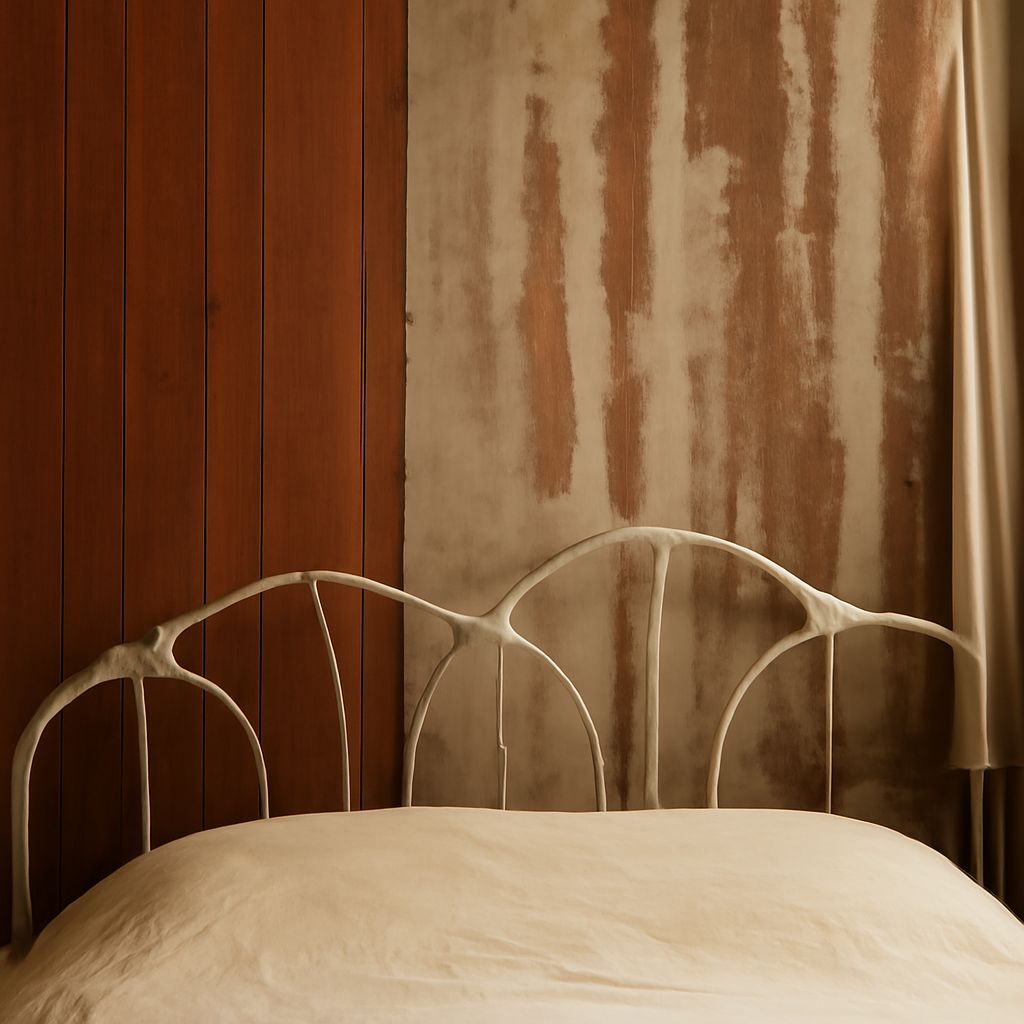
Preparing the wood paneling
To effectively cover wood paneling with drywall, begin by preparing the surface. This involves cleaning the paneling to remove dust and debris. Next, inspect the paneling for any damage or warping that may affect the drywall installation, repairing as needed. Sanding the surface lightly can also help the drywall adhere better.
Applying drywall over paneling
Once the paneling is prepped, you can begin the installation process. This involves measuring and cutting the drywall to fit the walls, then securing it with drywall screws. Pay attention to the alignment to ensure a smooth finish. After the drywall is in place, apply joint compound over the seams and corners, sanding between coats to achieve a flat surface.
How to make paneling look like drywall
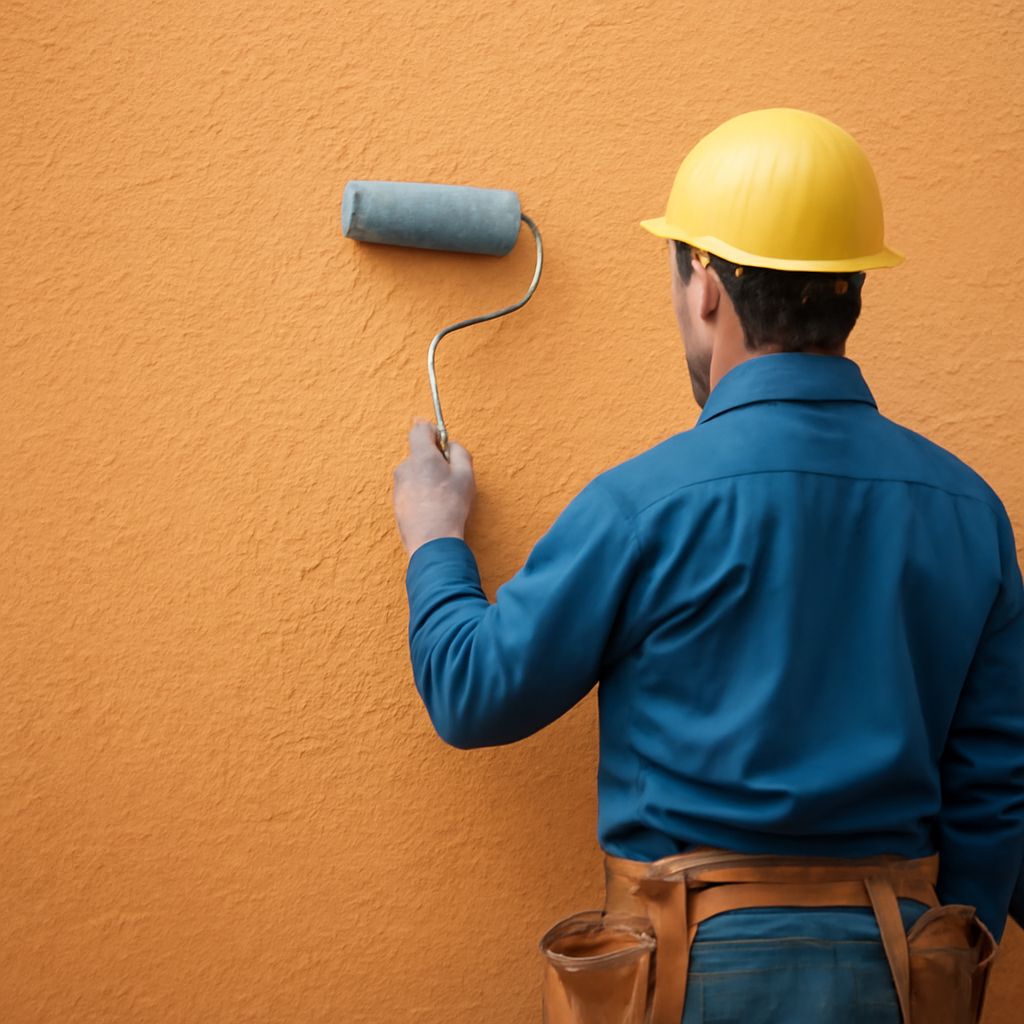
Techniques to achieve a smooth finish
Transforming paneling into a drywall-like surface requires meticulous attention to detail. Start with applying a skim coat of joint compound to fill in grooves and create an even surface. Use a wide taping knife to spread the compound, ensuring an even layer. Multiple coats may be necessary to completely disguise the paneling texture.
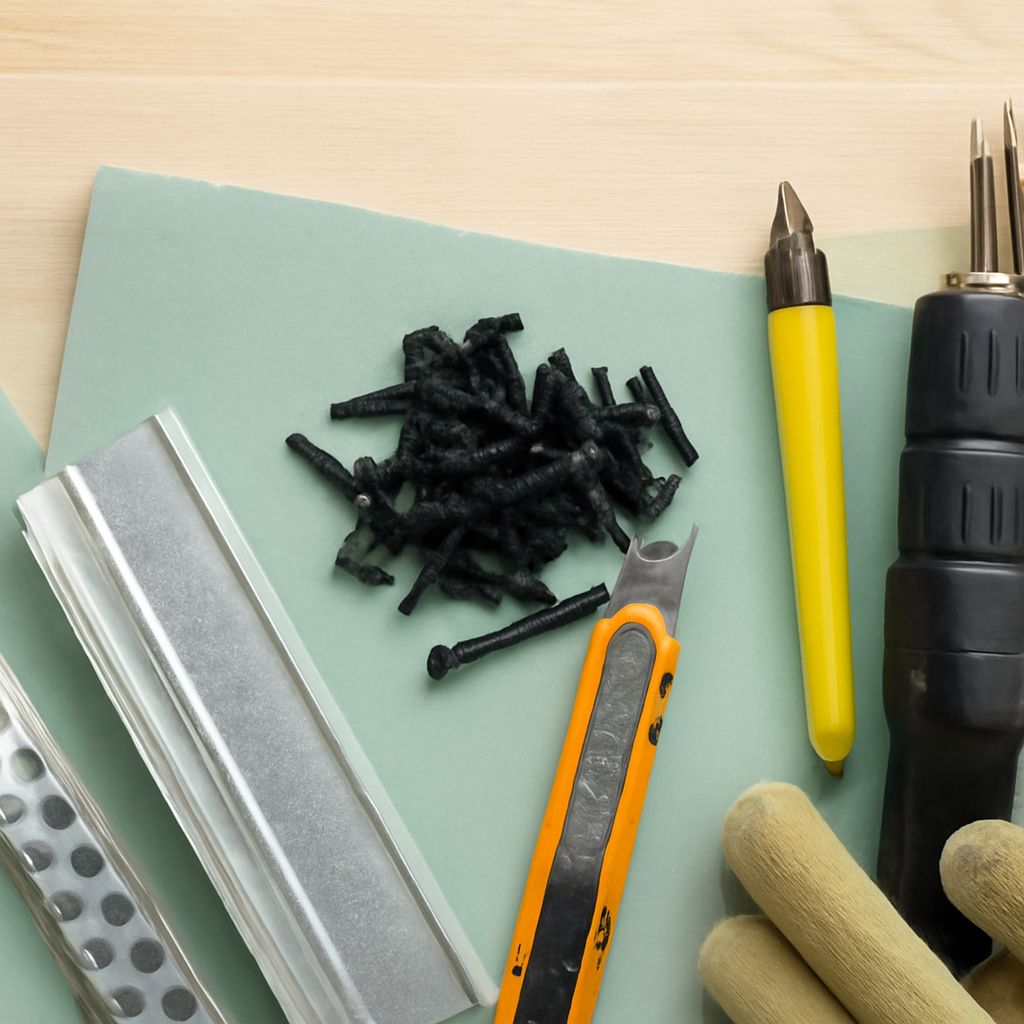
Tools needed for the transformation
For this transformation, you’ll need several key tools. A taping knife is essential for spreading joint compound, while a sanding block will help smooth out the surface between coats. A quality primer and paint roller are also necessary to finish the job, ensuring the new surface blends seamlessly with the rest of the wall.
Installing metal roofing over OSB: Key considerations
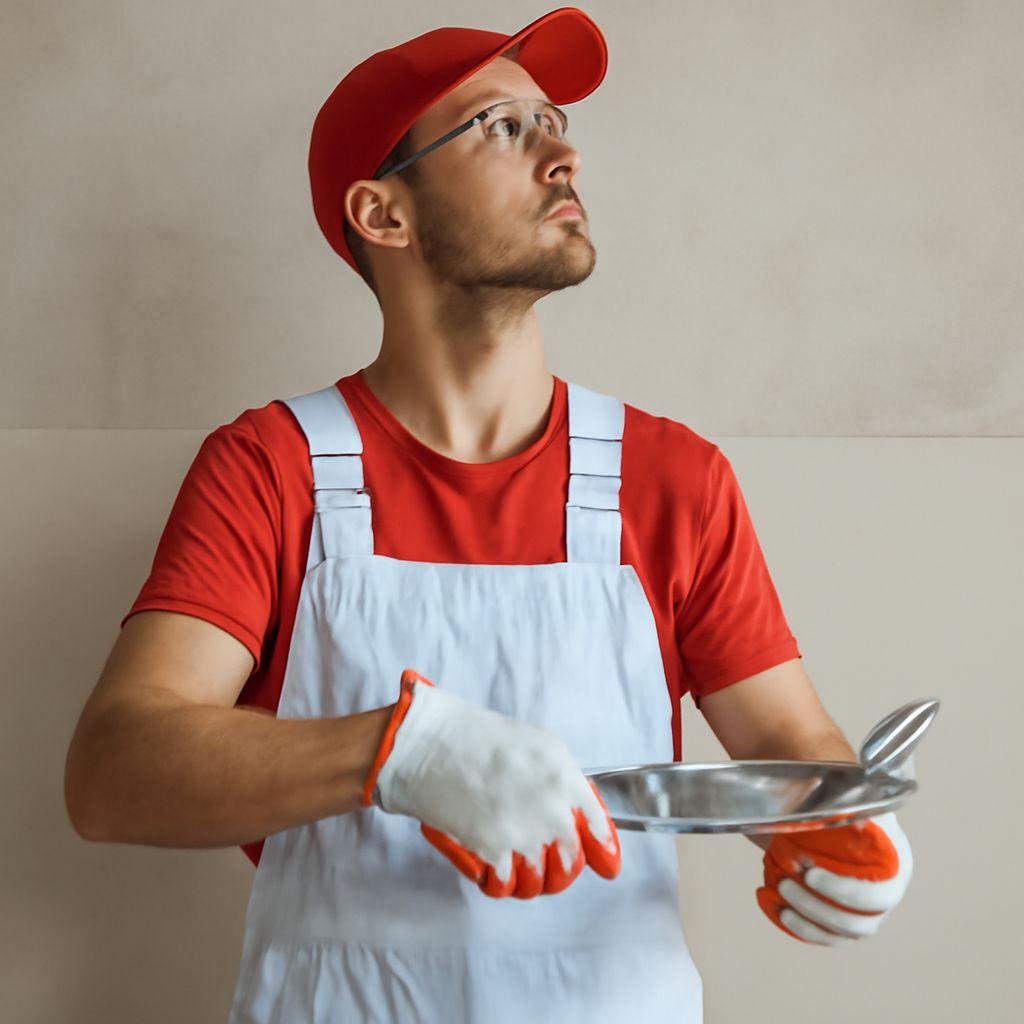
Preparing the OSB surface
When installing metal roofing over OSB, it’s crucial to prepare the surface properly. Start by ensuring the OSB is clean, dry, and free from any structural issues. Inspect the board for any signs of water damage or warping, which could compromise the integrity of the roofing.
Installation steps
To install metal roofing over OSB, begin by laying down a moisture barrier to protect against condensation. Next, position the metal panels, securing them with the appropriate fasteners to keep them in place. Ensure that each panel overlaps correctly to prevent leaks. A licensed professional should be consulted to ensure compliance with local building codes and for handling more complex installations.