Understanding the intricacies of your RV’s plumbing system is crucial for a smooth and enjoyable travel experience. The RV plumbing diagram serves as a roadmap to guide you through your RV’s water and waste systems, ensuring everything flows as it should. With a firm grasp on the RV toilet plumbing diagram, you’ll be prepared to tackle both common and complex issues that arise on the road. Whether you’re examining a detailed RV plumbing schematic or a straightforward travel trailer plumbing diagram, this guide will equip you with the knowledge to maintain and troubleshoot your system efficiently. Dive into the world of trailer plumbing diagrams to understand the setup and upkeep of your beloved mobile home.
Understanding the basics of RV plumbing
Components of an RV plumbing system
Your RV plumbing system is composed of several fundamental elements. Freshwater tanks, greywater tanks, blackwater tanks, and various pipes and valves integrate to make up this system. The freshwater tank supplies clean water to your faucets and shower, while the greywater tank holds used water from sinks and showers. Blackwater tanks are designated for toilet waste. These components work cohesively to ensure a seamless flow of water and waste management.
How RV plumbing differs from home plumbing
RV plumbing systems differ significantly from residential plumbing. While both systems share the basic principles of water supply and waste management, RV plumbing is designed to be more compact and mobile. The use of flexible hoses, lighter materials, and simplified connections distinguishes RV plumbing from its home counterpart. Additionally, RV systems require regular maintenance due to their mobile nature, which subjects them to vibrations and movements that home systems do not experience.
RV toilet plumbing diagram: Key elements
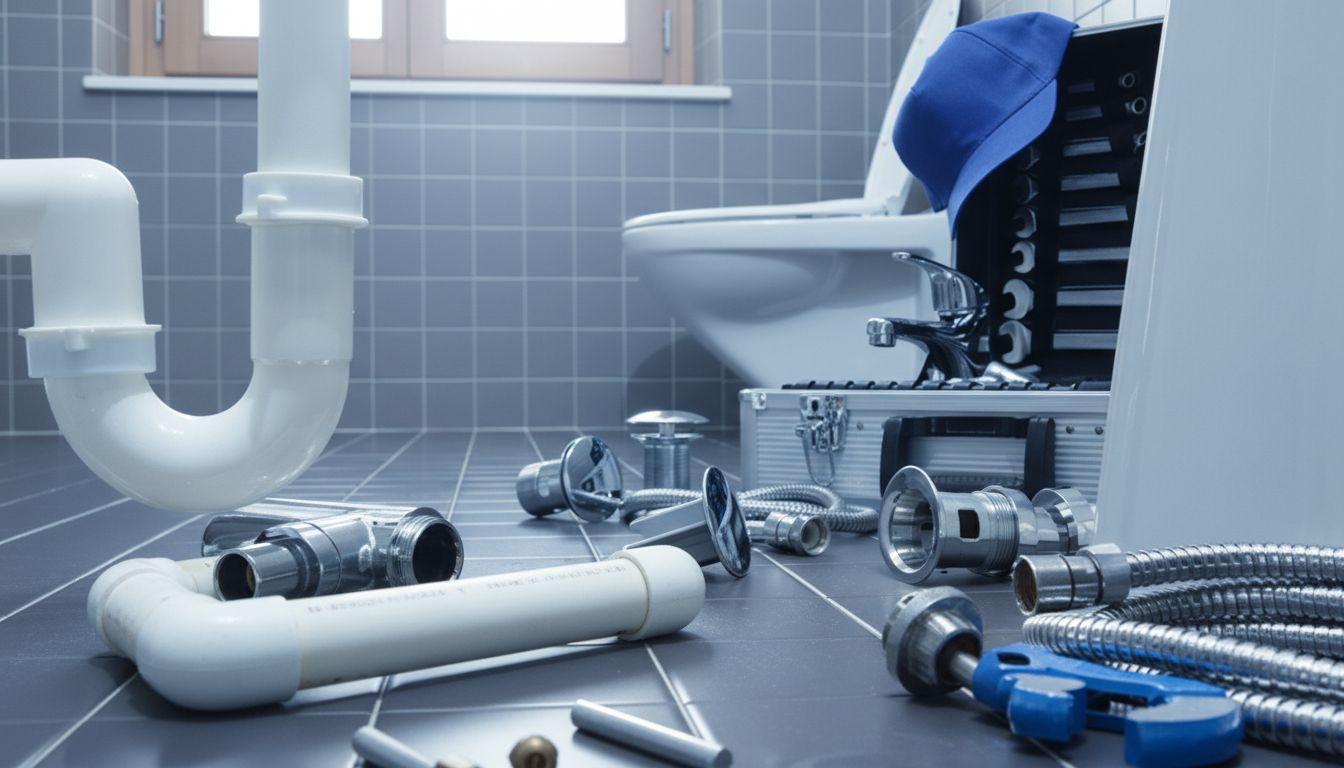
RV toilet installation process
Installing an RV toilet involves connecting the toilet to the blackwater tank and ensuring proper sealing to prevent leaks. The process includes attaching the flange to the floor, securing the toilet bowl, and linking the water supply line. It’s essential to follow the RV toilet plumbing diagram during installation to avoid common pitfalls like misalignment and poor sealing, which can lead to unpleasant odors and water damage.
Common issues with RV toilet plumbing
RV toilet plumbing can present several challenges, such as clogs, leaks, and odors. Clogs often result from improper waste breakdown or foreign objects entering the system. Leaks can occur at connection points if not properly sealed, while odors typically stem from an unvented blackwater tank. Regular maintenance, including flushing the system and using RV-friendly toilet paper, can help mitigate these issues and prolong the plumbing’s lifespan.
Exploring RV plumbing schematic designs
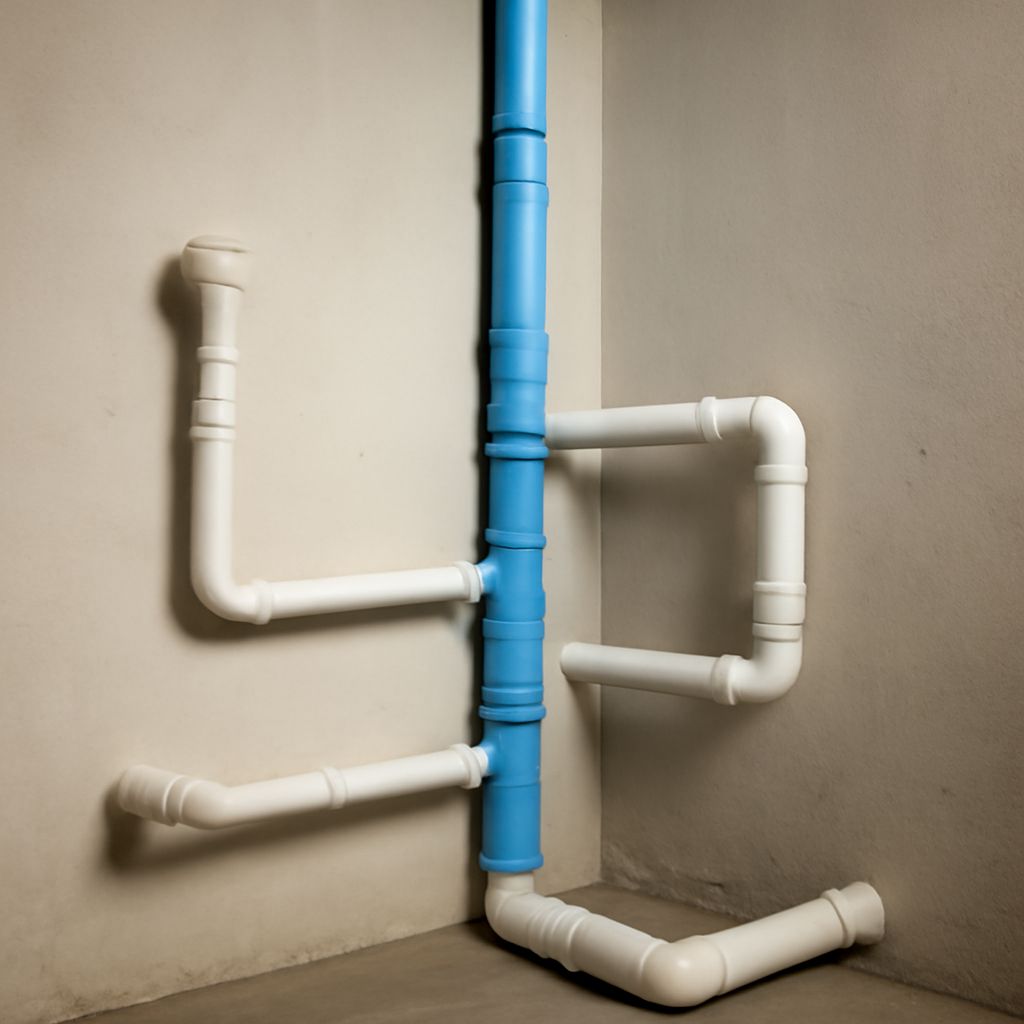
Reading RV plumbing schematics
Understanding RV plumbing schematics is crucial for troubleshooting and repairs. These diagrams illustrate the layout and connections of pipes, tanks, and valves, providing a visual guide to your RV’s plumbing system. By familiarizing yourself with these schematics, you can quickly identify problem areas, locate specific components, and comprehend the flow of water and waste throughout the vehicle.
Benefits of RV plumbing schematics
RV plumbing schematics offer several advantages, including easier maintenance and faster troubleshooting. By visually mapping out the plumbing system, schematics enable you to pinpoint issues without disassembling the entire system. This efficiency saves time and reduces the risk of causing additional damage during repairs. Additionally, having a clear understanding of your RV’s plumbing layout empowers you to make informed decisions about upgrades and modifications.
Travel trailer plumbing diagram: Setup and maintenance
Travel trailer plumbing installation
Installing plumbing in a travel trailer requires careful planning and adherence to the travel trailer plumbing diagram. The process involves connecting water supply lines, drain lines, and waste tanks in a manner that maximizes space and efficiency. Attention to detail during installation ensures that the system functions correctly and minimizes the risk of leaks and other plumbing issues.
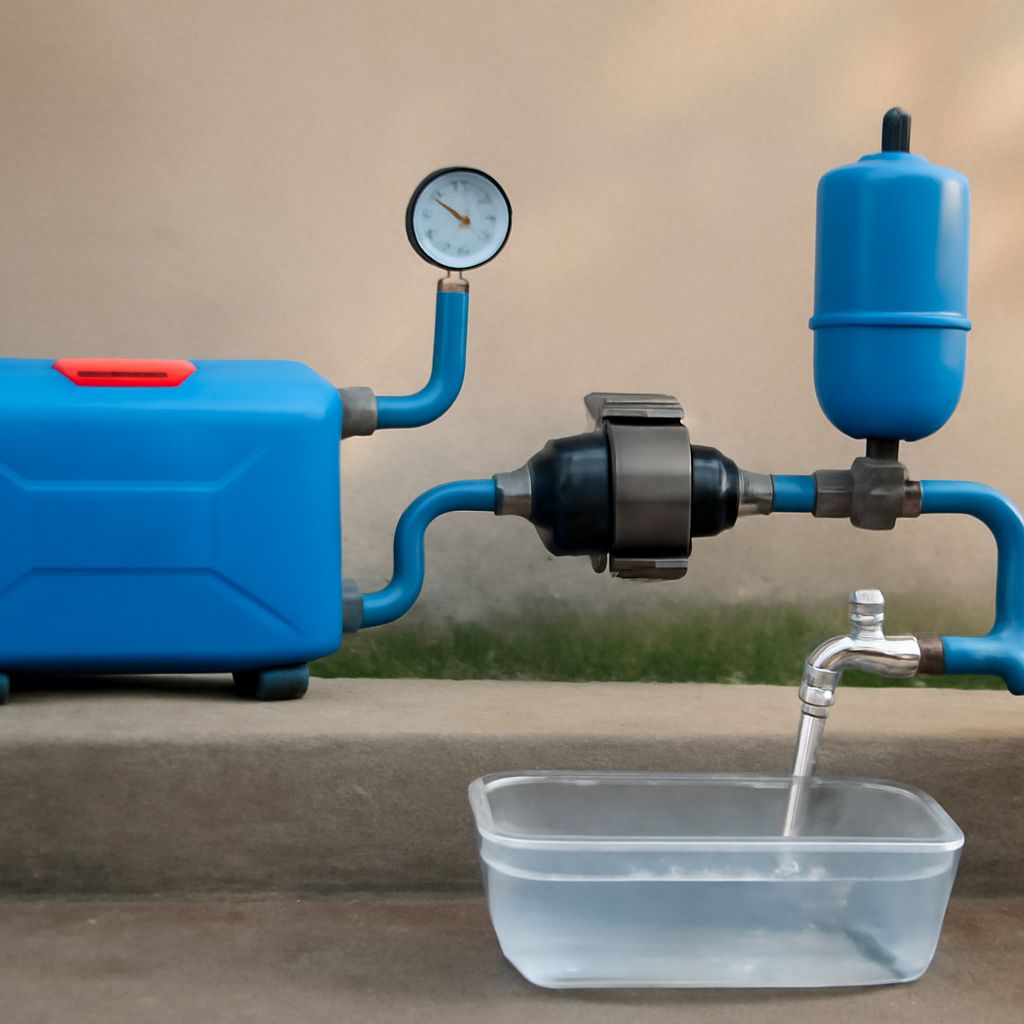
Maintenance tips for travel trailer plumbing
Maintaining your travel trailer’s plumbing system is vital for its longevity. Regularly check for leaks, inspect seals, and clean tanks to prevent buildup and odors. Using non-toxic cleaning agents and RV-specific chemicals helps maintain the system without causing damage. By adhering to a routine maintenance schedule, you can prevent major plumbing failures and ensure a reliable water and waste system.
Trailer plumbing diagram: A closer look
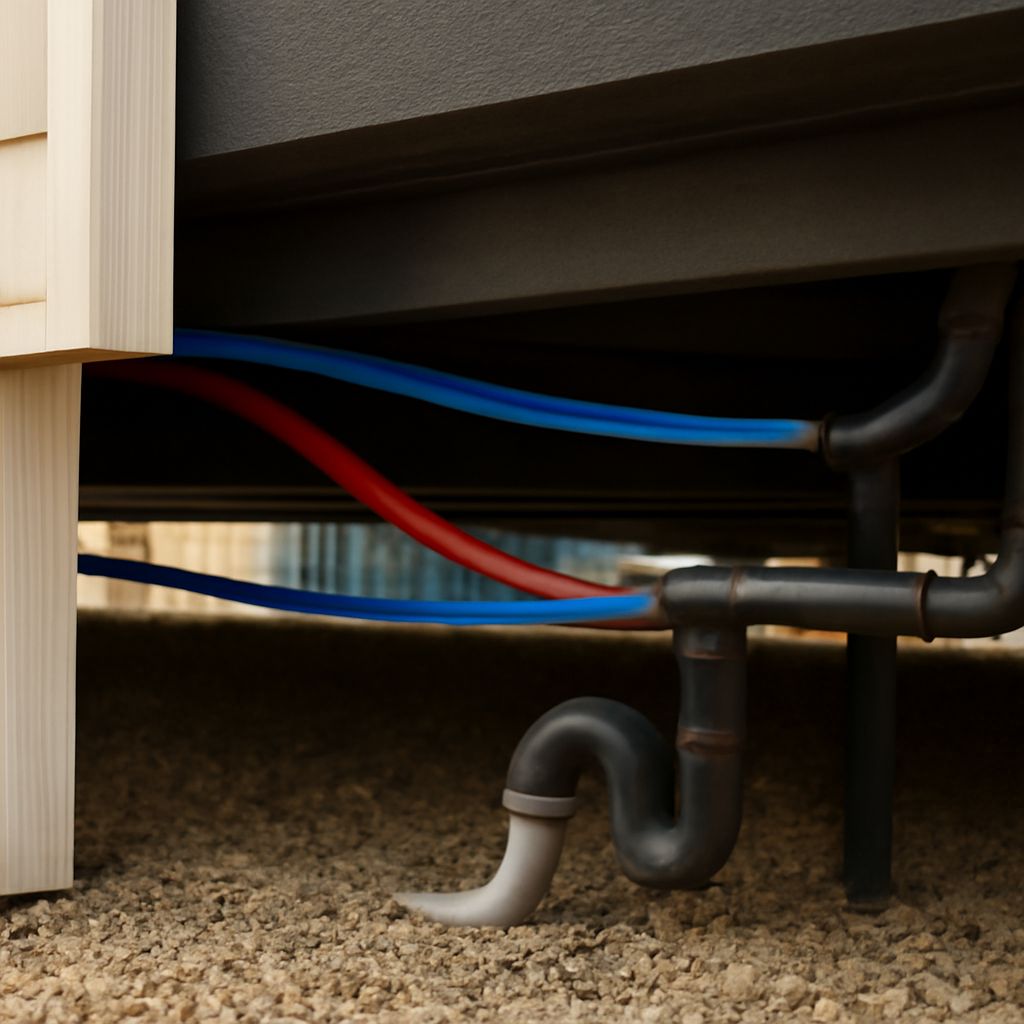
Trailer plumbing setup
Setting up trailer plumbing involves organizing pipes and tanks to allow efficient flow. The trailer plumbing diagram provides a blueprint for this setup, ensuring that water and waste move seamlessly through the system. Proper installation involves securing connections and ensuring all components are easily accessible for future maintenance and repairs.
Troubleshooting trailer plumbing problems
When issues arise in your trailer’s plumbing system, turn to the trailer plumbing diagram for guidance. Common problems include clogs, airlocks, and leaks, which can often be resolved by checking the integrity of connections and ensuring proper venting. Regular inspections and adherence to the diagram can prevent these issues from escalating into more serious problems.
Key takeaways: Understanding your RV plumbing system is essential for maintaining its functionality. Familiarize yourself with diagrams to facilitate maintenance and troubleshooting. Regular checks and proper installation according to these diagrams ensure a reliable plumbing system.