EPDM Roofing: The Complete Guide to Membrane Roofing for Flat Roofs
EPDM roofing is the most widely installed single-ply membrane system for flat and low-slope roofs in North America. A properly installed EPDM roofing membrane can last 25 to 30 years with minimal maintenance, handle temperature extremes from minus 40 degrees F to 300 degrees F, and resist UV degradation and ozone. Whether you are replacing a failing roofing membrane on a garage, workshop, or commercial addition, or sourcing EPDM roofing supplies for a new build, this guide tells you everything you need to know.
You may also encounter the common misspelling edpm roofing in searches. That is EPDM (ethylene propylene diene monomer) in the correct form. The product is the same regardless; what matters is that you buy the right thickness, use compatible adhesives, and follow proper installation methods for a watertight result.
What Is EPDM Roofing and Why It Dominates Flat Roofing
EPDM vs. TPO vs. Modified Bitumen
Flat roof membranes fall into three main categories: EPDM, TPO (thermoplastic polyolefin), and modified bitumen. EPDM decades-long track record and resistance to ponding water make it the professional standard for most applications. TPO heat-welds at seams for a stronger bond but has a shorter field history. Modified bitumen is asphalt-based and more familiar to traditional roofers but heavier and more maintenance-intensive. For a DIY-accessible roofing membrane that is forgiving of minor installation imperfections, EPDM is the most practical choice.
45-Mil vs. 60-Mil EPDM Thickness
EPDM roofing comes in two primary thicknesses: 45-mil and 60-mil. The 45-mil option is adequate for residential garages and low-traffic roofs but punctures more easily. For commercial applications, roofs where foot traffic occurs for maintenance, or climates with heavy hail, 60-mil EPDM roofing membrane is strongly recommended. The price difference between thicknesses is typically 15 to 25 percent, making 60-mil the better long-term investment for most projects.
EPDM Roofing Membrane Installation Methods
Fully Adhered EPDM Systems
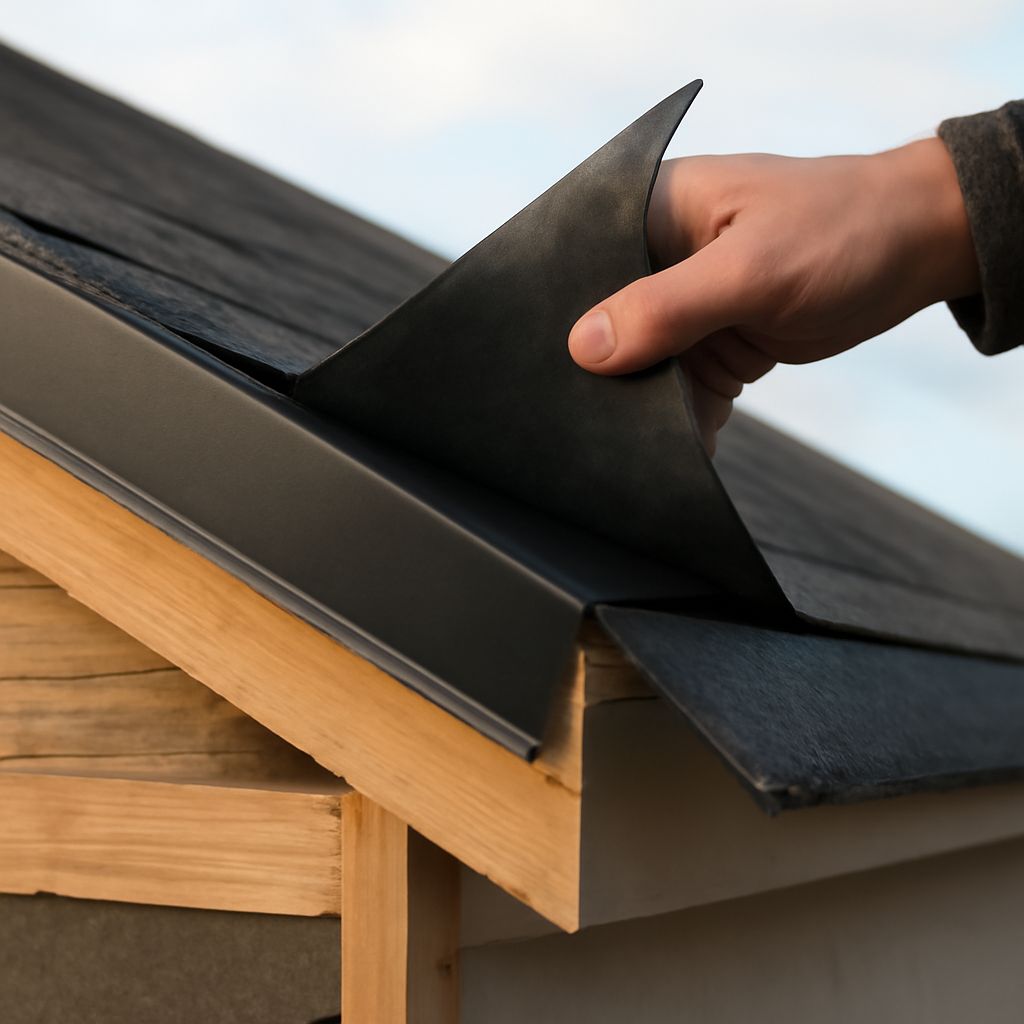
Fully adhered EPDM installation bonds the membrane to the substrate with contact cement applied to both surfaces. This method provides maximum wind uplift resistance and is the preferred approach for residential garages and smaller commercial roofs. Roll the membrane out dry to relax for 30 minutes, fold it back to expose the substrate, apply adhesive to both surfaces, wait for proper tack, then carefully unfold the membrane and smooth it without trapping air. Work from the center toward edges using a push broom.
Mechanically Fastened and Ballasted Options
Mechanically fastened EPDM systems secure the membrane at the perimeter and seams with metal plates and fasteners screwed into the deck. This is faster than fully adhered installation and suitable for large commercial roofs. Ballasted systems weighted with river rock or concrete pavers are the simplest to install and require no adhesive or fasteners, but add significant structural load and are only practical on roofs engineered for the weight. For most residential projects, fully adhered installation delivers the best combination of performance and simplicity.
EPDM Roofing Supplies: What You Need to Buy
Before starting any EPDM installation, assemble these essential EPDM roofing supplies: EPDM membrane in the correct width and thickness for your project, EPDM bonding adhesive matched to the manufacturer (using the wrong adhesive voids warranties), lap sealant for seam finishing and perimeter flashing, seam tape at least 6 inches wide for lap seams, termination bars and concrete screws for perimeter attachment, EPDM pipe boots or flashing boots for penetrations, primer for seams and flashings on some membrane brands, and a roller for pressing seam tape firmly to the membrane surface. Buy all supplies from the same manufacturer product line when possible since cross-brand compatibility issues are a leading cause of premature seam failure.
Common EPDM Roofing Problems and How to Fix Them
Even the best EPDM roofing membrane develops problems over decades. For seam separation, apply lap sealant to the lifted area and press the seam tape back down with a roller. For complete separations, cut a patch and use seam tape on all four sides. For punctures, clean the area with membrane cleaner, apply EPDM primer, and cover with a peel-and-stick EPDM patch at least 3 inches larger than the puncture on all sides. For shrinkage where EPDM contracts slightly over time and pulls flashings away from walls, apply additional termination bar and lap sealant at the pulled areas. For blistering (air pockets between membrane and substrate), cut an X into large blisters, press flat, and patch.
How Long Does EPDM Roofing Last?
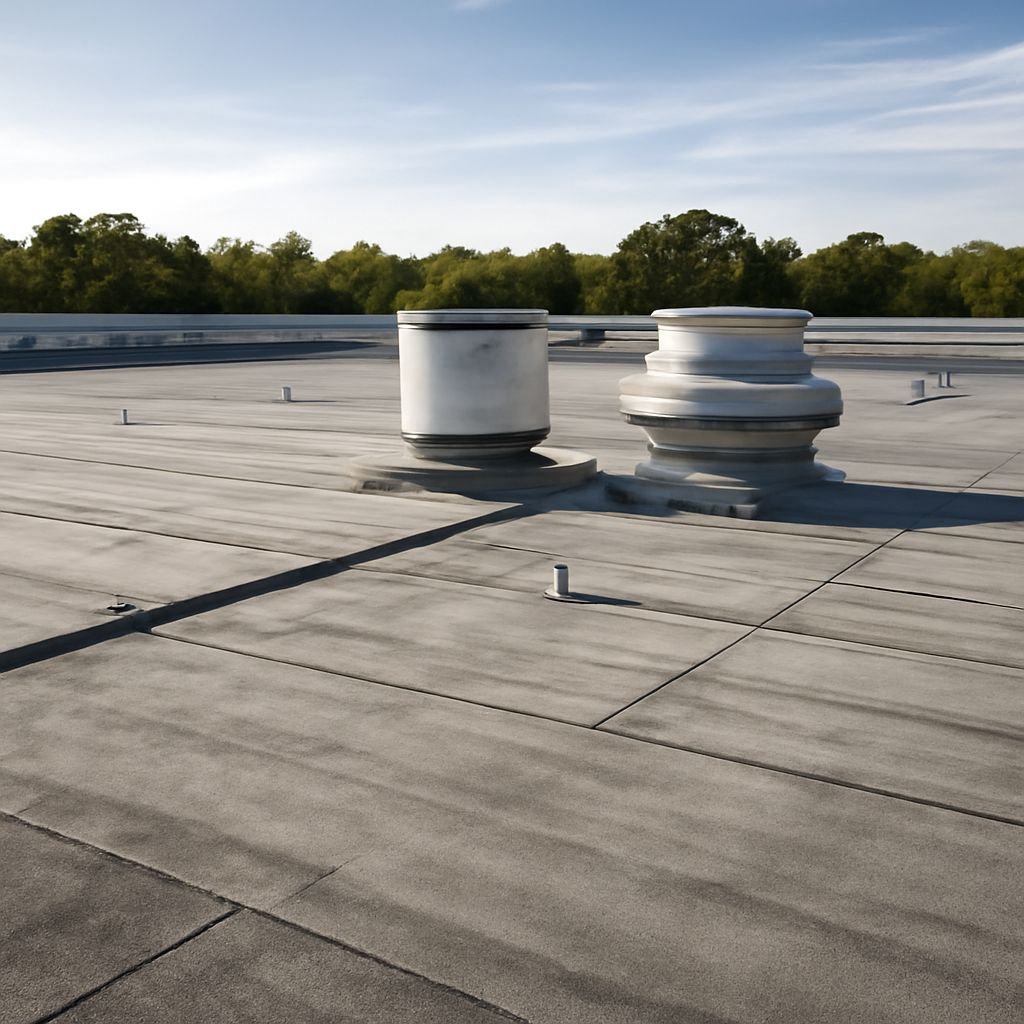
A properly installed EPDM roofing membrane lasts 25 to 30 years under normal conditions. The weakest link is typically seams and flashings, not the membrane itself. Inspect EPDM roofing annually, paying particular attention to seams, perimeter flashings, and areas around penetrations. Clear drains and scuppers of debris to prevent ponding water, which accelerates seam deterioration. With proper annual maintenance, some EPDM installations have remained leak-free for 40 years or more.
Key takeaways: EPDM roofing membrane is the most reliable single-ply flat roofing system for residential and light commercial use, with 60-mil being the recommended thickness for maximum longevity. Invest in manufacturer-matched EPDM roofing supplies, pay extra attention to seam construction, and schedule annual inspections to catch problems before they become leaks.