Rubber Roofing: Complete Guide to Membrane Roofing Installation
Rubber roofing has become the dominant solution for flat and low-slope roofs in both residential and commercial applications. Unlike traditional asphalt or built-up systems, membrane roofing provides a seamless or near-seamless waterproof layer that resists UV degradation, ponding water, and temperature extremes for 20 to 50 years with minimal maintenance. Understanding how membrane systems work and how to install them correctly makes the difference between a roof that lasts and one that leaks.
This guide covers what rubber roofing is, step-by-step rubber roofing installation, how to use rubber roofing for mobile homes, and how to select and purchase rolled rubber roofing for mobile homes or residential flat roofs.
What Is Rubber Roofing and How Does Membrane Roofing Work
Rubber roofing is most commonly made from EPDM (Ethylene Propylene Diene Monomer), a synthetic rubber compound derived from natural gas and oil. It comes in large sheets — typically 10 to 50 feet wide — that are rolled out over the roof deck and adhered either fully or at the perimeter and seams. Some systems use mechanically fastened membranes secured with plates and screws through the insulation layer.
EPDM membrane roofing is available in black and white. The black version absorbs heat, which can aid snow melt in cold climates. The white version reflects solar radiation, reducing cooling loads in warm climates by up to 10 to 15 percent. TPO is another popular membrane roofing option — heat-weldable, white, and increasingly cost-competitive with EPDM. For most DIY applications, EPDM is preferred because it uses adhesive-bonded seams rather than heat-welding equipment.
Rubber Roofing Installation: Step-by-Step Process
Installing rubber roofing correctly requires careful surface preparation and attention to seams and terminations:
- Inspect and repair the deck: Replace any soft, rotted, or uneven sheathing. The surface must be smooth, dry, and free of fastener heads that could puncture the membrane.
- Install insulation: Polyiso or EPS foam insulation boards raise the R-value and provide a clean substrate. Secure them with adhesive or mechanical fasteners.
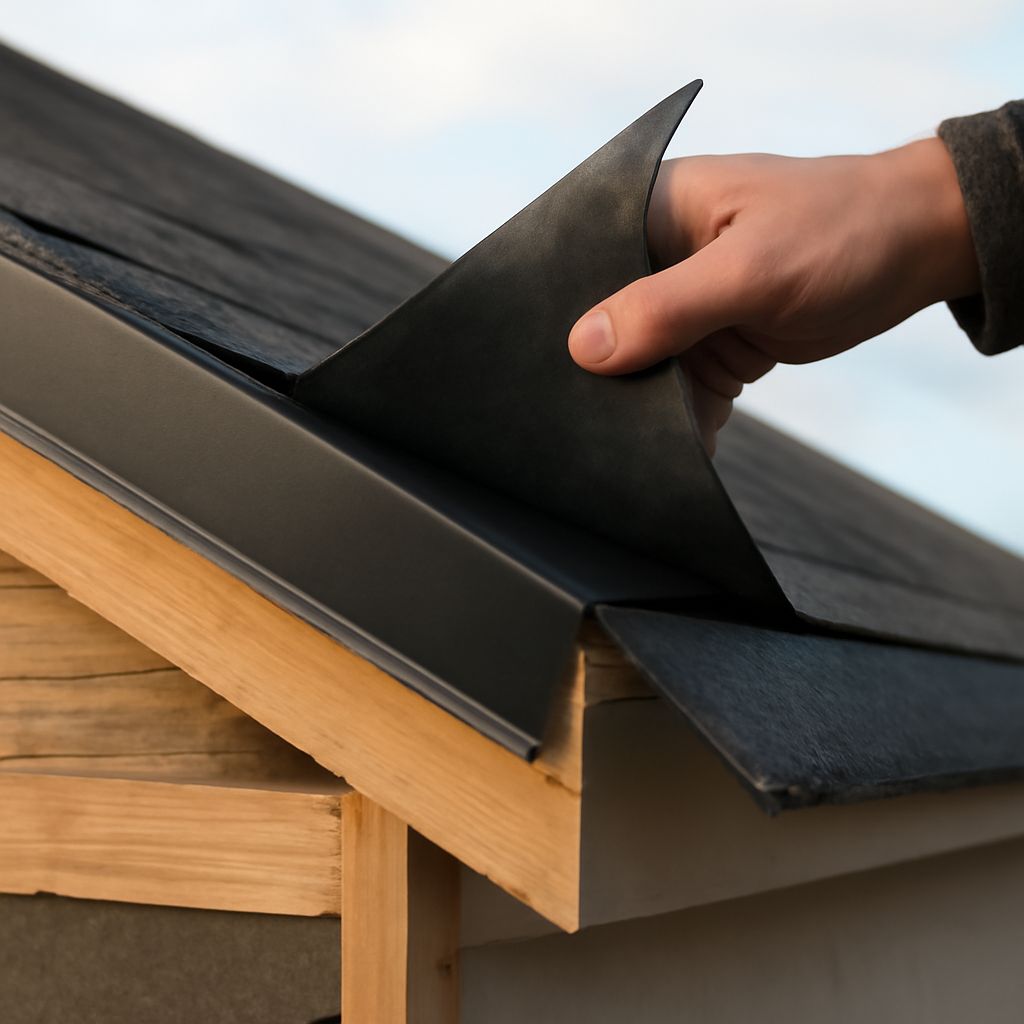
- Roll out the membrane: Unroll your EPDM sheet and let it relax flat for 30 minutes before adhering. Overlap adjoining sheets by at least 3 inches.
- Apply adhesive: Roll bonding adhesive onto both the membrane underside and the substrate in sections. Allow it to get tacky before pressing the membrane down.
- Seal seams: Apply EPDM seam tape or splice adhesive to all overlapping seams. Roll firmly with a hand roller to ensure complete bond.
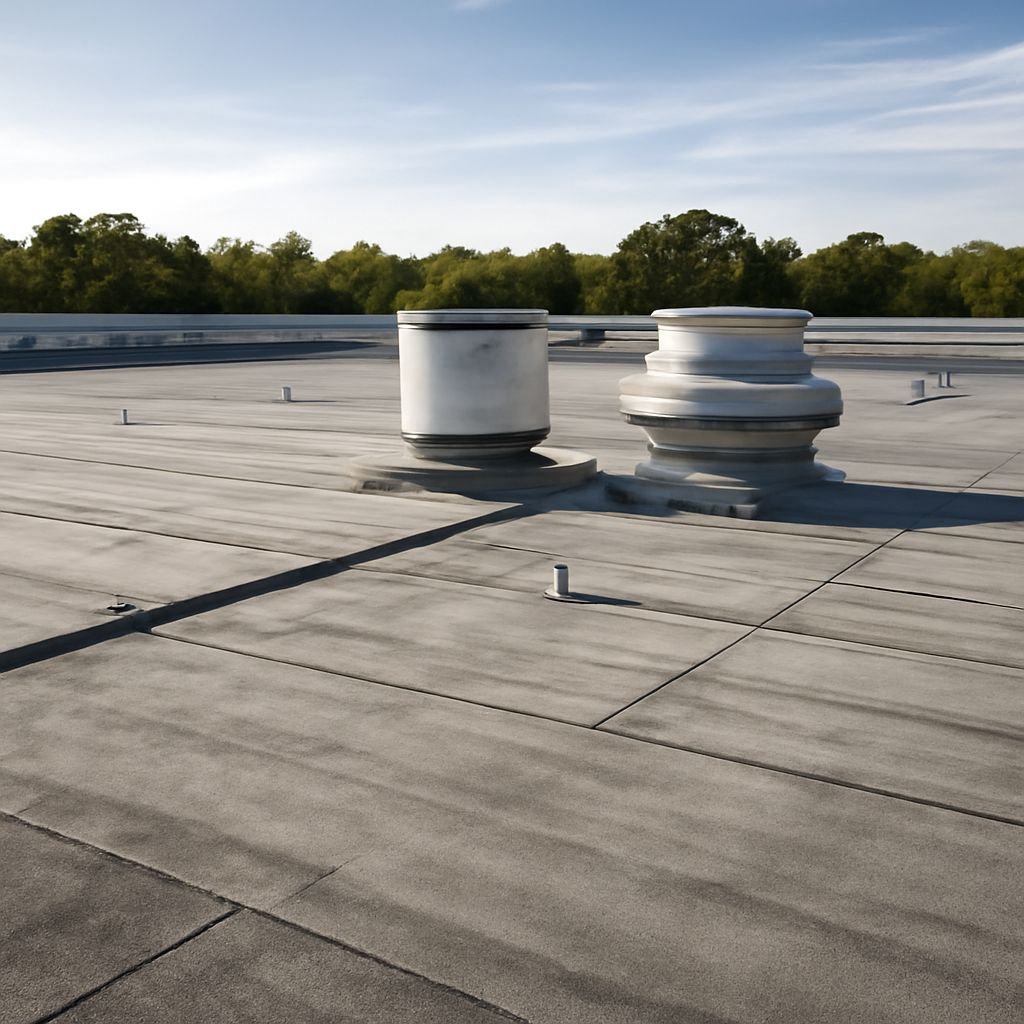
- Flash terminations: Use EPDM flashing and lap sealant at all edges, penetrations, drains, and curbs. These are the most common leak points.
Rubber Roofing for Mobile Homes: Key Considerations
Using rubber roofing for mobile homes addresses the unique challenges these structures present. Mobile home roofs are often metal or thin wood decking with minimal slope — conditions where asphalt shingles perform poorly but EPDM membrane excels. The lightweight nature of rubber membranes also avoids structural stress that heavier roofing materials can cause on older mobile home frames.
Before installing, inspect the existing roof for soft spots, rust on metal roofs, and existing penetrations for vents and AC units. All penetrations need custom flashing collars to prevent water intrusion. Mobile home EPDM kits are available from roofing suppliers and include pre-cut membrane, adhesive, seam tape, and flashing materials sized for standard mobile home widths of 14 and 16 feet.
Choosing and Buying Rolled Rubber Roofing
Selecting the right rolled rubber roofing for mobile homes or residential flat roofs means matching membrane thickness to application. Standard 45-mil EPDM suits most residential projects. High-traffic rooftop decks benefit from 60-mil membrane, which resists punctures from furniture and foot traffic more reliably.
Purchase your membrane from a roofing supply distributor rather than a home improvement big-box store when possible. Commercial suppliers stock wider rolls, more adhesive options, and accessories like pipe flashings and drain rings. For a typical 14 by 70-foot mobile home, a 14 by 72-foot roll leaves minimal waste and eliminates seams.
Next steps: Measure your roof carefully, allowing 6 inches of overhang on each side for termination. Order materials including membrane, bonding adhesive, seam tape, lap sealant, and termination bar. For roofs larger than 2,000 square feet or those with complex penetrations, consult a licensed roofing contractor to ensure proper drainage slope and flashing design.