DIY Blown In Insulation: How to Blow In Insulation in Walls and Attics
DIY blown in insulation has become one of the most accessible home improvement upgrades available since many big-box stores loan or rent the blowing machine free when you buy a minimum quantity of material. Whether you want to learn how to blow in insulation into an attic in an afternoon or need a plan for blowing insulation into existing walls without gutting your interior, this guide covers both scenarios step by step.
You will learn the differences between cellulose and fiberglass options, how to blow in insulation in walls of older homes through small drill holes, and how to blow insulation into walls safely without creating dust hazards or blocking critical air pathways.
Why DIY Blown In Insulation Is Worth Considering
Where Blown-In Works Best
Blown-in insulation excels at filling irregular spaces that batts cannot reach: attic floors with complex framing, existing wall cavities in older homes, around obstructions like pipes and blocking, and in hard-to-access crawlspace areas. It settles into every gap and void, eliminating the air pockets that batts commonly leave at corners and edges. For an attic with an accessible hatch, a DIY blown insulation project can be completed in a single day and often cuts heating and cooling costs by 15 to 30 percent.
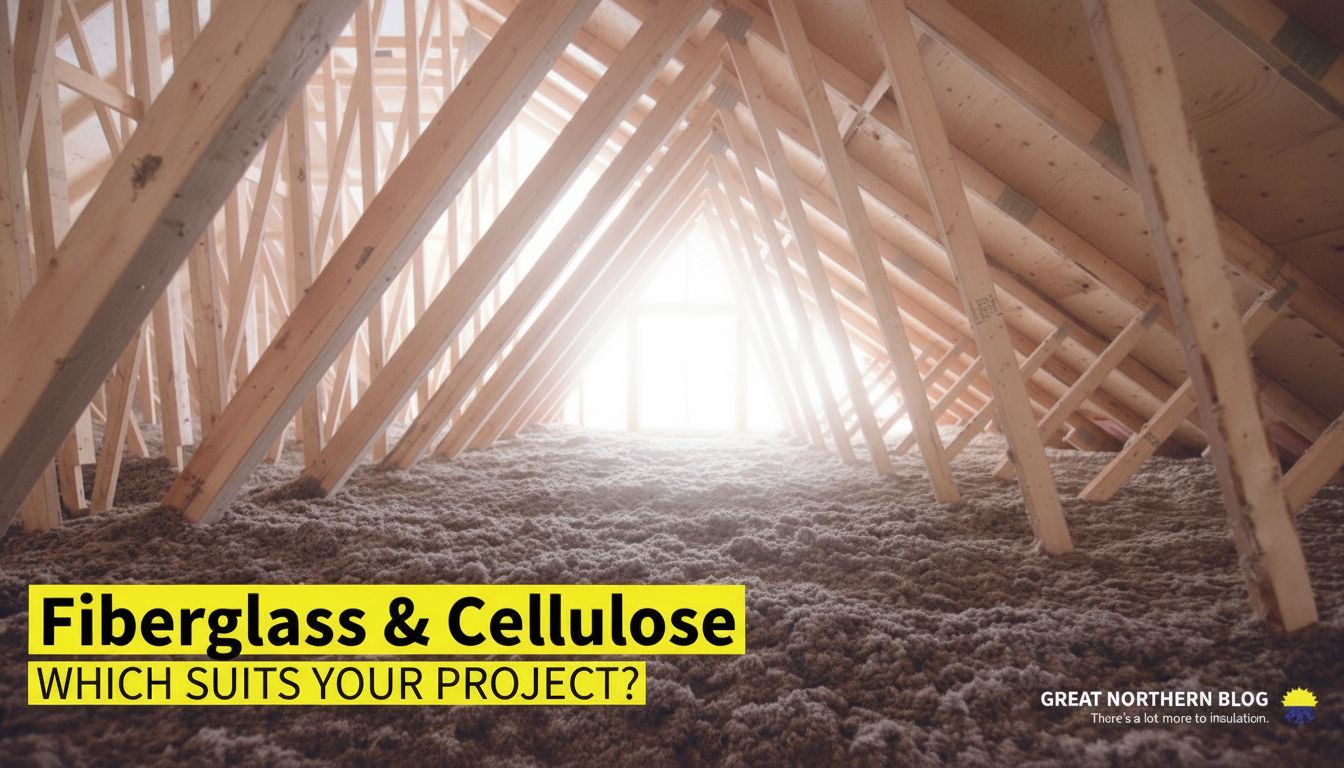
Comparing Cellulose vs. Fiberglass Blown Insulation
The two common blown materials are cellulose (recycled paper with borate fire retardant) and loose-fill fiberglass. Cellulose offers a higher R-value per inch (R-3.2 to R-3.8 vs. fiberglass R-2.2 to R-2.7), settles more densely into wall cavities, and is the standard choice for blowing insulation into existing walls. Fiberglass is lighter, does not settle as much over time, and may cause less irritation for some installers. Both perform well in attics; cellulose is generally preferred for dense-packing closed wall cavities.
Tools and Materials You Need
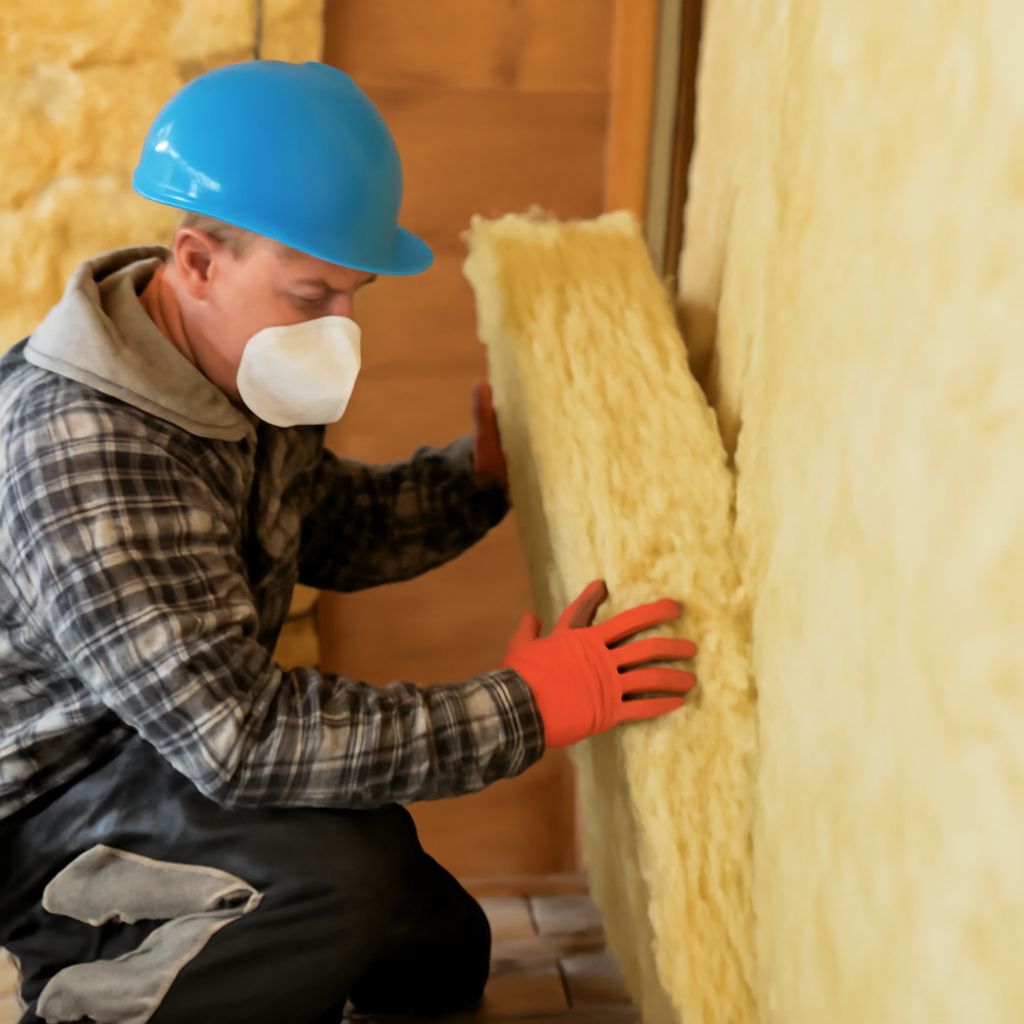
To tackle a DIY blown in insulation project you will need a blowing machine (rented or borrowed from the retailer), flex fill hose extensions, a fill tube for wall cavity work, safety glasses and N95 or P100 respirator, a Tyvek suit or old clothes you do not mind discarding, a depth ruler or R-value chart specific to your product, and a drill with a 2-inch hole saw for wall applications. For attics, a simple depth gauge stick lets you verify you have reached your target R-value, which is R-38 to R-60 for attic floors in most climate zones.
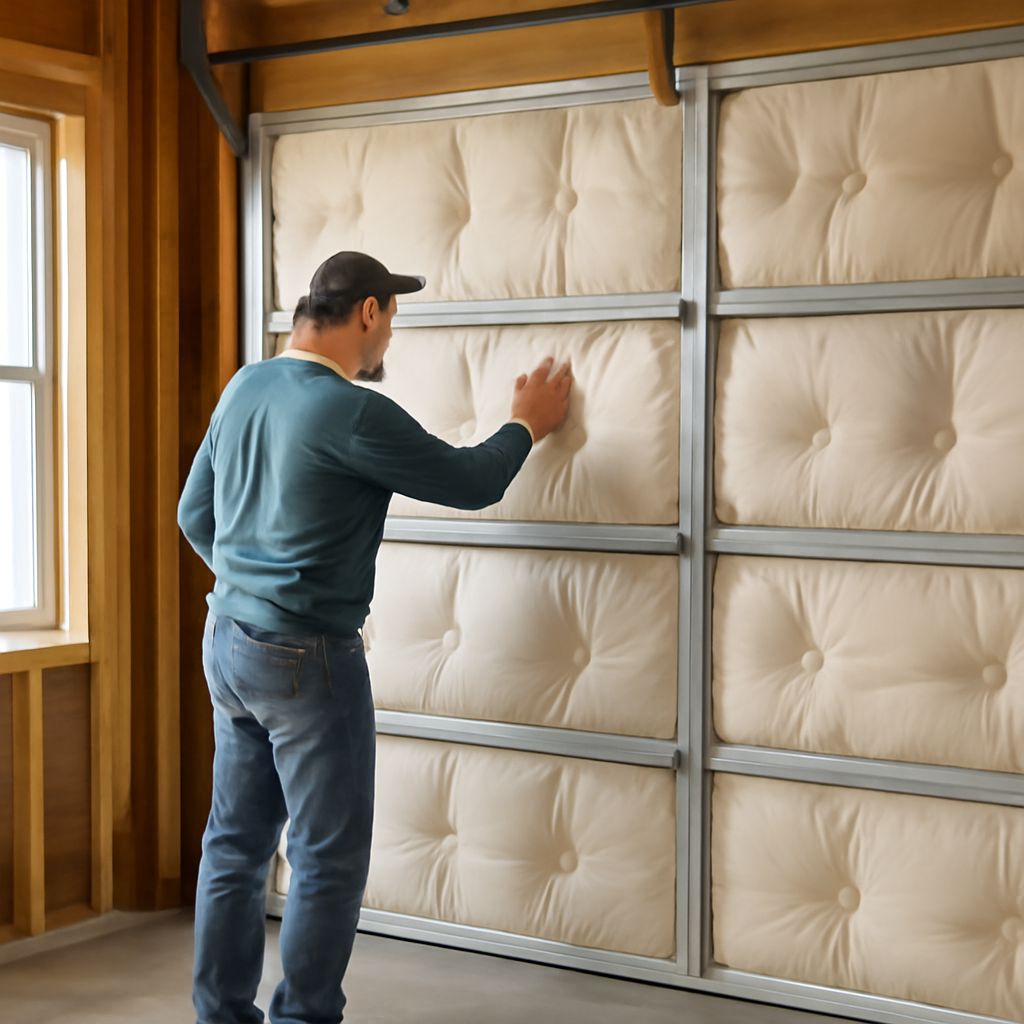
How to Blow In Insulation in Walls: Step-by-Step
Preparing Wall Cavities
Learning how to blow in insulation in walls requires locating each stud cavity accurately. Use a stud finder to map the framing, then drill one 2-inch hole per cavity, typically 12 inches below the top plate. Check for fire blocking (horizontal blocking mid-wall in older two-story homes) since if blocking is present, you will need a second hole below it to fill the lower half of the cavity separately. Insert the fill tube fully to the bottom of the cavity before starting the machine.
Filling Cavities and Patching
With the machine running and the fill tube fully inserted, slowly withdraw the tube as the cavity fills from the bottom up. This dense-pack technique compresses the material against the framing and dramatically reduces air movement through the wall. Target a density of 3.5 to 4 pounds per cubic foot for wall cavities. Once the hole resistance increases, which you will feel in the tube, the cavity is full. Patch the drill holes with a backing strip and drywall compound, or use pre-made plug kits designed for this application.
Blowing Insulation into Existing Walls Without Major Demo
Blowing insulation into existing walls from the interior is possible but requires patching multiple holes per wall. Many DIYers prefer working from the exterior: removing a row of siding, drilling through the sheathing, blowing each cavity, plugging, and replacing the siding. This approach leaves no interior damage to repair. If your home has original wood siding with no sheathing, consult a building performance contractor since the air-sealing and moisture management details are more complex and affect whether blown insulation is the right choice.
Safety and Common Mistakes
The biggest safety concern when you blow insulation into walls or attics is dust inhalation. Always wear your respirator before starting the machine, not after the dust is already in the air. Seal HVAC returns and supply registers in the work area with plastic sheeting since blown material that enters your ductwork ends up recirculating through your home. Do not insulate over attic soffit vents or block ridge vent pathways since maintaining the ventilation channel between insulation and the roof deck is critical for preventing moisture buildup and ice dams.
Bottom line: Knowing how to blow insulation into walls and attic floors is a genuinely DIY-friendly skill that pays for itself in energy savings within a few years. Rent the machine, wear your respirator, dense-pack wall cavities properly, and leave ventilation pathways clear, and your installation will perform as well as a professional job.