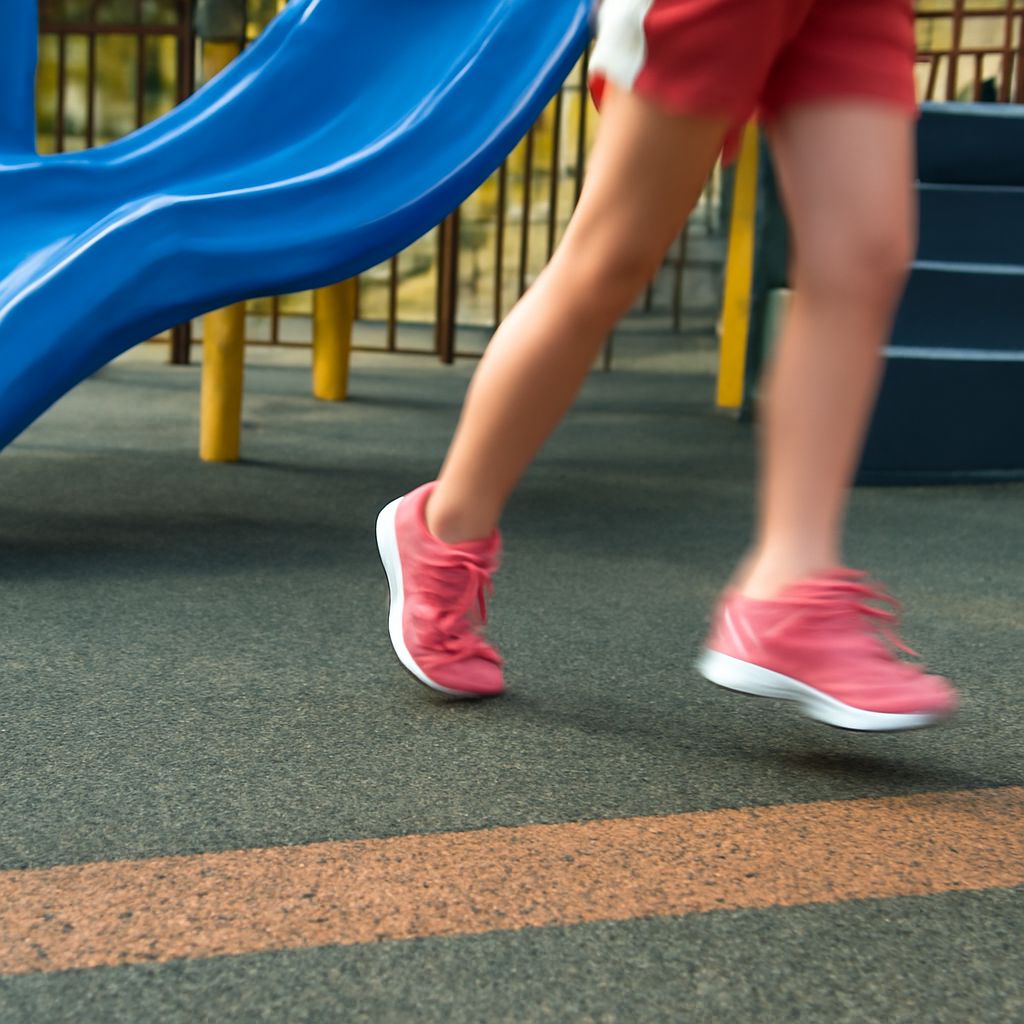
Start by measuring the play equipment, the space around it, and the ground that will carry the surface. Flooring for a playground needs room for the landing area as well as the equipment footprint. Rubber flooring for a playground can come as tiles, a poured layer, or loose pieces; each asks something different of the base and the person maintaining it.
For elevated equipment, find the fall height in the equipment instructions and match it to the tested surface system and installed thickness. The CPSC home playground handbook explains fall height and recommends extending protective surfacing at least 6 feet in all directions around most equipment, with more space for swings and some slides. Mark those boundaries before you price material. A narrow strip under a slide will leave part of the landing area uncovered.
Rubber Playground Flooring: Three Ways to Build the Surface
Tiles form a surface from individual manufactured pieces. Poured-in-place systems bind rubber granules into a continuous layer on site. Loose rubber mulch spreads inside a retaining border. Each can serve a backyard, but the product and its installed depth matter more than the category name.
Rubber playground flooring in tile form suits a defined area where you want a relatively even surface and the option to replace individual pieces. Playground rubber flooring poured on site can follow an irregular outline and leave fewer joints to inspect. Rubber outdoor flooring sold for patios or gyms may be comfortable underfoot, but comfort alone does not establish its suitability beneath elevated play equipment.
For rubber flooring for playgrounds, ask the supplier for impact-test information for the particular product, thickness, and proposed base. Compare the stated critical height with the equipment’s fall height; also ask whether the report covers the complete installed system. Keep the product instructions and test information with your equipment records so replacement material can be matched later.
Prepare the ground and move water
Before installing outdoor rubber flooring, watch the site after a hard rain. If water stands there, redirect runoff and solve the drainage problem before you cover the ground. Check where water will go at the low edge, and keep it away from the house foundation. A surface with openings cannot drain well if the layer beneath holds water.
Many tile systems require a firm, level, prepared base; some specify concrete or asphalt, while others allow a compacted aggregate base. Follow the chosen product’s base and slope requirements. Scrape away roots and soft soil, compact the specified layers, and check the plane with a long straightedge. Depressions can leave tiles rocking or collect water at joints.
Poured systems also need the base, drainage, temperature, and curing conditions specified by the installer and manufacturer. The crew mixes and lays the material on site; rain or an unsuitable substrate can interrupt the work. Ask for a written scope covering excavation, base, edge details, thickness, and curing time. Flooring made of rubber for a playground is only as orderly as the ground and edge that hold it.
Loose fill needs a different kind of preparation. Set a border that retains the material without creating an exposed hard edge in the landing area. Provide drainage below the fill and account for the depth needed at the finished surface. The CPSC’s public playground handbook notes that standing water can reduce the effectiveness of loose fill. Avoid untested recycled-tire rubber mulch for toddlers who mouth objects; the handbook advises against loose fill for children who frequently do so.
Plan the installation and upkeep
Tiles can be laid yourself only when the manufacturer permits that installation and the base is ready. Dry-fit tiles from a straight reference edge, follow the specified joining method, and trim perimeter pieces with the recommended tool. Leave any movement gaps required by the instructions. Check that cut edges stay supported and that joints sit flush.
For a poured surface, get a quote that includes preparation and access for equipment, not just the visible top layer. Repairs may require a skilled installer to cut out and bond a damaged patch. Ask how a patch will age beside the original surface and whether the same material and color will be available later.
Rubber flooring for playgrounds in loose form is simpler to spread and replenish, but it travels under running feet. Rake material back beneath swings and slide exits, remove debris, and use depth marks on supports or a measuring stick to spot thin areas. The CPSC home guide recommends maintaining 9 inches of loose fill, including shredded rubber, for equipment up to 8 feet high; use the product’s tested specifications and equipment instructions when choosing the actual system.
Account for sun, wear, and access
In direct sun, dark surfaces can become hot. Feel the surface with your hand before play and provide shade or choose a cooler time when it is uncomfortable. Ask for samples and compare them in the intended location; color, exposure, and local weather all affect the result. A light-colored sample is worth testing alongside a darker one, rather than choosing from a catalog alone.
Sweep leaves and grit off outdoor rubber flooring made of tiles or a poured surface, and follow the manufacturer’s cleaning instructions. Inspect seams, edges, cracks, and worn patches regularly, especially after winter. Lifted tiles need resetting or replacement; exposed base or thinning loose fill calls for repair before the next play session. Rubber flooring for a playground also needs a clear route to the equipment: a firm, even surface is generally easier to roll across than shifting loose pieces, though access depends on the specific installation and its condition.
For a firm, drained base choose a tile or poured system approved for that base; for a well-drained bordered area where regular raking is practical, choose loose rubber at the specified depth.