J Channel Siding: A Complete Guide for Homeowners
When it comes to achieving a polished and seamless look for your home’s exterior, understanding the role of siding components is crucial. Among these elements, the J channel stands out as a key player. This guide will delve into the different facets of j channel siding, from its various types to installation tips and maintenance strategies. Whether you are considering j channel for metal siding or exploring options for j channel vinyl siding, understanding how to install j channel under existing siding can enhance your home’s appearance while ensuring durability. This comprehensive guide will also address the maintenance and care required for siding j channel, enabling you to keep your home looking its best.
Understanding the Purpose of J Channel Siding
What is j channel siding?
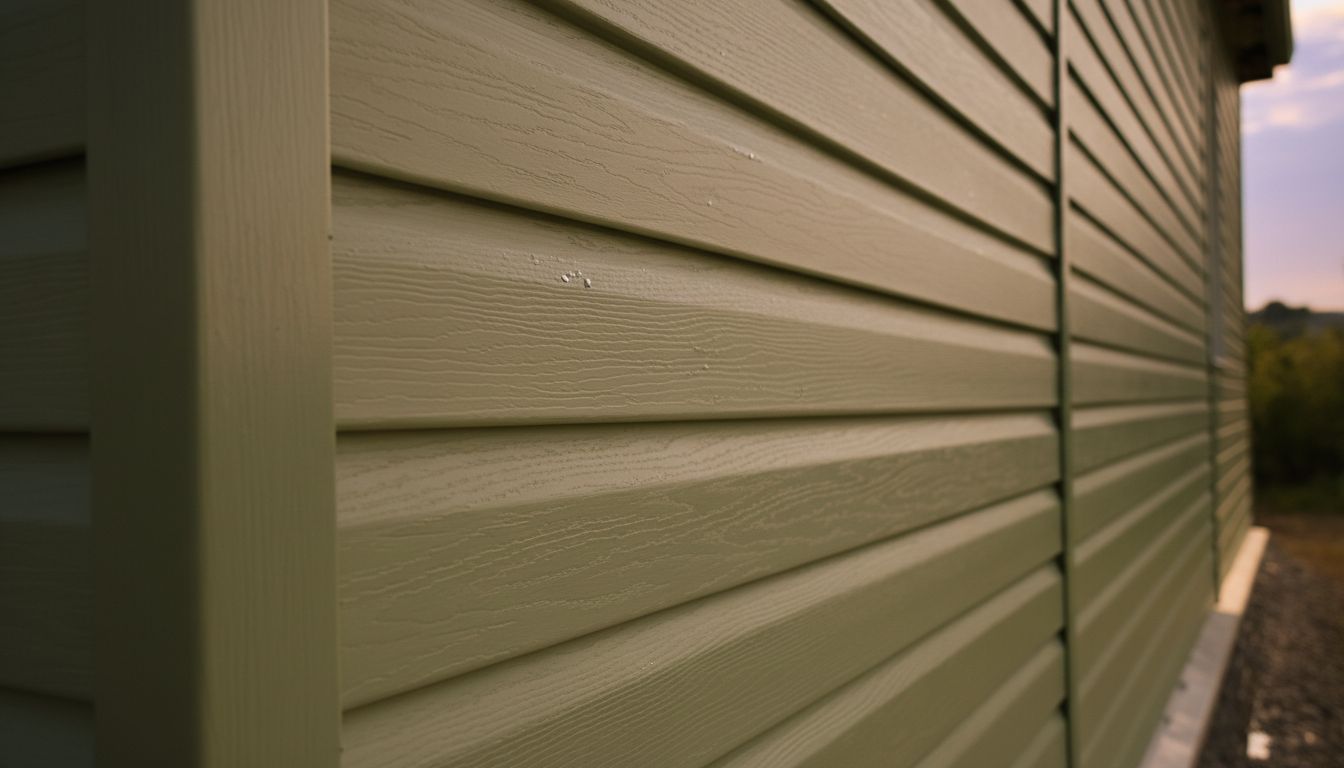
J channel siding is an integral part of your home’s exterior system. It serves as a trim component that holds the edges of siding panels in place, ensuring a clean, finished look. By creating a decorative border, the j channel also provides a pathway for water runoff, which helps prevent leaks and damage.
Different types of j channel
There are several types of j channels available, each designed for specific applications. The most common types include metal, vinyl, and aluminum j channels. Metal j channels are known for their strength and durability, while vinyl options offer flexibility and ease of installation. Aluminum j channels provide a blend of strength and lightweight properties, ideal for various siding projects.
J Channel for Metal Siding
Benefits of using j channel for metal siding
Using j channel for metal siding offers numerous advantages. It not only enhances the aesthetic appeal of your home but also improves the functionality of your siding system by preventing moisture infiltration. Additionally, it aids in creating a seamless transition between siding and other components, such as windows and doors.
Common issues and solutions
Despite its benefits, homeowners may encounter some challenges with j channel for metal siding. Common issues include misalignment and gaps that could lead to water damage. Addressing these can involve regular inspections, ensuring correct installation, and timely repairs when necessary.
How to Install J Channel Under Existing Siding
Tools and materials needed
Before beginning installation, gather essential tools and materials. You will need a utility knife, measuring tape, level, hammer, nails, and j channel pieces appropriate for your siding material. Safety goggles and gloves are also recommended for protection during the process.
Step-by-step installation guide
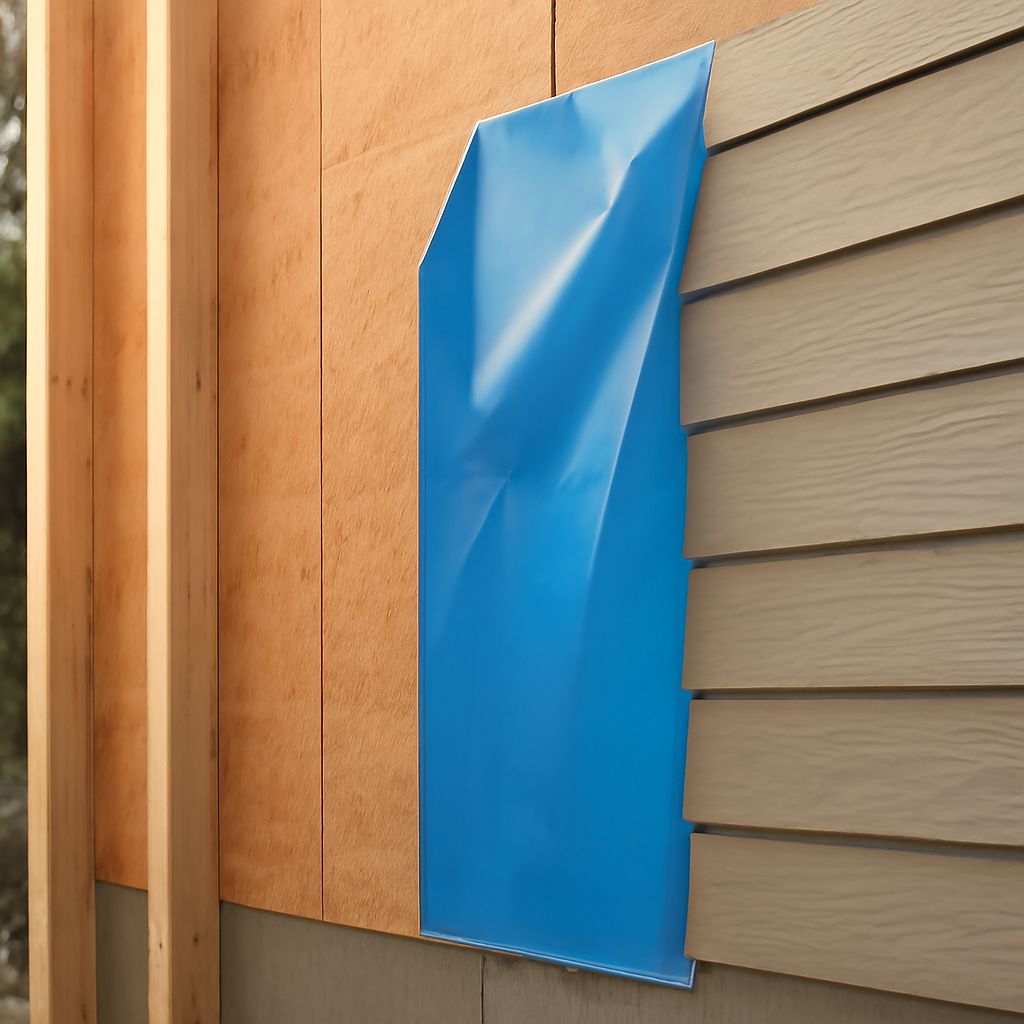
To install j channel under existing siding, start by carefully measuring the area to ensure precise cuts. Next, cut the j channel to fit and gently slide it into place, securing it with nails or screws. Make sure the channel is level before proceeding to the next section. Repeat the process until all necessary areas are covered.
Safety tips and best practices
Following safety protocols is crucial during installation. Wear appropriate safety gear and ensure your workspace is free from hazards. Additionally, it’s best to consult with a licensed professional if you are unsure about any aspect of the installation process, especially when dealing with complex structures or repairs.
J Channel Vinyl Siding: Features and Installation
Key features of j channel vinyl siding
J channel vinyl siding is popular for its flexibility and ease of installation. It is resistant to weather elements and provides a long-lasting finish. This type of siding is available in various colors and styles, allowing homeowners to match their design preferences.
Installation process for vinyl siding
Installing j channel vinyl siding involves similar steps to metal siding, with emphasis on precision and alignment. Begin by cutting the vinyl j channel to the required length, then position it under the existing siding. Secure it firmly, ensuring a snug fit to prevent water ingress and maintain your home’s aesthetic.
Maintenance and Care for Siding J Channel
Routine inspection and cleaning
Regular maintenance is essential in prolonging the life of your siding j channel. Conduct routine inspections to check for any signs of wear or damage. Cleaning your j channels periodically with mild detergents can also prevent buildup of dirt and debris.
Repairing and replacing j channel
If you identify damage or wear during an inspection, it might be necessary to repair or replace the affected j channel sections. This can involve removing the damaged piece and securing a new one in its place. For severe damage, consulting a professional is recommended to ensure proper repairs are made.
Next Steps
Maintaining your j channel siding is not a one-time event but a continual process. Regular inspections and prompt repairs will keep your home’s exterior looking pristine and functioning optimally. By adhering to these guidelines, you ensure that your home remains protected and visually appealing for years to come.