When it comes to ensuring your wall installations are secure and durable, metal drywall anchors prove to be indispensable. Whether you’re hanging a picture, mounting a television, or installing shelves, selecting the right metal drywall anchors can make all the difference in achieving a stable result. Meanwhile, for those quick patch-ups and seamless finishes, hot mud drywall offers a rapid yet effective solution. Focusing on essential techniques like mastering the drywall butt joint is crucial for creating flawless interior surfaces. Discover how these elements come together to form the foundation of a professional-grade finish.
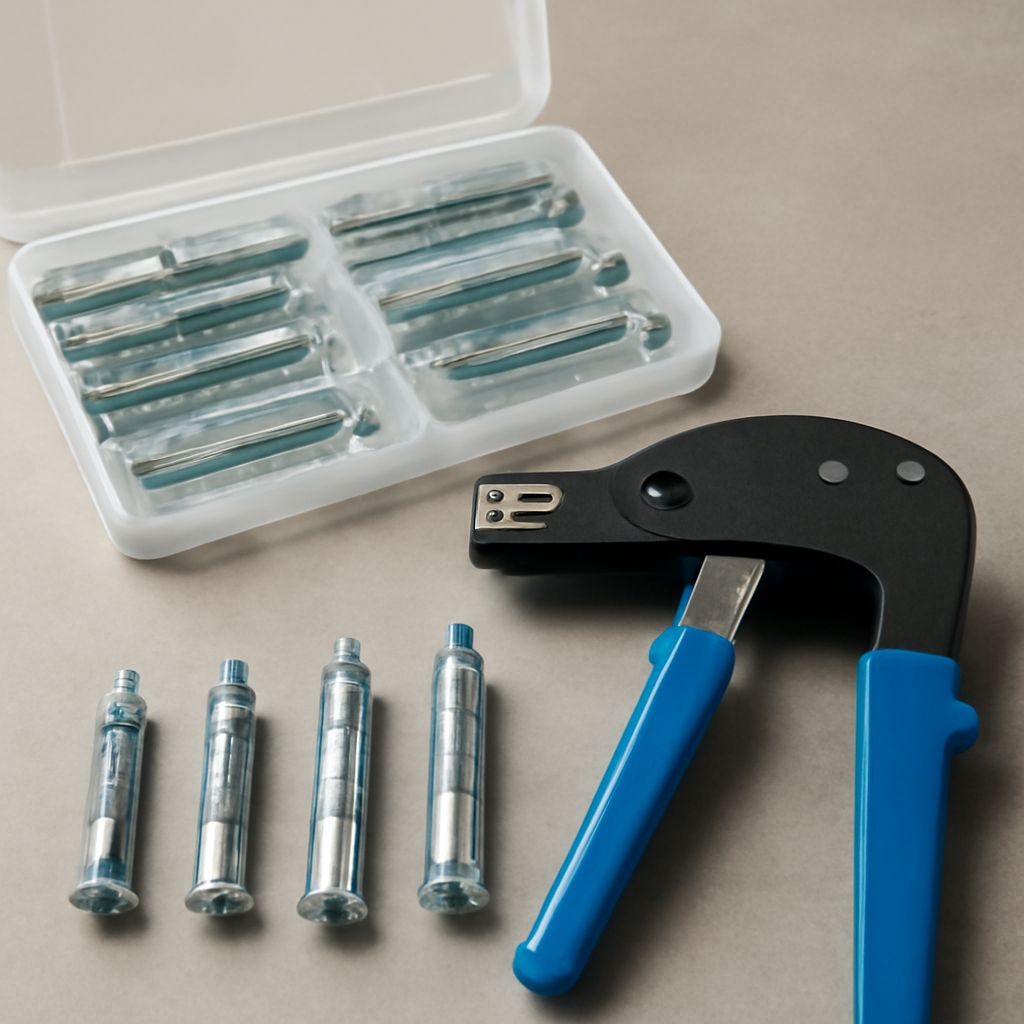
Understanding metal drywall anchors
Types of metal drywall anchors
Metal drywall anchors are designed to support various weights depending on the type used. Expansion anchors are ideal for lighter loads, while toggle bolts can handle heavier items. Molly bolts, another variety, provide excellent support for medium-weight fixtures. Each type of anchor serves a different purpose, so it’s essential to choose the one that suits your specific installation needs.
When to use metal drywall anchors
Metal drywall anchors should be used when you need to hang items on drywall without the support of a stud. They are perfect for situations where drilling into wood isn’t feasible. These anchors ensure a secure hold by expanding behind the drywall, which distributes the weight more evenly across the surface.
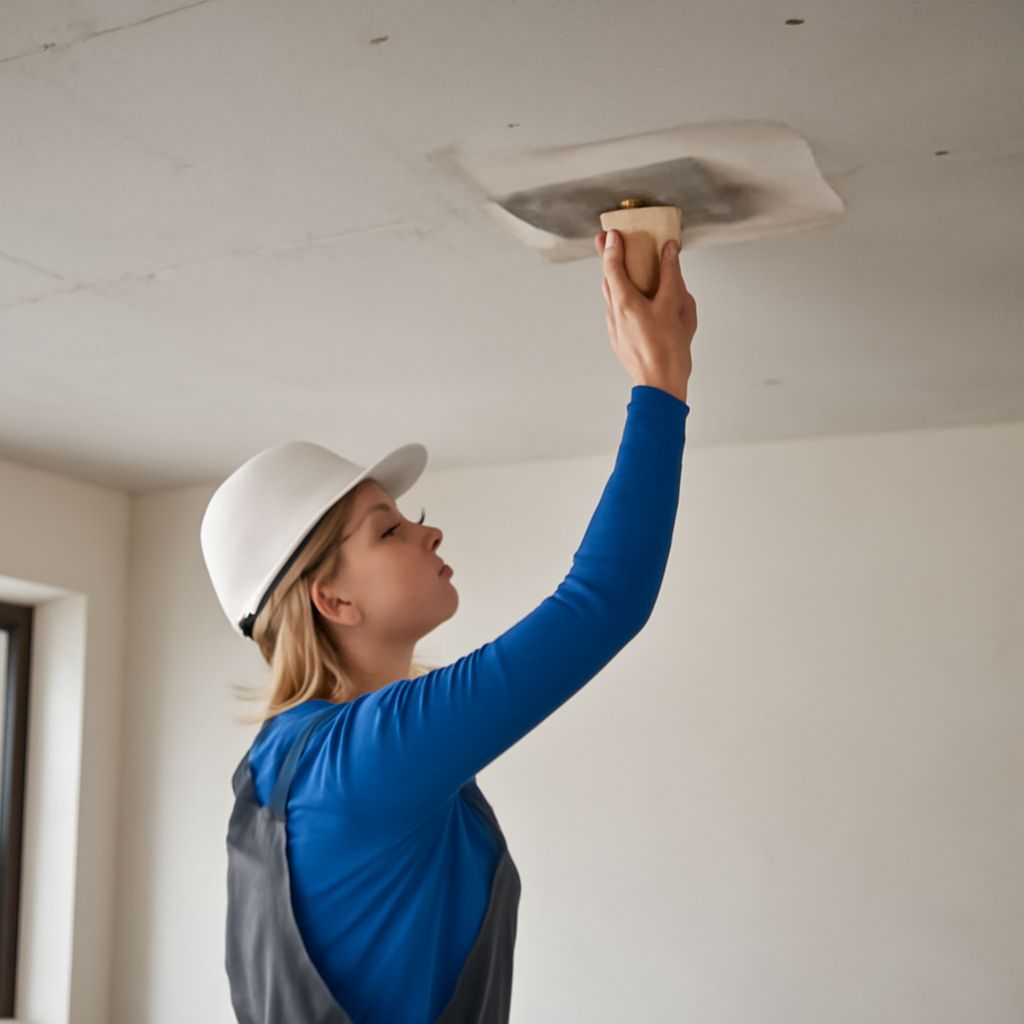
Hot mud drywall: quick and efficient solutions
Benefits of using hot mud drywall
Using hot mud drywall can significantly speed up your repair process. Its fast-drying properties allow you to complete projects more quickly than with traditional joint compounds. This rapid setting time makes it ideal for quick repairs, allowing you to apply multiple coats in a single day. Additionally, hot mud provides a stronger bond, reducing the risk of future cracking.
Application tips for hot mud drywall
When applying hot mud, mix only the amount you can use within the working time, typically around 20 to 90 minutes depending on the type. Apply it with a broad knife for an even spread, and avoid overworking the compound, which can cause it to set unevenly. Always ensure your surface is clean and dust-free before application for the best results.
Perfecting the drywall butt joint
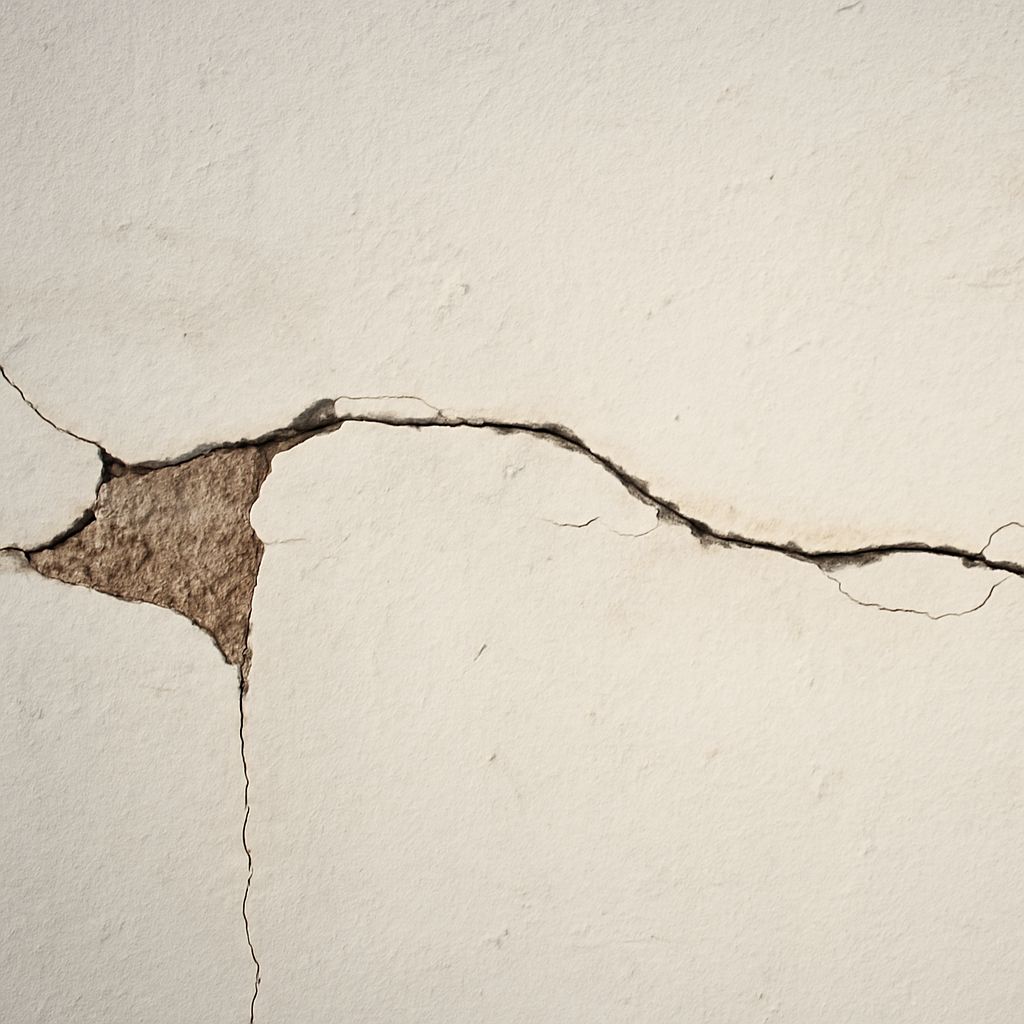
Common mistakes in drywall butt joints
A frequent error in creating drywall butt joints is failing to feather the edges sufficiently, leading to visible seams. Another mistake is using excessive compound, which can create bulges. Insufficiently securing the drywall panels can also result in movement, causing cracks along the joints.
Techniques for seamless butt joint drywall
To achieve a seamless drywall butt joint, begin by staggering your panels to avoid creating a continuous seam. Use a wide taping knife to feather the joint compound beyond the edges of the joint to blend it with the wall. Sand gently between coats to maintain a smooth surface, and ensure each layer dries completely before applying the next.
Professional tips for butt joint drywall installation
Tools needed for butt joint drywall
You will need a variety of tools for an efficient drywall installation. Essential tools include a taping knife, a mud pan, a drywall saw, and a sanding block. For applying hot mud, consider using a hawk and trowel for greater control.
Step-by-step guide for butt joint installation
Begin your installation by cutting the drywall sheets to size, ensuring a snug fit. Secure the panels to the studs using screws, being careful not to over-tighten. Apply the first coat of joint compound to the seams, embedding the tape in the mud. Smooth the surface with a taping knife and let it dry. Repeat with additional layers, extending the compound each time to create a seamless transition. Sand between coats to achieve a perfectly smooth finish.
Safety recap: Always wear safety goggles when cutting drywall or drilling for metal anchors. Use a dust mask when sanding joint compound to avoid inhaling particles. For any complex projects or if you’re unsure about any installation steps, consulting a licensed contractor or stylist is advisable.