Pink Grout: Add a Splash of Color to Your Tile Projects
Transforming your space with color can be as simple as selecting the right grout for your tile projects. Pink grout offers a unique opportunity to infuse personality and vibrancy into your designs, making them truly stand out. Whether you’re working with glass tile grout or need guidance on the best grout mix, incorporating pink tones can enhance your aesthetic appeal and create a warm, inviting atmosphere.
In this guide, we’ll explore how to effectively use a grout spreader, mix the perfect grout blend, and choose the ideal glass tile grout for your needs. We will also cover maintaining your glass grout to ensure it remains as stunning as the day it was applied. Prepare to unleash your creativity and boost your home’s charm with pink grout.
Why Choose Pink Grout for Your Home?
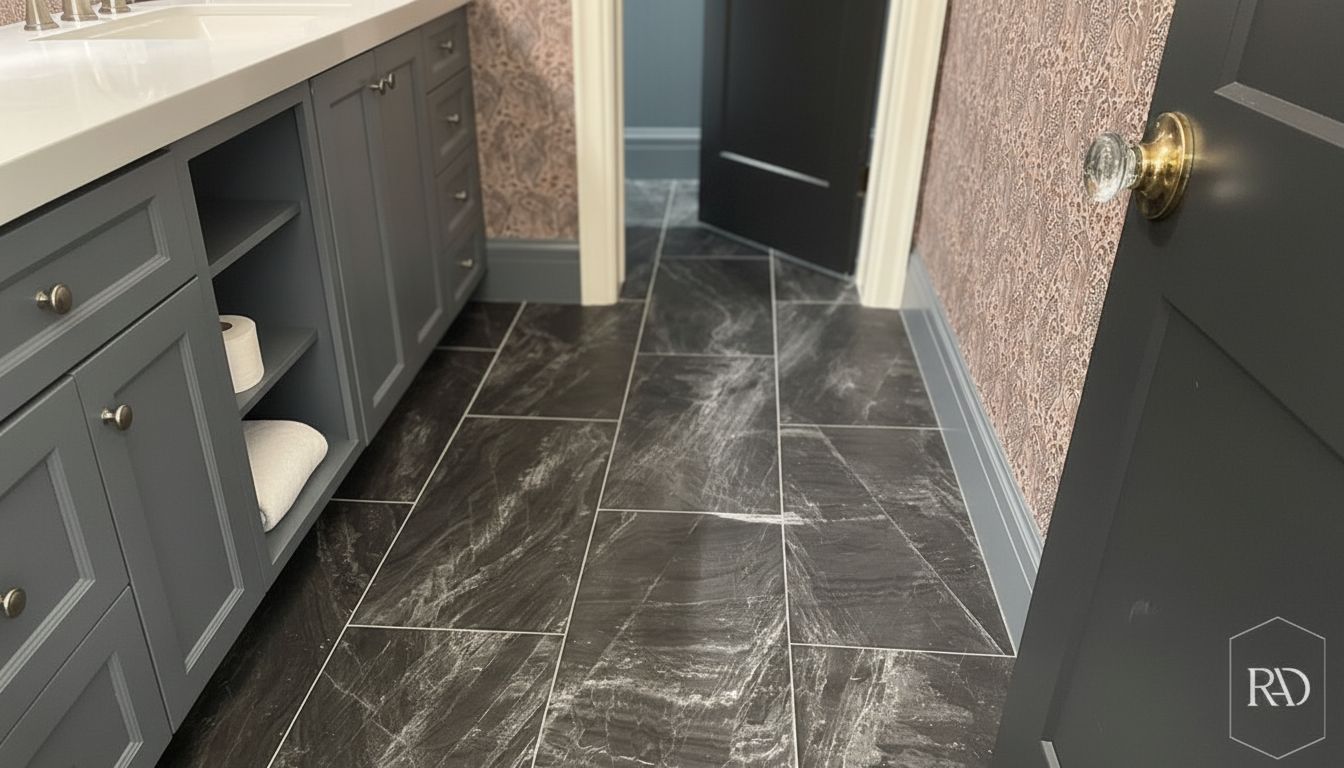
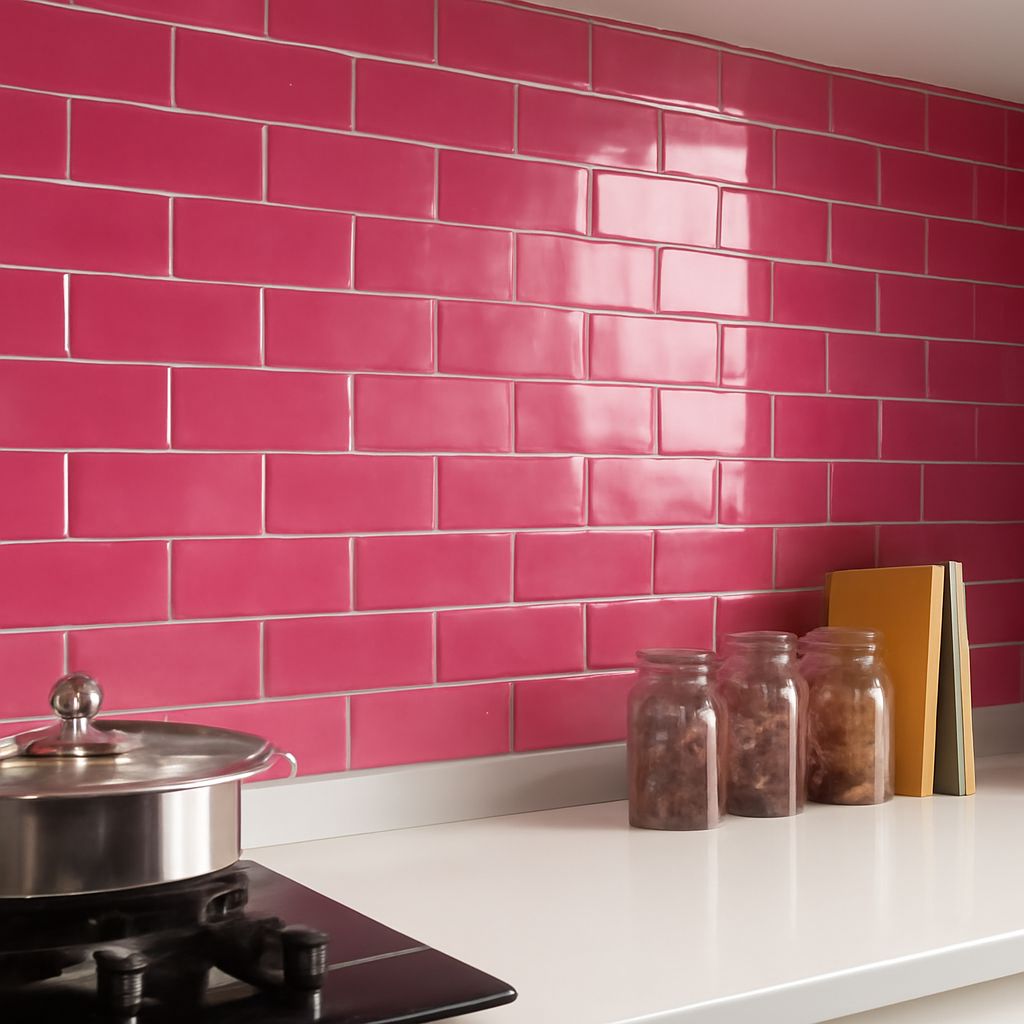
Pink grout is an excellent choice for homeowners looking to add a touch of sophistication and warmth to their interiors. It can turn ordinary tiles into a stylish statement piece. The subtle blush of pink can complement a variety of color schemes, from neutral tones to more vibrant palettes. This choice of colorful grout can breathe new life into your kitchen backsplashes, bathroom floors, or tiled accent walls.
Moreover, using pink grout can be an effective way to unify disparate tile designs throughout your home. The cohesion that a consistent grout color brings helps create a seamless visual flow, enhancing the overall design aesthetic. Choosing pink grout not only highlights the intricate designs and patterns of your tiles but also offers an unexpected twist on traditional grout colors.
How to Use a Grout Spreader Effectively
Mastering the use of a grout spreader is crucial for achieving a smooth and professional finish with your pink grout. Start by ensuring your tiles are clean and dry. The grout spreader should be held at a 45-degree angle, allowing you to evenly distribute the grout across the tile surface without leaving gaps.
Apply firm and consistent pressure to push the grout into the spaces between tiles. Take care to remove excess grout with the edge of the spreader to avoid a messy finish. Once applied, allow the grout to set slightly before cleaning the tiles with a damp sponge to remove any residue. Achieving efficiency with a grout spreader comes with practice, so don’t hesitate to refine your technique over small test areas first.
Mixing the Perfect Grout Mix for Your Needs
Creating the ideal grout mixture is essential for long-lasting results. Begin by following the manufacturer’s instructions to combine your grout powder with water, ensuring a smooth, lump-free consistency. The texture should resemble thick peanut butter, which will allow for easy application while ensuring robust fill between tiles.
Adjusting water ratios slightly can help you achieve the desired consistency depending on the specific application and environmental conditions. Remember that a well-mixed grout will adhere better to tiles and provide improved durability. Pay attention to drying times and environmental factors, such as humidity and temperature, which can affect the grout mix’s performance.
Choosing the Right Glass Tile Grout
Selecting the appropriate grout for glass tiles is crucial as it impacts both the appearance and functionality of your tile project. Glass tile grout should be non-sanded to prevent scratching the delicate surfaces of glass tiles. This finer texture facilitates a smooth finish and ensures your glass tiles remain pristine.
Additionally, consider the color of your grout carefully. While pink grout can offer an appealing contrast, it also needs to complement the tile design without overwhelming it. Look for grout specifically designed for glass tile applications, which often includes additives to enhance bonding and prevent discoloration over time.
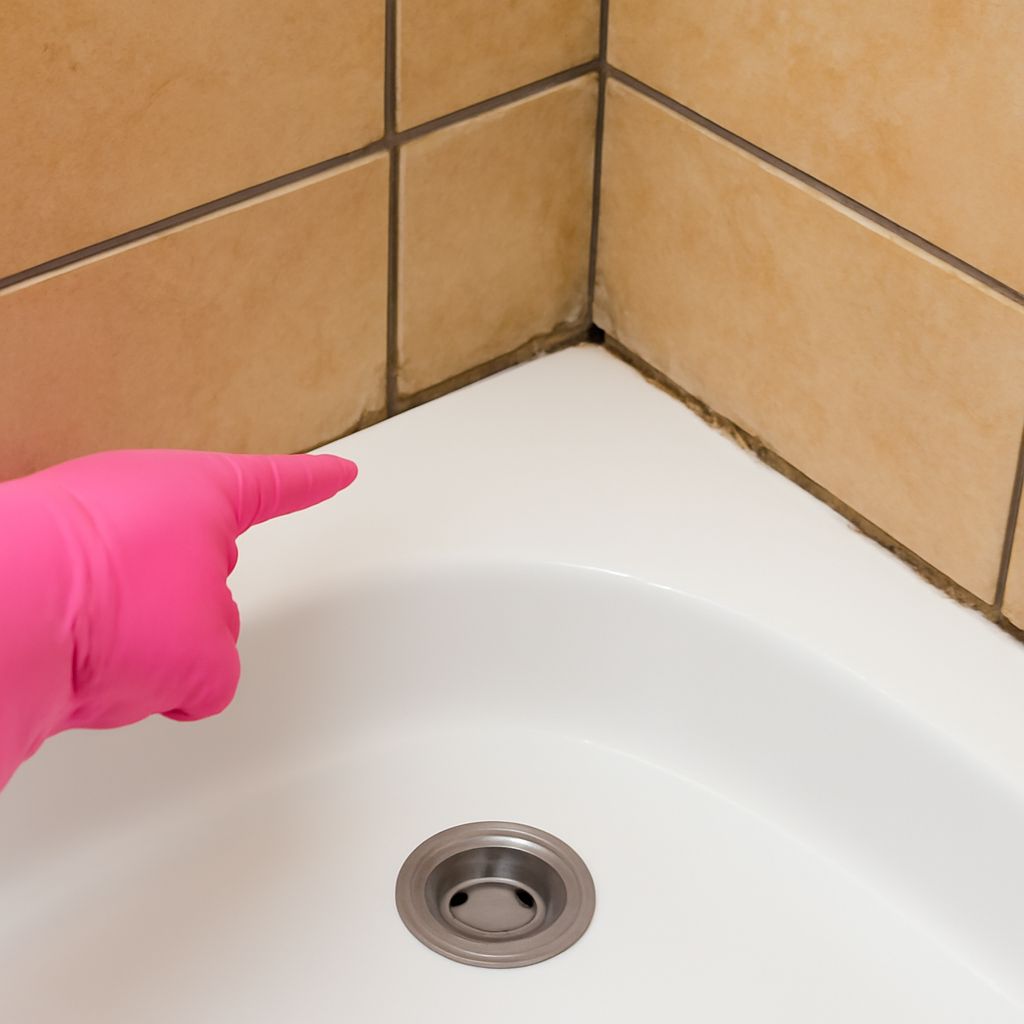
Maintaining Your Glass Grout for Longevity
To keep your glass grout looking fresh, regular maintenance is key. Begin with sealing your grout lines to protect them from moisture and stains. Choose a high-quality sealer that is suitable for colorful grout and reapply it as per the manufacturer’s instructions, typically once a year.
Incorporating a gentle cleaning regimen helps sustain the vibrancy of your pink grout. Avoid harsh chemicals or abrasive tools that could damage the grout or surrounding tiles. Instead, opt for a mild detergent and a soft brush to maintain cleanliness without compromising the grout structure.
Pro tips recap: Embrace pink grout to revolutionize your tile projects with a splash of color. By using a grout spreader effectively and mastering the art of mixing grout, you ensure a flawless finish. Choosing the right glass tile grout enhances the final outcome, while regular maintenance safeguards your investment. For intricate applications or challenging color schemes, consider consulting a licensed stylist to achieve those perfect tones and finishes.