Drywall Corners: Mastering Techniques for a Perfect Finish
When it comes to achieving a seamless look in your home, mastering drywall corners is essential. Whether you’re tackling a new construction project or renovating an existing space, understanding how to spackle drywall and employing the right techniques for mudding drywall corners will ensure a flawless finish. In this guide, you will learn how to drywall inside corners efficiently and discover the importance of using drywall screws for a secure installation. By focusing on these key areas, you can transform your walls into smooth canvases ready for painting or wallpapering.
As you navigate the intricacies of drywall installation, remember that each step, from selecting the right materials to applying the final spackle, affects the overall outcome. With the knowledge shared here, you will gain the confidence to tackle even the most challenging corners with professional results. Let’s dive into the essential tips and methods for perfecting drywall corners.
Understanding drywall corners
Types of drywall corners
Drywall corners come in two primary types: inside and outside corners. Inside corners are formed when two walls meet at a concave angle, while outside corners are where walls intersect at a protruding angle. Each type requires specific techniques for proper installation and smoothing.
Common issues with drywall corners
Common issues with drywall corners include cracking, uneven surfaces, and visible tape lines. These problems often arise from inadequate preparation, incorrect installation, or using low-quality materials. Addressing these challenges early on can prevent future complications and ensure a polished finish.
How to spackle drywall professionally
Tools needed for spackling
To spackle drywall effectively, you’ll need a variety of tools. Essential items include a putty knife, a sanding block, a mixing tray, and quality spackling paste. Having the right tools on hand is crucial for achieving smooth and even surfaces.
Step-by-step spackling guide
Begin by cleaning the surface to remove dust and debris. Next, apply a thin layer of spackle using your putty knife, spreading it evenly across the area. Allow it to dry before sanding down any rough patches. Repeat the process if necessary to ensure a smooth finish.
Mudding drywall corners like a pro
Preparing for mudding
Preparation is key when mudding drywall corners. Ensure your surfaces are clean and free of imperfections. Mix your drywall compound to a proper consistency to avoid lumps and easy application.
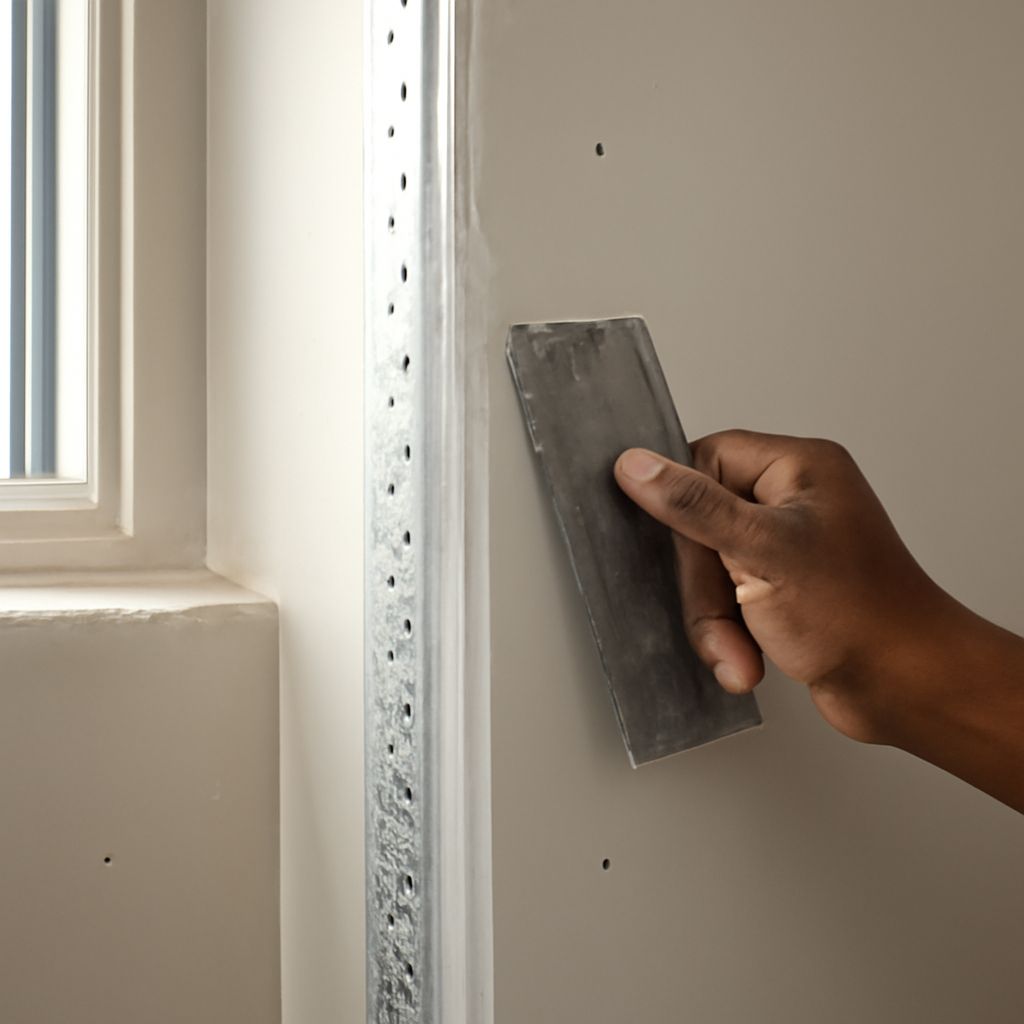
Applying mud to inside corners
When applying mud to inside corners, use a corner trowel for precision. Start by spreading the compound evenly along the corner, then smooth it out with the trowel. Apply additional coats as needed, allowing each to dry thoroughly before adding the next layer.
How to use drywall screws effectively
Choosing the right screws
Select screws that are suitable for your drywall thickness and the type of framing material. Drywall screws should penetrate the studs at least 5/8 inch for a secure hold.
Proper screw placement techniques
Place screws about 12 inches apart along the edges of the drywall and 16 inches apart in the field. This ensures even distribution of weight and minimizes the risk of sagging or warping.
How to drywall inside corners efficiently
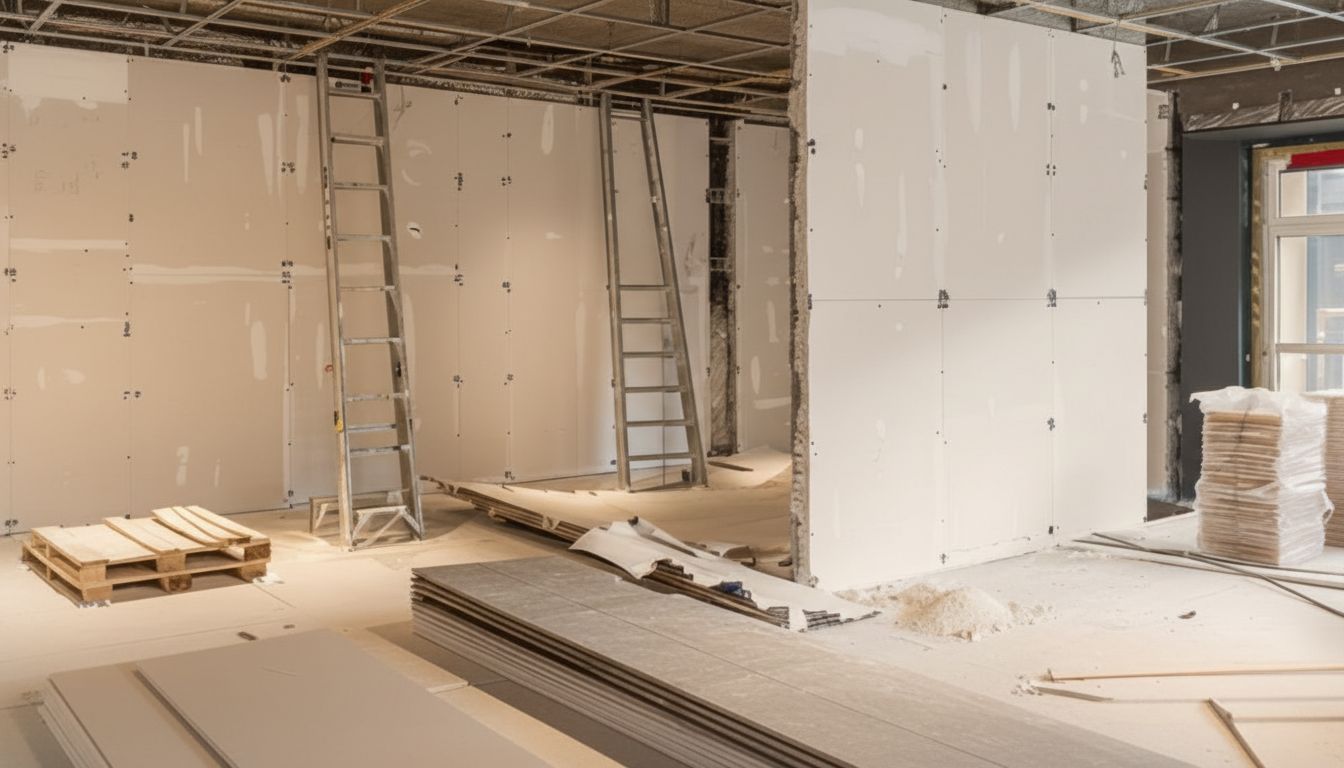
Cutting and fitting drywall
Cut your drywall to fit snugly into the corner, leaving a small gap for expansion. Use a utility knife for precise cuts, and double-check measurements to prevent any gaps or overlaps.
Securing drywall with screws
After fitting the drywall into place, secure it with screws, taking care to avoid over-tightening, which could damage the board. Properly secured drywall will provide a stable foundation for finishing touches.