Caulking Calculator, Window Caulking, and Foundation Caulking Guide
A well-executed caulking project stops drafts, prevents water damage, and seals your home against energy loss. Using a caulking calculator before purchasing materials prevents the frustration of running short mid-project. Knowing the correct technique for caulking around windows, understanding when alternatives to bathtub caulk are appropriate, and sealing caulking around house foundation gaps addresses the most common caulking tasks in any home.
This guide covers material estimation, caulking a window correctly, bathtub surround alternatives, and foundation caulking for energy efficiency and water management.
Using a Caulking Calculator to Estimate Materials
A caulking calculator estimates how many tubes of caulk you need based on the length of the joint and the joint width. The standard formula: a standard 10-oz tube of caulk covers approximately 35 linear feet at 1/4-inch width, 18 feet at 3/8-inch width, or 11 feet at 1/2-inch width. For windows, measure the perimeter of each window (typically 12 to 16 linear feet for a standard double-hung window), multiply by the number of windows, and divide by the coverage per tube at your joint width.
Example: 20 windows at 14 linear feet each = 280 linear feet. At 1/4-inch joint width (35 ft/tube): 280 / 35 = 8 tubes, plus 1 extra for overage. Practical rule for window caulking projects: budget one tube per window for average-size windows and one extra for touchups. Caulk shelf life after opening is limited — buy the quantity you need rather than stockpiling.
Caulking Around Windows: Techniques and Best Practices
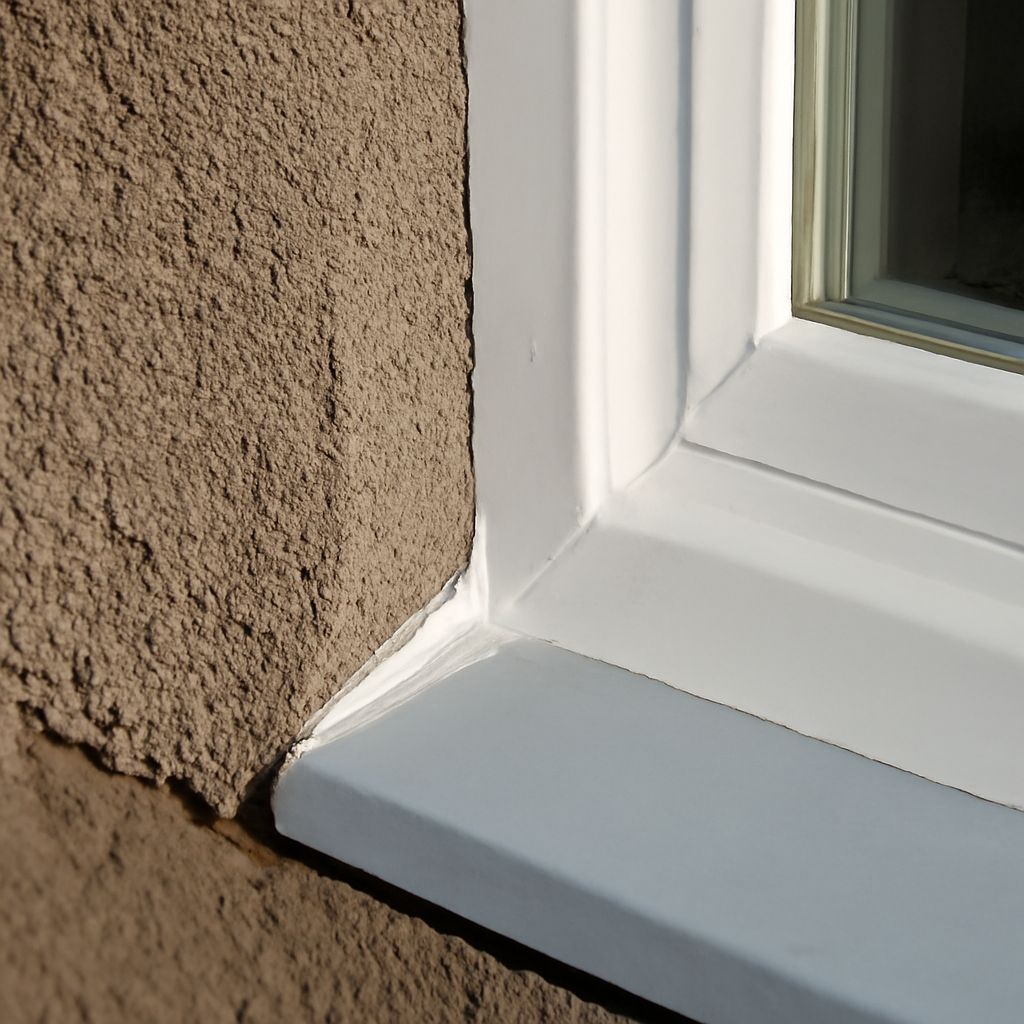
Properly caulking around windows requires surface preparation and product selection. The joint between the window frame and the exterior siding or trim is the most exposed and most important. Begin by removing old, cracked caulk completely — a utility knife and caulk removal tool make this manageable. Clean the joint with isopropyl alcohol or a degreasing cleaner to remove all residue and allow to dry completely before applying new material.
For exterior window joints, use a paintable, all-weather silicone-latex hybrid or 100 percent silicone caulk. Silicone adheres better to glass and aluminum window frames than latex and remains flexible through temperature cycles. Hold the gun at a 45-degree angle to the joint, apply steady bead pressure, and smooth with a wet finger immediately after application. Cut the tube tip to match your joint width — a larger opening makes it harder to control placement and wastes material.
When caulking a window on the interior, use paintable latex caulk for the joint between the window casing and the wall drywall. Interior joints do not face weather exposure, so flexibility requirements are lower, and latex paints easily for a clean finish.
Alternatives to Caulking Around the Bathtub
Standard caulk around a bathtub surround is a practical solution but not the only one. Alternatives to caulking around the bathtub include silicone tape, pre-formed tub-to-tile trim strips, and complete surround systems.
Pre-formed flexible vinyl or silicone corner trim strips press into the tub-to-wall joint and are held by adhesive backing. They provide a uniform, professional-looking seal without the skilled hand needed for a smooth caulk bead. For someone who struggles to produce a clean caulk line, trim strips are the better result with less skill required.
Complete tub surround or wall panel systems eliminate the joint entirely — large-format acrylic or composite panels span the full wall without horizontal seams, and only the perimeter requires caulk. For a shower or tub that leaks chronically at the grout lines, replacing tile with a surround system removes the problem permanently.
Caulking Around House Foundation: Sealing Your Basement
Sealing gaps in and around your home foundation with appropriate caulk is a significant energy-saving measure. The joint between the sill plate (the wood framing directly on the foundation) and the concrete foundation is one of the most air-leaky locations in an older home. Energy auditors frequently identify this joint as a leading source of cold air infiltration in winter.
For caulking around house foundation sill plates, use a foam sealant (spray foam in a can) for gaps larger than 1/4 inch and a caulk gun with polyurethane or silicone caulk for narrow gaps. Foam expands to fill irregular voids that caulk cannot reach. Work from inside the basement along the perimeter, filling all visible gaps between the sill plate and the top of the foundation wall.
For foundation cracks, hydraulic cement handles actively leaking cracks. After stopping active water infiltration, seal the repaired area with a waterproof masonry caulk or foundation coating for long-term protection.
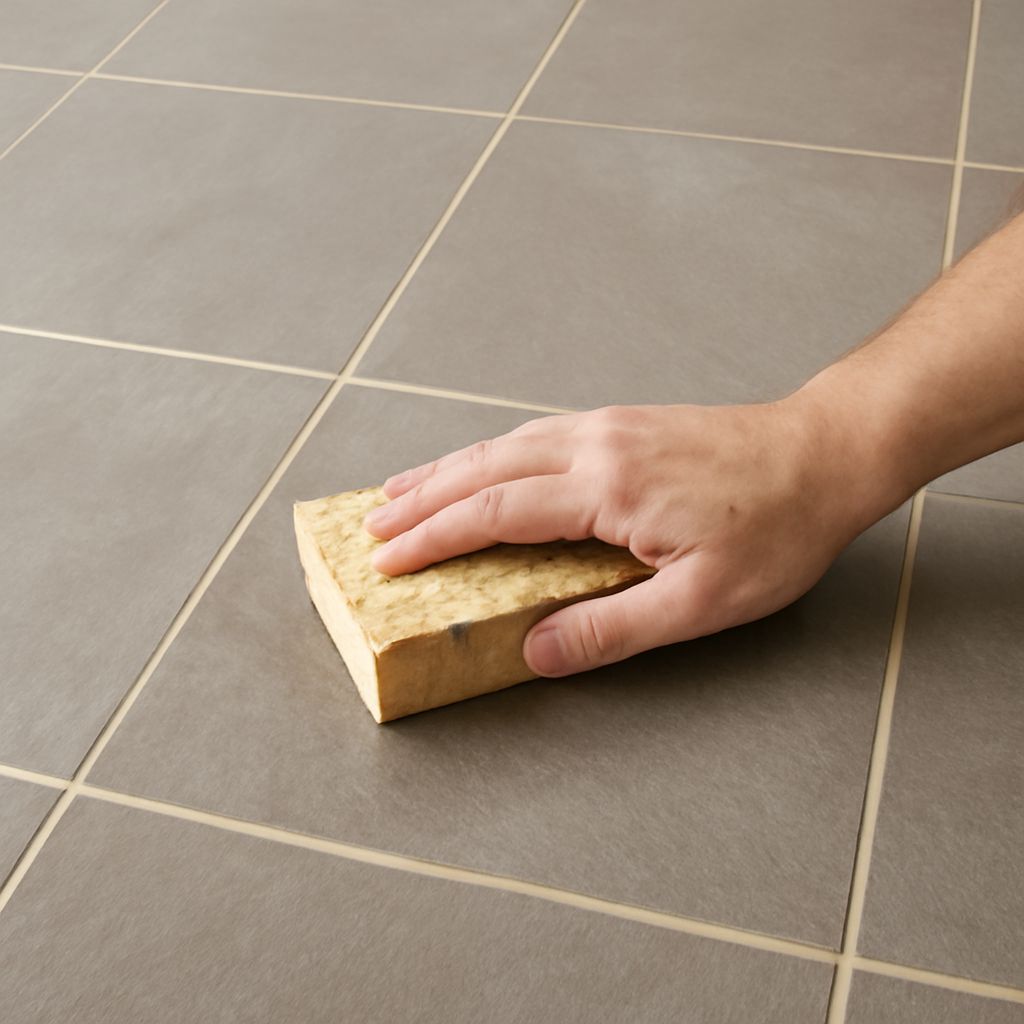
Pro tips recap: Always tool wet caulk immediately after application for a clean, professional bead. Apply caulk only to dry surfaces — wet joints cause immediate adhesion failure. For bathtub applications, fill the tub with water before caulking — the weight compresses the joint to its maximum width, and caulk applied in this condition will not crack when the tub is later filled and loaded.