Insulation for Ceiling: What Is Blown In Insulation and Which Type Is Best
Choosing the right insulation for ceiling and attic applications is one of the highest-impact energy decisions a homeowner can make. Heat rises, and without adequate insulation ceiling coverage, a significant portion of your heating and cooling energy escapes through the top of your home. Understanding what is blown in insulation, how it compares to other materials, and which product qualifies as the best blown in insulation for your situation makes the selection process straightforward.
This guide covers why ceiling insulation is the top priority, explains how blown-in systems work, compares the main material options, and gives an honest assessment of blown in attic insulation pros and cons to help you decide whether blown fill, batts, or another approach is right for your project.
Why Insulation for Ceiling Matters Most
Heat naturally moves from warm areas to cooler areas. In winter, the largest temperature differential in a home exists between the warm living space and the cold attic. Without adequate insulation ceiling coverage between conditioned and unconditioned space, thermal energy flows upward continuously, forcing your heating system to work harder. The US Department of Energy estimates that a poorly insulated attic accounts for 25 to 30 percent of total home heat loss — more than any other building envelope component.
In summer, the process reverses: a hot attic transfers heat downward through the ceiling, raising cooling loads. Adequate ceiling insulation reduces both heat loss in winter and heat gain in summer, cutting HVAC energy consumption in both directions. The payback period for adding insulation to an underperforming attic is typically 2 to 5 years in most US climates — one of the fastest returns of any home improvement investment.
What Is Blown In Insulation and How Is It Applied
Understanding what is blown in insulation starts with the delivery method. Unlike batt insulation that is cut and pressed between framing members by hand, blown-in insulation is loose-fill material — either cellulose or fiberglass — that is propelled through a large-diameter flexible hose by a blowing machine. The installer positions the hose end close to the target surface and gradually moves across the area, building up material to the required depth.
Blown-in application excels in two situations: adding coverage to existing attic floors where batts would be difficult to maneuver and would leave air pockets at framing edges, and filling irregular spaces like around blocking, ducts, and junction boxes where pre-cut batts leave significant gaps. The continuous coverage and self-packing nature of blown fill eliminates the voids that reduce batt system R-values in real-world installations.
Best Blown In Insulation Materials Compared
The best blown in insulation choice depends on your priorities:
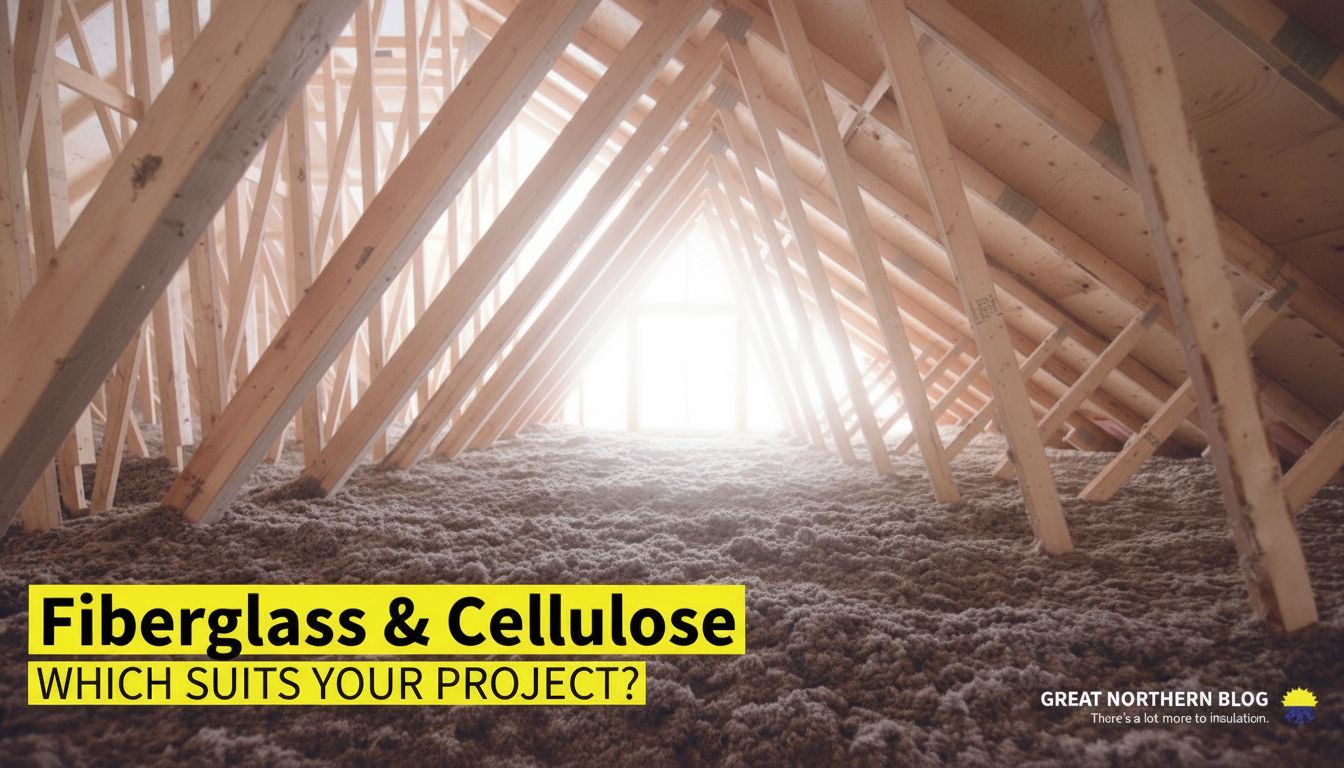
- Blown cellulose: R-3.7 per inch, made from 75 to 85 percent recycled content, excellent air resistance due to density, resistant to pests, good fire retardancy from borate treatment. Best overall value for most attic applications.
- Blown fiberglass: R-2.5 per inch, lighter weight, better moisture resistance than cellulose in high-humidity environments, less air resistance than dense-pack cellulose. Better choice for very humid climates or attics with known moisture issues.
- Mineral wool loose fill: R-3.0 per inch, non-combustible, excellent acoustic performance, naturally resists pests. More expensive per R-point than cellulose but worth considering for noise reduction and fire safety applications.
For standard attic floor applications in most climates, blown cellulose is the recommended choice — it delivers the best balance of R-value per dollar, air resistance, and environmental profile. For wall cavity applications requiring dense-pack performance, cellulose at 3.5 lb/cu ft density is the industry standard.
Blown In Attic Insulation Pros and Cons
Honest assessment of blown in attic insulation pros and cons helps set realistic expectations:
Pros:
- Complete coverage without gaps or voids — fills around obstacles that batts cannot
- Fast installation for large attics — a professional crew can insulate a 1,000 sq ft attic to R-49 in a few hours
- DIY feasible for accessible attics with blower rental
- Can be added over existing batt insulation without removal
- Competitive cost per R-point versus batts, especially at higher R-values
Cons:
- Cellulose can settle slightly over time (5 to 10 percent) — add extra depth at installation to compensate
- Access for future work (rewiring, inspections) is messier through loose fill than through batts
- Air sealing must be done before blowing — adding material over unsealed penetrations reduces the effectiveness of the investment
- Moisture damage to cellulose can clump material and reduce R-value — requires fixing any water sources before installation
Safety recap: When blowing insulation in an attic, always install proper depth markers before you start — it is easy to lose track of depth in a large area. Wear N95 respirator and eye protection throughout the work. Keep the attic well-ventilated if possible and limit continuous exposure time in hot attics to 15 to 20 minute intervals.