Shingles Around Eye and How to Tile Around Outlets Safely
The phrase shingles around eye refers to a painful viral condition affecting the face and vision, and just like that condition demands careful attention, tiling around outlets requires precision and respect for electrical safety. Getting tile cuts right and protecting the components behind your backsplash is the difference between a polished installation and a code violation. Whether you are learning how to tile around outlets for the first time or refreshing your technique on a kitchen remodel, this guide gives you a clear path to a professional result.
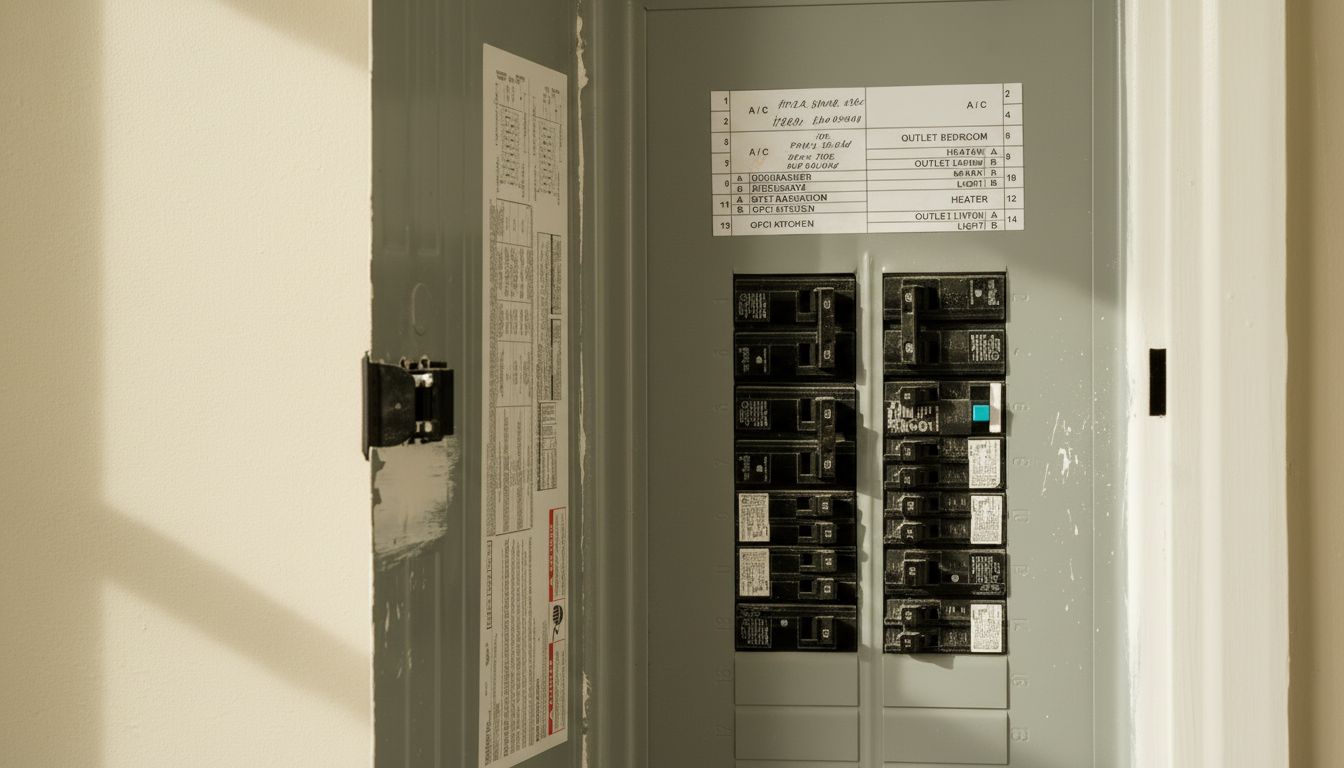
You will learn which tools to use, how to cut backsplash tile around outlets cleanly, and how to install backsplash around outlets in a way that meets code and looks sharp. Always start by turning off the circuit at the breaker panel before you begin.
Understanding the Challenge: Shingles Around Eye and Electrical Safety
Installing backsplash tile next to live electrical components is risky if you rush. The primary concerns are cutting tile too short and leaving gaps, cracking tile during cutting and leaving sharp edges near wiring, and failing to extend outlet boxes to accommodate tile thickness. Many jurisdictions require outlet box extenders when tile raises the wall surface, so check your local electrical code before starting. If you are uncomfortable working near electrical components, consult a licensed electrician to cap the wires and advise on box depth. Code compliance is not optional, and an inspector can flag improperly recessed outlets during a home sale.
Tools You Need Before Tiling Around Outlets
Cutting Tools for Precision Outlet Work
Tiling around outlets requires more precision than open field tile runs. You will need a wet saw with a fine tile blade for clean straight cuts along outlet edges, an angle grinder with a diamond blade for small notches and curved cuts, tile nippers for nibbling small amounts when fitting tight to outlet corners, a non-contact voltage tester to verify the circuit is dead before you begin, and outlet box extenders when tile thickness moves the box face behind the wall plane.
Safety Gear and Electrical Precautions
When cutting tile near outlets, wear safety glasses rated for impact and a dust mask rated N95 minimum. Turn off the breaker controlling that circuit and verify with a voltage tester before touching any wires. Tape over the outlet opening with painter tape to prevent tile adhesive from entering the box. Never work on a live circuit.
How to Cut Backsplash Tile Around Outlets Step by Step
Cutting backsplash tile around outlets is the trickiest part of the job. Measure the outlet box position precisely from your tile layout reference lines, using a combination square to transfer measurements onto the tile face. Mark the cutout with a felt-tip marker, adding 1/8-inch clearance on all sides so the outlet cover plate overlaps the tile edge. Make plunge cuts with a wet saw from each corner toward the center, stopping just inside your marked lines. Remove the waste piece with nippers, working in small bites to avoid cracking the keeper section. Always test-fit the tile dry before applying any adhesive to confirm it slides cleanly over the outlet box with no binding. For subway tile or glass tile, score-and-snap methods will not work near outlet cutouts, so always use the wet saw or angle grinder approach for any cut within 2 inches of an outlet.
How to Install Backsplash Around Outlets
Setting Tile Up to the Outlet Box
When installing backsplash around outlets, set the surrounding field tile first and work toward the outlet. This gives you a clean reference for measuring your cutout tile. Apply thinset with a notched trowel, back-butter the cut tile, and slide it into position. Press firmly and check that it is flush with neighboring tiles before the thinset stiffens.
Completing the Installation and Restoring Power
After the thinset cures (typically 24 hours), install any required outlet box extenders, re-attach the outlet to the box, and install the cover plate. The plate should sit flush or slightly proud of the tile surface. Restore power at the breaker and test the outlet before grouting around it. Apply grout carefully at the outlet edges, keeping it out of the box itself. Completing outlet work before grouting gives you a clean reference surface and prevents grout smear on electrical components.