Grout Colorant: How to Restore and Change Your Grout Color
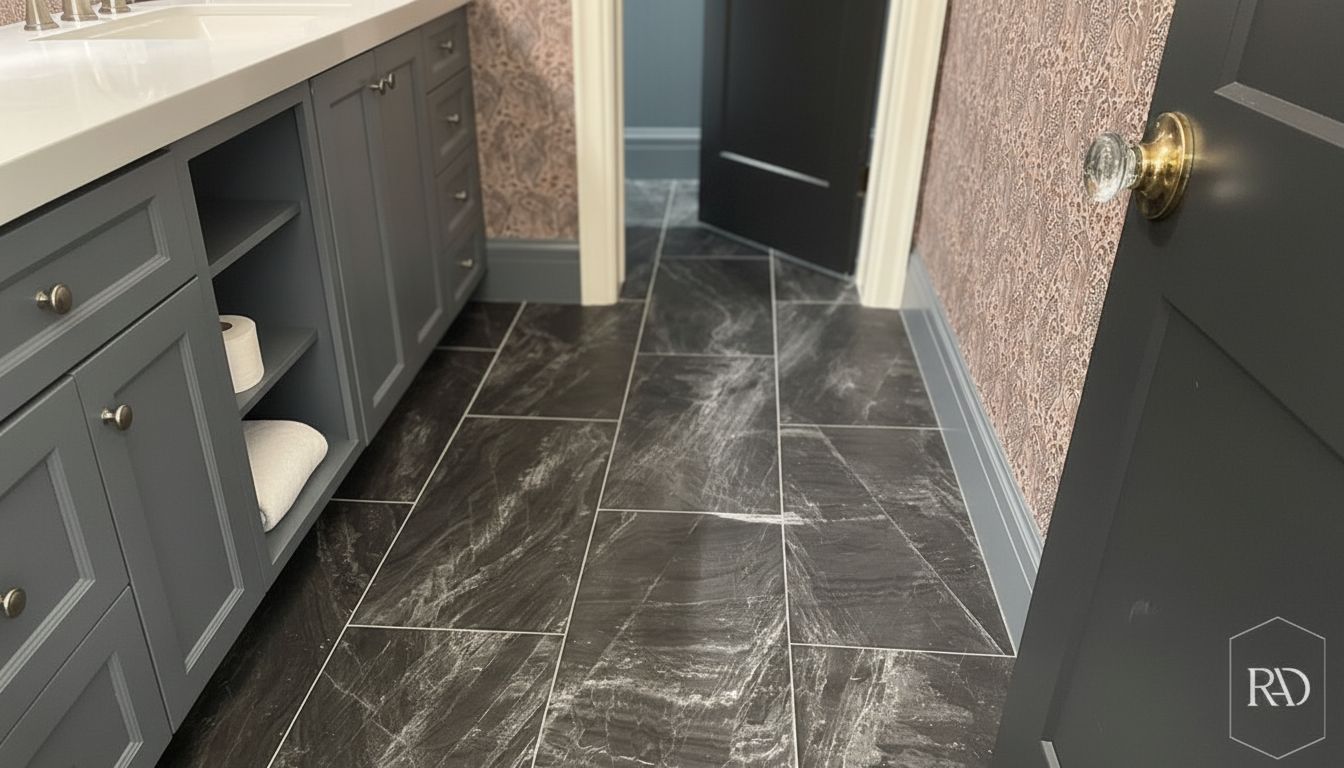
Grout colorant gives you a way to change or restore grout without tearing out tile, and the results last years longer than standard cleaning. If you’re looking at grout stain colors to refresh a dated bathroom or kitchen, the application process is more involved than painting a wall but well within DIY reach. This guide covers how grout colorant works, how it compares to grout paint and sealer products, and the steps to get clean, even coverage that holds up to daily use.
You’ll also learn how grout stain and sealer combination products differ from standalone dyes, and what makes the best grout stain for different tile types and traffic levels. Whether you’re refreshing white grout that’s gone gray or changing your grout stain colors entirely, getting the prep work right is what separates a result that lasts five years from one that peels in six months.
What Grout Colorant Actually Does
How It Differs from Paint
Standard paint sits on top of a surface and can peel. A quality grout colorant penetrates the porous cement-based grout and bonds chemically, becoming part of the grout rather than a coating on top of it. This is why a properly applied grout stain lasts far longer than grout paint in high-moisture areas like showers. Epoxy-based colorants create an especially durable bond and are the standard choice for commercial applications and heavy-use residential areas.
Grout paint and sealer products blur the line between these categories. Some are latex-based paints with a sealing additive; others are penetrating stains with a built-in sealant. Read the product label carefully. A true penetrating grout stain and sealer combination performs better in wet areas than a surface-coat paint with a sealer mixed in.
Coverage and Color Retention
Grout stain colors hold up well to UV and moisture when the product is correctly matched to grout type. Cement grout absorbs stain easily with minimal prep. Epoxy grout is non-porous and typically does not accept stain at all. If your tile was installed with epoxy grout, colorant is not the right solution. For standard sanded or unsanded cement grout, you have a wide range of grout stain colors to work with, from bright whites to charcoals.
Choosing the Best Grout Stain for Your Project
Traffic and Moisture Level
For shower floors and kitchen backsplash areas that see daily moisture, the best grout stain is an epoxy-based formula with a built-in sealer. These resist mold growth, repel water, and hold color under repeated cleaning better than water-based options. For dry areas like living room tile or a fireplace surround, a water-based penetrating stain works well and is easier to apply.
Grout Paint and Sealer Products: When They Make Sense
Grout paint and sealer combination products are a reasonable choice for refreshing grout in low-moisture areas where color is the main goal. They’re often less expensive than dedicated epoxy colorants and come in a wider range of colors. The tradeoff is durability in wet areas. In a bathroom shower, opt for the best grout stain with a true penetrating or epoxy formula over a grout paint and sealer product to avoid peeling after a few months of exposure.
How to Apply Grout Colorant
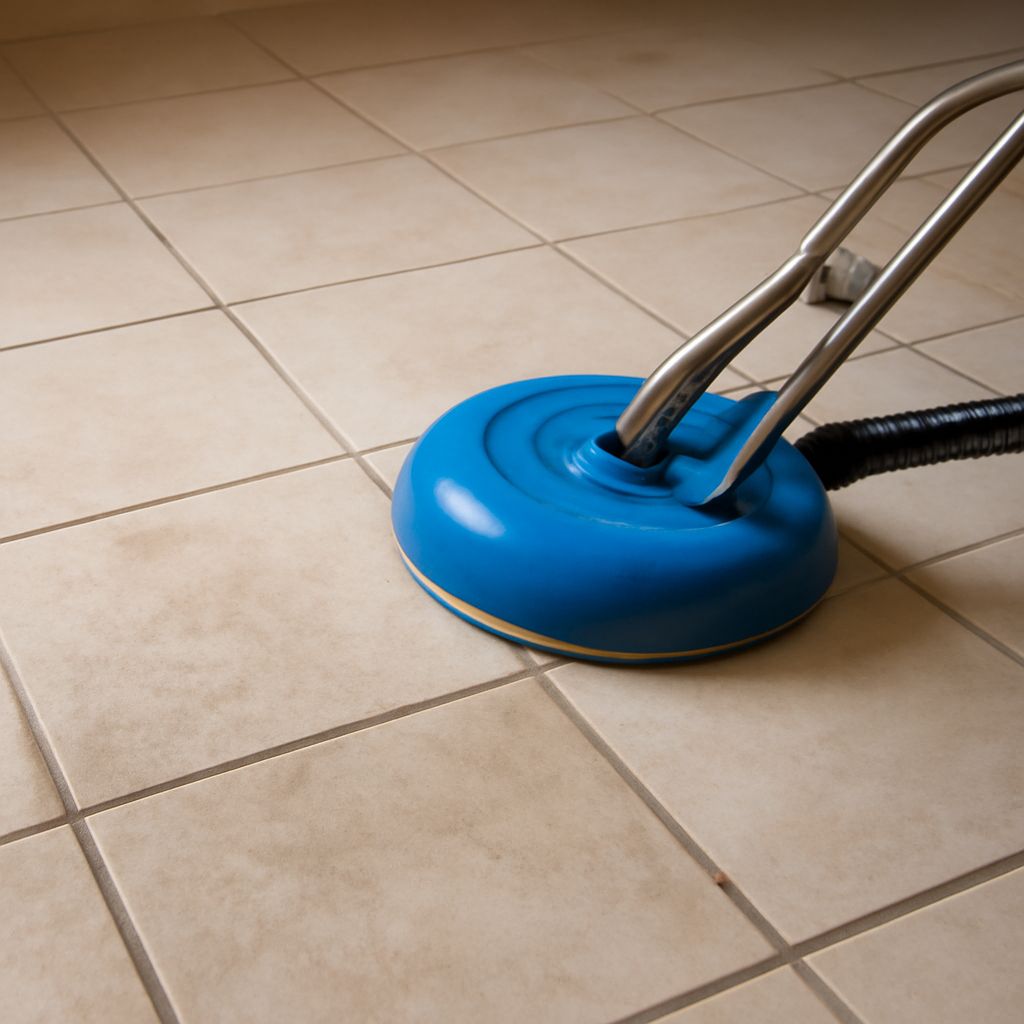
Surface Preparation
Clean grout thoroughly before any application. Grease, soap scum, and mildew all block penetration. Use a grout cleaner and a stiff brush, then rinse and allow the surface to dry completely, typically 24 hours. Any remaining old sealer should be stripped with a chemical sealer remover before you apply a grout stain and sealer product, or the new product won’t bond.
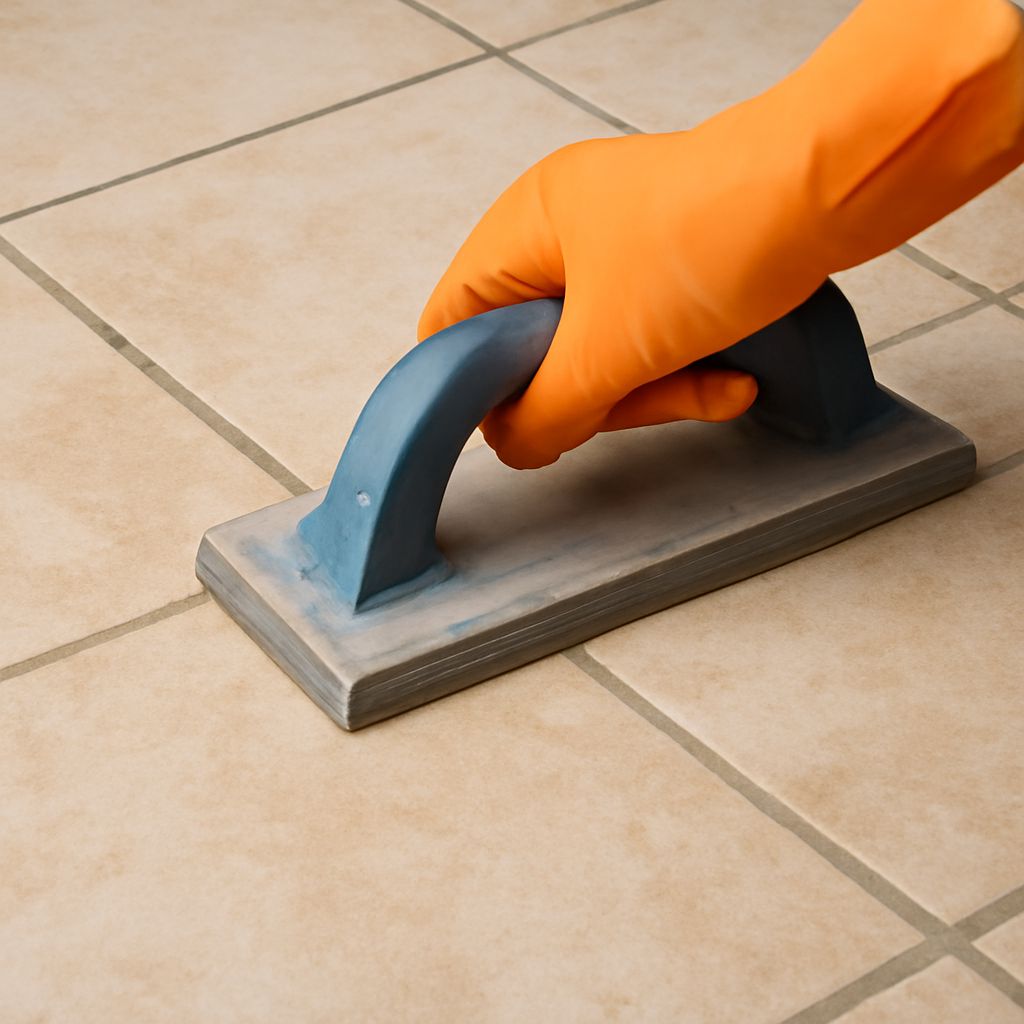
Application Technique
Apply grout colorant with a small artist’s brush or an applicator bottle along each grout line. Work in small sections of 2 to 3 square feet at a time. The goal is to saturate the grout without getting much colorant on the tile face. If colorant gets on the tile, wipe it off within a few minutes before it sets. Allow the first coat to cure for the time specified on the label, then apply a second coat for full color saturation.
After both coats dry, clean the tile surface with a damp cloth. Most epoxy-based grout stain and sealer products are fully cured within 72 hours; avoid wetting the surface during that period.
Next steps: Test your chosen grout stain colors on a small, inconspicuous section before committing to the entire floor or wall. Buy slightly more product than your square footage calculation suggests; coverage rates vary by grout porosity. Once the project is complete, plan to reseal grout annually in high-moisture areas to keep it looking its best.