Non Shrink Grout: Uses, Types, and How to Apply It
Non shrink grout fills the gap between a base plate and a concrete foundation without pulling away as it cures. Unlike standard concrete grout, which loses volume as moisture evaporates, this material maintains or slightly expands its dimensions. The terms non-shrink grout and non shrinking grout refer to the same class of products, though formulations vary. You may also come across non toxic spray foam insulation recommended for gap-filling in wall assemblies, but grout is the correct choice when you need load-bearing capacity and rigid dimensional stability.
This guide covers where non shrink grout applies, which product types are available, and the steps for proper mixing and placement.
Where non shrink grout is used
Structural non-shrink grout has a long history in column base plate setting, machinery anchoring, and bridge bearing pad installation. Any application where a rigid, void-free connection between a steel element and a concrete substrate is required calls for this product. In residential construction, you will encounter non shrinking grout under posts in basements and in masonry repair where patches need to bond tightly without cracking.
Types of non-shrink grout
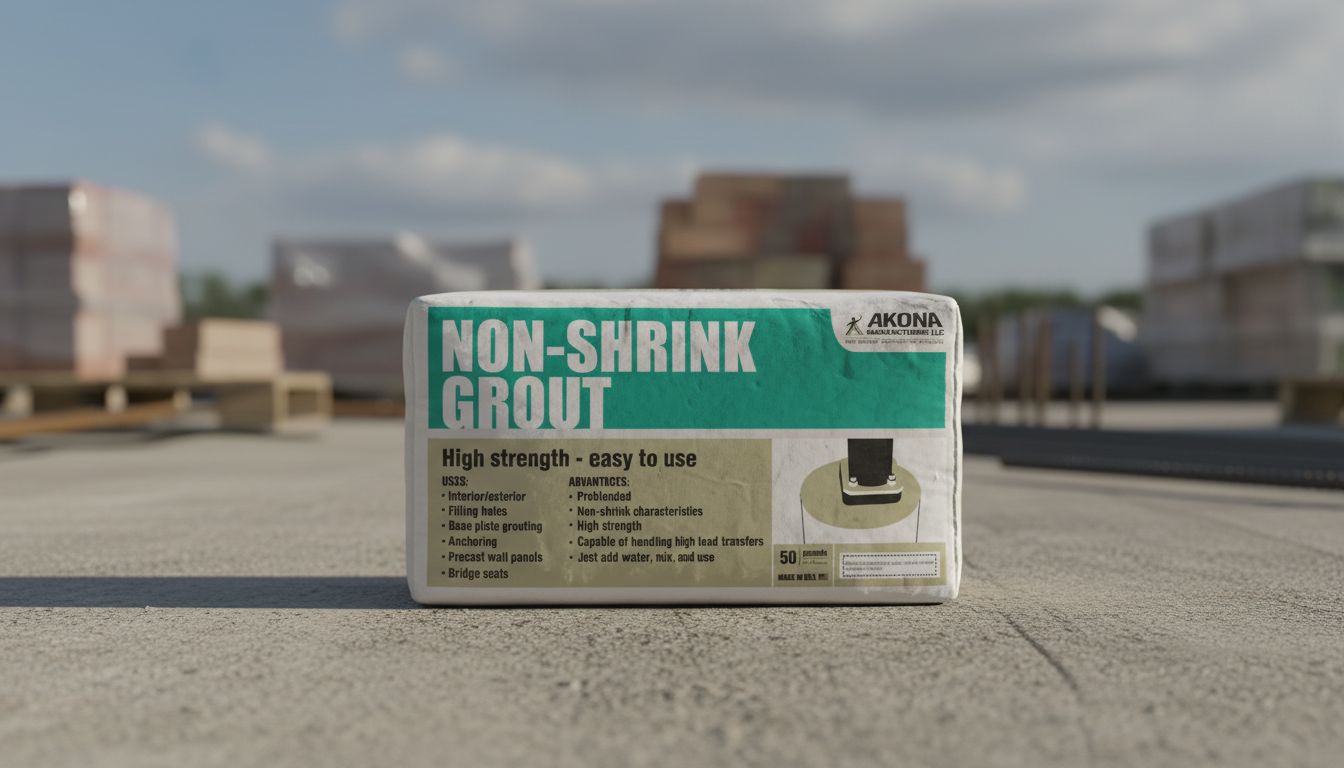
Cement-based non shrink grout uses gas-releasing additives or expansive cements to offset shrinkage. These products mix with water and place like conventional concrete grout, so the learning curve is short. Epoxy grout is the second major category. It uses a two-part resin system, has higher compressive strength, and resists chemical attack. Epoxy versions are more expensive and have a shorter working time, so you need to work quickly and in smaller batches.
Pre-packaged bagged products are the most practical choice for most job sites. They come with the aggregate and admixtures pre-blended, reducing the chance of mixing errors that compromise non-shrink performance.
How to mix and place non shrink grout
Start by cleaning the substrate. Remove all oil, dust, and laitance from the concrete surface. Pre-wet the area with clean water but leave no standing puddles. Dry concrete will pull moisture from the grout and cause early stiffening.
Mix to the manufacturer’s stated water-to-powder ratio. Adding extra water increases workability but directly reduces compressive strength and undermines the non-shrinking characteristic. Use a drill with a paddle mixer at low speed to avoid introducing air. Mix until the batch has uniform color with no dry lumps, typically two to four minutes.
Place the grout by pouring or rodding it under the base plate from one side, working to the opposite side to drive out air. Do not vibrate aggressively. Excessive vibration can segregate the aggregate. For machinery bases, build a form around the perimeter that holds the fluid grout in place while it gains initial set. Cure times vary by product, but most cement-based non shrink grout products reach handling strength within 24 hours at 70°F.
Non toxic spray foam insulation versus grout for gap filling
Projects sometimes require sealing gaps around pipes or conduit passing through foundation walls. Non toxic spray foam insulation works well for those air-sealing applications where load bearing is not a factor. Foam compresses under point loads, so it should never substitute for concrete grout under a structural element. Use grout for anything that carries weight and foam for anything that only needs to block air and moisture infiltration.
Pro tips recap
Keep your non-shrink grout ingredients at 65 to 85°F before mixing. Cold components retard hydration; hot conditions accelerate set and shorten your working window. Always wear eye protection and gloves when mixing cement-based products. For large pours under heavy machinery bases, consult the grout manufacturer’s technical representative to verify placement procedures and form design before the pour day.