Cedar Siding Repair and New Plumbing: A Combined Project Guide
Cedar siding repair is a natural companion project to any new plumbing work that runs through exterior walls. When you open a wall cavity for new plumbing, you get direct access to the sheathing and siding from the inside, which makes the job easier. Knowing how to replace wood siding panels correctly is just as important as the pipe work itself. This guide covers cedar repair techniques, explains how a plumbing outlet ties into wall construction, and addresses the plumbing and things you need to coordinate before closing the wall.
Work through the sections in order and you will have a plan that handles both trades in a single project rather than paying for two separate mobilizations.
Assessing cedar siding damage
Identifying rot versus surface wear
Probe suspect boards with a screwdriver. A blade that sinks easily into the wood fiber indicates rot, which requires full board replacement. Surface checking, gray weathering, and paint peeling are cosmetic issues that respond to sanding and refinishing. Cedar siding repair that replaces only the compromised sections rather than entire wall runs saves both material cost and labor time. Mark every soft board before ordering replacement material so you get the right quantity.
Matching profile and species
Cedar boards come in bevel, channel rustic, board-and-batten, and tongue-and-groove profiles. The repair stock must match the existing profile exactly or the seams will be visible. Western red cedar and Alaskan yellow cedar are the two common species. They differ slightly in grain and color but accept the same finishes. If the existing siding has weathered significantly, plan to refinish the whole wall after repairs so new boards blend with old ones.
How to replace wood siding around plumbing penetrations
Removing damaged boards safely
Use a flat bar and a block of wood to protect adjacent boards while prying. Work from the bottom of the damaged section upward. Cedar siding removing techniques that skip this protect-the-neighbor step split perfectly good boards. Once the damaged boards are out, inspect the housewrap behind them. Torn or missing housewrap must be lapped and taped before new siding goes up.
Installing the replacement boards
Cut each new board 1/4 inch short of its opening to allow for seasonal movement. Pre-prime all six faces before installation. Replacing wood siding pieces that skip back-priming wicks moisture from the unprotected back face, which causes cupping in the first year. Use stainless-steel ring-shank nails for maximum hold. Drive nails about 1 inch from the bottom edge of each board, into the stud beneath.
Coordinating new plumbing with siding work
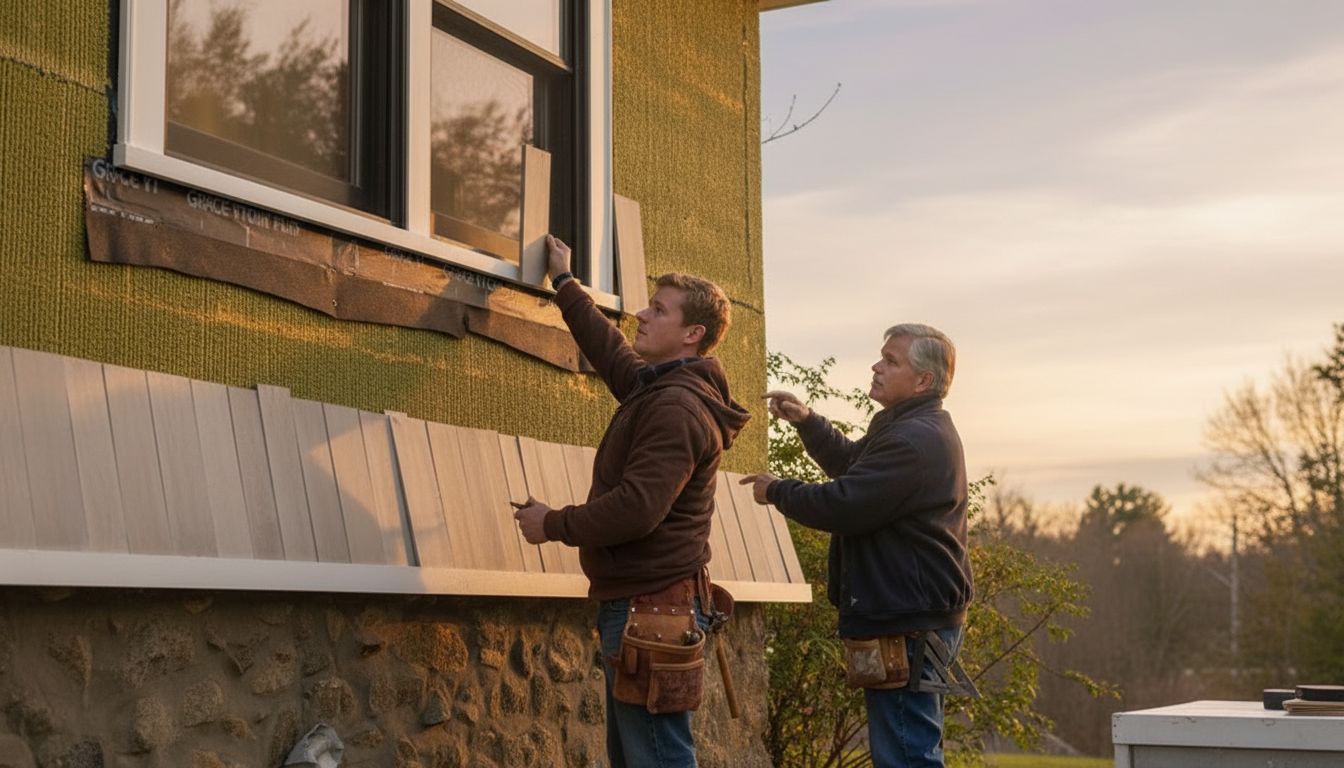
New plumbing that exits through a cedar siding wall needs a properly flashed penetration. The plumbing outlet should sit inside a pre-made wall flange that integrates with the housewrap layer. Apply butyl flashing tape around the flange before reinstalling the replacement siding boards. Plumbing and things like dryer vents, hose bibs, and pipe exits all need the same flashing treatment to keep water out of the wall cavity.
If the new plumbing work requires cutting through multiple siding courses, mark the stud locations and any existing penetrations on a sketch before demolition. This sketch becomes your guide when reinstalling boards and repositioning the plumbing outlet to a clean, well-flashed location.
Safety recap
Wear gloves and eye protection when prying siding. Cedar splinters are sharp and can cause deep cuts. If your home was built before 1978, test for lead paint before sanding or grinding any painted cedar siding. Disturbing lead paint without proper containment violates EPA rules and creates a health hazard. Contact a certified lead abatement contractor if testing comes back positive before proceeding with cedar siding repair.