Sealing Tile Grout: How to Protect Your Tile for the Long Term
Sealing tile grout is the step most DIY tile installers skip — and regret within a year. A grout seal blocks the porous cement matrix from absorbing water, oils, and cleaning products that stain it permanently. Understanding what is grout sealer helps you choose the right product for your application. Knowing how to seal grout and tile correctly means the difference between a one-hour job that protects your floor for years and a wasted afternoon that leaves gaps in coverage. Whether you’re dealing with new tile or refreshing an older installation, this guide covers the process from timing to application.
What Is Grout Sealer and Why It Matters
Types of Grout Sealer
Grout sealers divide into two categories: penetrating sealers and topical (surface) sealers. A penetrating sealer soaks into the grout pores and bonds chemically to block moisture without changing the appearance or creating a surface film. Topical sealers sit on top of the grout surface and create a protective coating. Penetrating products are almost universally preferred for floors and showers because they don’t peel, don’t require stripping before reapplication, and don’t alter the grout’s appearance. Topical sealers work on countertop tile where a glossy finish is intentional.
How a Grout Seal Works
Applying grout sealer fills the microscopic pores in cement grout with water-repelling silicone or silane compounds. Water and oil-based liquids bead on the surface rather than absorbing. This repellency doesn’t last forever — high-traffic floors and showers need resealing annually, while kitchen backsplashes and low-traffic areas can go two to three years between applications.
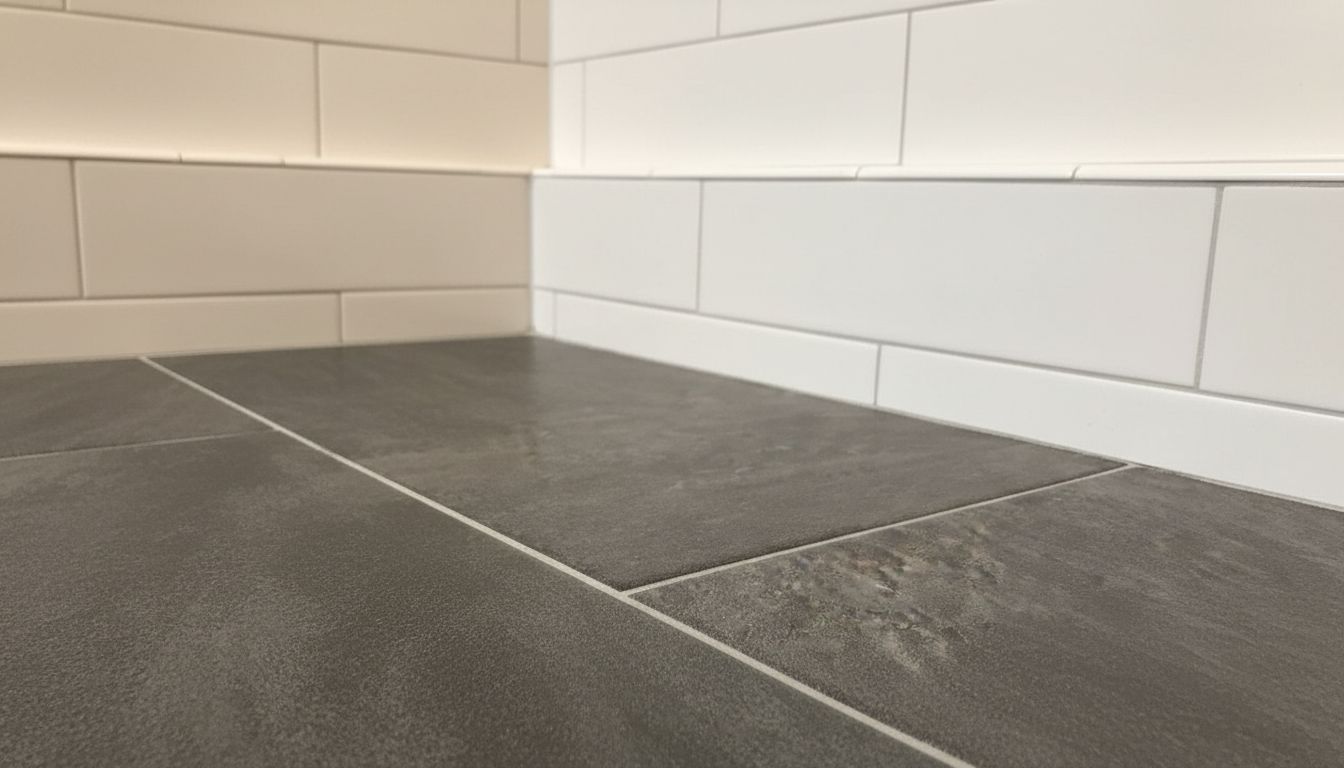
How to Seal Tile Grout Step by Step
Preparation
Before sealing tile grout, the grout must be fully cured. New grout needs 48 to 72 hours of cure time minimum before sealing — and some manufacturers specify 7 days. Sealing too early traps moisture in the grout and prevents full hardening. Clean existing grout thoroughly before applying any seal product — a grout sealer applied over dirty grout locks in the staining rather than protecting against it. Use a dedicated tile and grout cleaner, scrub, rinse, and let dry completely (at least 24 hours) before sealing.
Application Method
Apply the grout seal with a small foam brush, a sealer applicator bottle with a sponge tip, or a paint roller for large floor areas. Work in sections so the sealer doesn’t dry on the tile surface before you wipe it. Apply the sealer directly to the grout joints — some products are safe on the tile face and others are not, so read the label. Let it penetrate for the dwell time specified on the bottle (usually 5 to 15 minutes), then wipe away any excess from tile surfaces with a clean cloth. Buff the tile face clean before the sealer hazes.
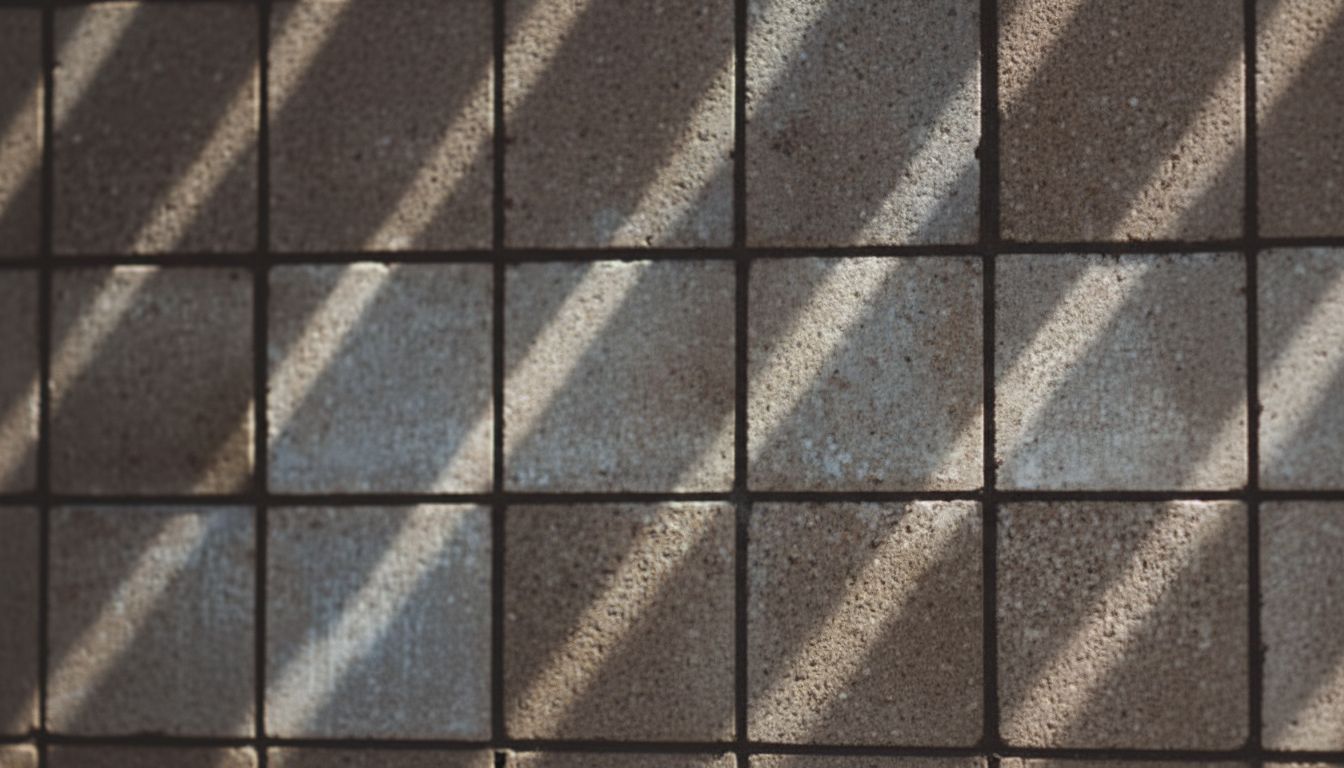
Maintaining a Grout Seal Over Time
The water bead test is the simple way to check whether your grout seal is still working: drop a few drops of water on the grout line. If they bead up and don’t absorb within a few seconds, the seal is intact. If the water soaks in immediately, it’s time to reseal the tile grout. For showers, this test is worth doing every 6 to 12 months.
When resealing, you don’t need to strip the old sealer if it was a penetrating product. Clean the grout thoroughly, let it dry, and apply a fresh coat. The new sealer penetrates through any remaining old sealer and rebonds to the grout below.
Safety recap: Most grout sealers contain solvents that require ventilation during application. Work in a ventilated bathroom with an exhaust fan running or a window open. Avoid prolonged skin contact — use nitrile gloves. Store sealer away from heat sources, as most formulations are flammable.