How to Apply Grout: Floor, Mosaic Tile, Shower, and Epoxy Guide
Knowing how to apply grout correctly determines whether your tile installation looks professional or falls apart within a year. Applying grout is a time-sensitive process — mix consistency, dwell time, and cleanup method all affect the final result. How to grout mosaic tile differs from large-format tile because the smaller grout joints fill differently. How to clean epoxy grout requires different tools and timing than cleaning standard cement grout. How to grout a shower floor involves unique challenges — the drain, the slope, and the constant water exposure all change the material choices and application method.
Mixing and Preparing Grout
Consistency and Mixing Method
Grout mixed too wet slides out of joints as you float it. Grout mixed too dry crumbles before it fills. The target is a peanut butter consistency — stiff enough to hold its shape when you pull the float back, fluid enough to press into joints fully. Mix by adding dry grout powder to water (not water to powder), stir until uniform, then let the mix slake for 10 minutes before a final stir. The slaking period activates the polymers in the grout additive and gives you a more consistent working material.
Temperature and Working Time
Grout sets faster in warm temperatures and slower in cool conditions. In a warm bathroom on a summer day, standard grout may start setting within 20 minutes of application — too fast for beginners working large floor areas. Work in sections of 10 to 15 square feet in warm conditions. Pre-dampen tile and substrate slightly in hot conditions to slow the set without adding water to the grout itself.
How to Apply Grout to Standard Floor and Wall Tile
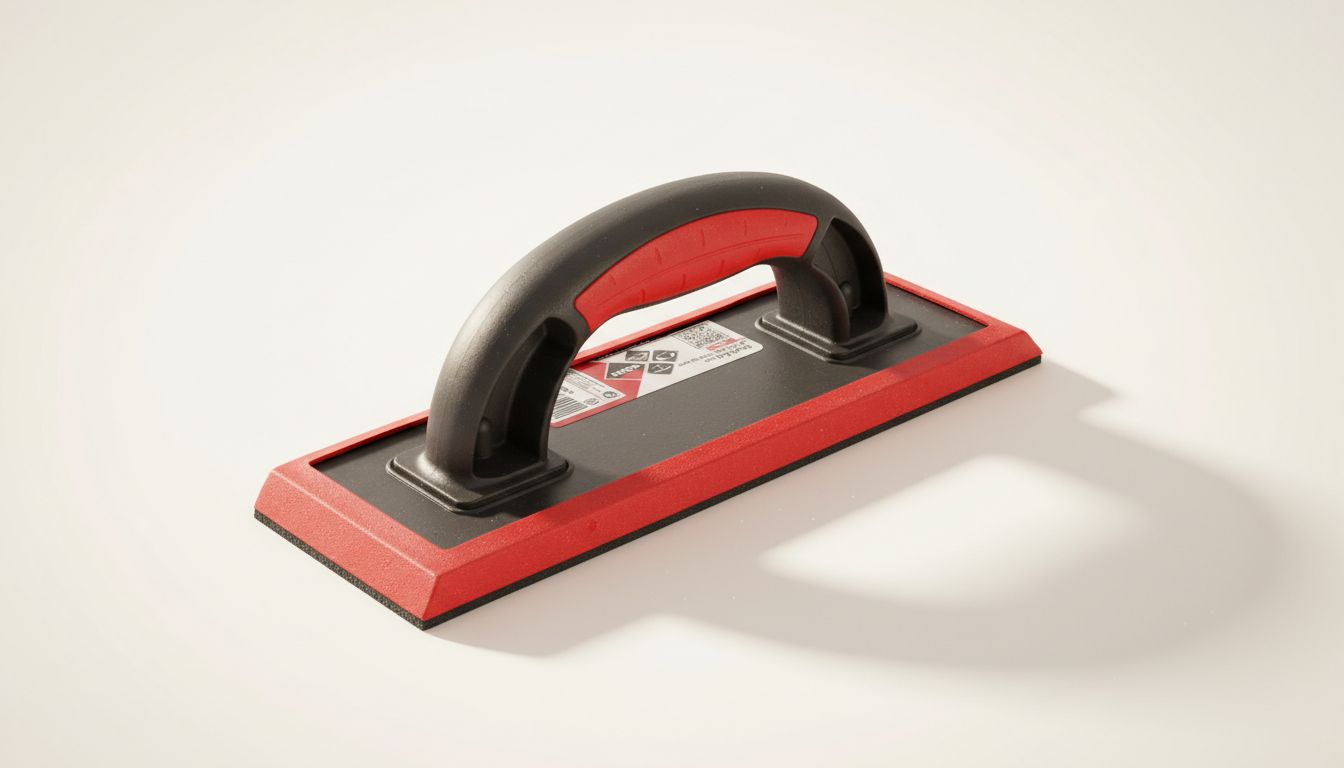
Spread the mixed grout over the tile surface with a rubber grout float held at a 45-degree angle. Press firmly, forcing material into the joints from multiple directions. Diagonal float strokes prevent the float edge from dragging grout back out of the joints. Remove excess grout from the tile face as you work — leaving too much surface grout makes cleanup much harder when it starts to set.
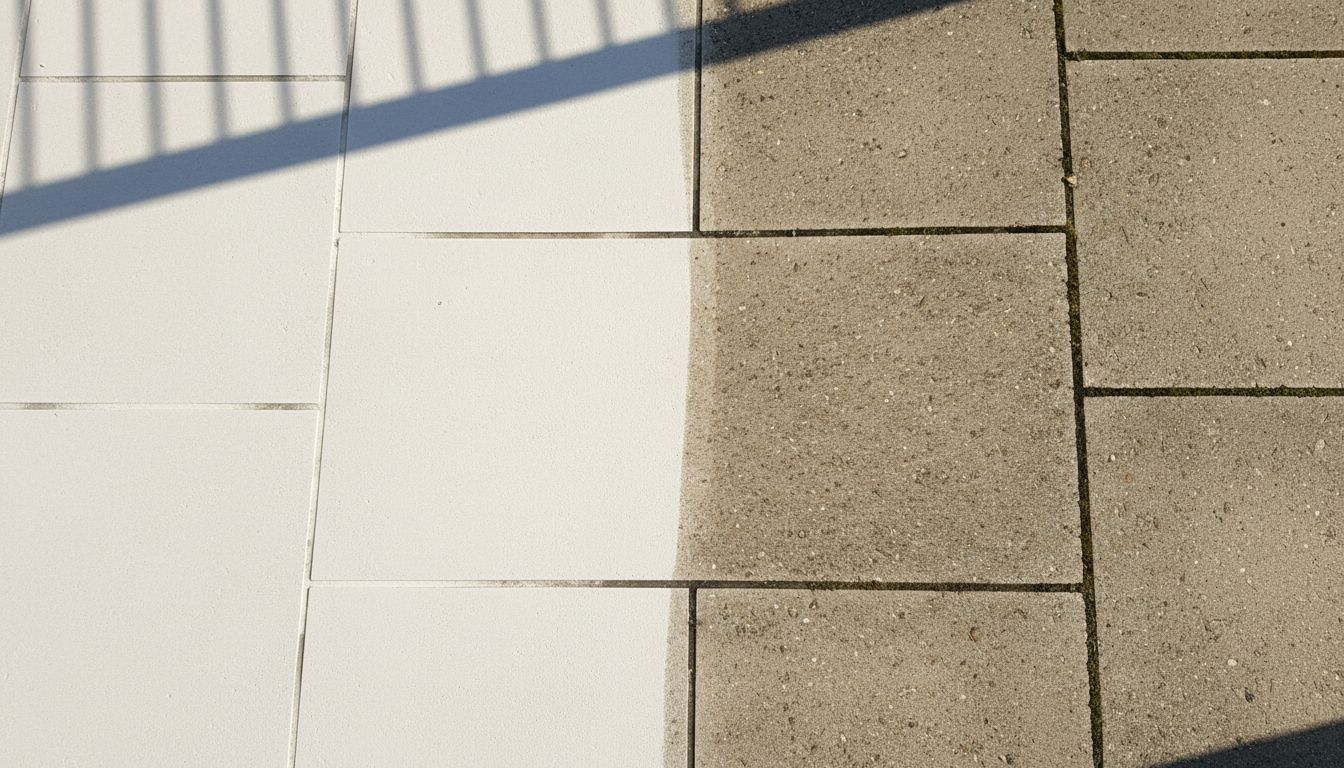
After 20 to 30 minutes (check with a fingertip — grout should hold a fingerprint without sticking), wipe the tile face with a damp sponge wrung nearly dry. Circular motions break up the haze without pulling grout out of the joints. Rinse the sponge frequently and avoid flooding the tile with water — excess moisture weakens setting grout. Two or three passes typically clear the tile face to near-final cleanliness.
How to Grout Mosaic Tile
Mosaic tile installed on mesh backing has many small joints close together, which means significantly more grout surface area than large-format tile. Apply the grout in smaller sections — 8 to 10 square feet — because the high joint density absorbs product faster. Use unsanded grout for joints under 1/8 inch; sanded grout for anything wider. When applying grout to mosaic tile, work the float diagonally across the mesh sheet direction to avoid the float edge catching the mesh and lifting corner pieces.
Cleanup on mosaic grout takes more passes because grout residue deposits across more tile face area. A second cleanup pass after 45 minutes, before the haze fully hardens, removes residue that the first pass left behind.
How to Clean Epoxy Grout
Epoxy grout cleanup is time-critical. Unlike cement grout that hazes and can be cleaned hours after application, epoxy sets to a near-permanent hardness. Clean epoxy grout residue from tile faces while it’s still in the working window — typically within 30 to 60 minutes of application depending on temperature. Use the manufacturer’s recommended epoxy grout haze remover, not standard tile cleaners. Warm water and a coarse sponge remove residue in the working window. Dried epoxy grout haze requires commercial epoxy remover products and significant scrubbing — prevention by cleaning early is far easier.
How to Grout a Shower Floor
Shower floor tile — often 2×2 mosaic tiles or penny rounds — has extensive joint area that needs full grout coverage for sanitation and surface integrity. Use sanded grout for joints over 1/8 inch. Apply and clean in small sections because shower floor tile absorbs grout quickly and the irregular grout joint widths common in mosaic make cleanup more time-intensive. Pay particular attention to the drain area — keep grout away from the drain flange by 1/4 inch on all sides, filling that gap with silicone caulk instead of grout.
Key takeaways: Apply grout in manageable sections, keep your sponge damp but not wet, and time your cleanup to catch the haze before it fully sets. For epoxy grout, clean in real time — waiting for cleanup is not an option. For shower floors, use silicone at the drain, not grout.