Caulking Tools, Grout Tools, Green Grout, and Texture Tools Guide
Caulking tools are what separate a professional-looking bead from an amateur streak — the right applicator gun, finishing tool, and tape combination makes the difference in any tile or finish work. A grout tool is specifically designed for the different tasks in the grouting process: floating, cleaning, and finishing. Grout tools as a category includes rubber floats, margin trowels, grout sponges, and grout saws for removal. Green grout is a less common term that refers to grout with a green pigment — popular in certain Mediterranean and outdoor tile applications. Drywall texture tools — hoppers, knockdown knives, and roller textures — are a parallel tool category for wall finishing work that often happens in the same renovation project as tile work.
Caulking Tools for Tile and Finish Work
A good caulk gun — either manual trigger or battery-powered — controls flow rate and reduces hand fatigue during extended caulking sessions. Manual guns with a ratchet-advance rod are adequate for small jobs. For large areas, a smooth-drive gun with a thrust rod (not ratchet) gives more even flow. After applying, a caulk finishing tool or a moistened gloved finger smooths the bead and creates a concave profile that sheds water and looks clean. Masking tape on both sides of the joint, removed immediately after smoothing, gives perfectly crisp edges that are otherwise very difficult to achieve freehand.
For grout-matching caulk at inside corners and transitions, use silicone caulk for wet areas (showers, tub surrounds) and latex caulk for dry areas. Silicone adheres to more surfaces and is more flexible, but it cannot be painted and is harder to tool. Sanded caulk matches the appearance of sanded grout for wider joints. Choose the product that matches the joint width and wet exposure level of your application.
Grout Tools for Tiling
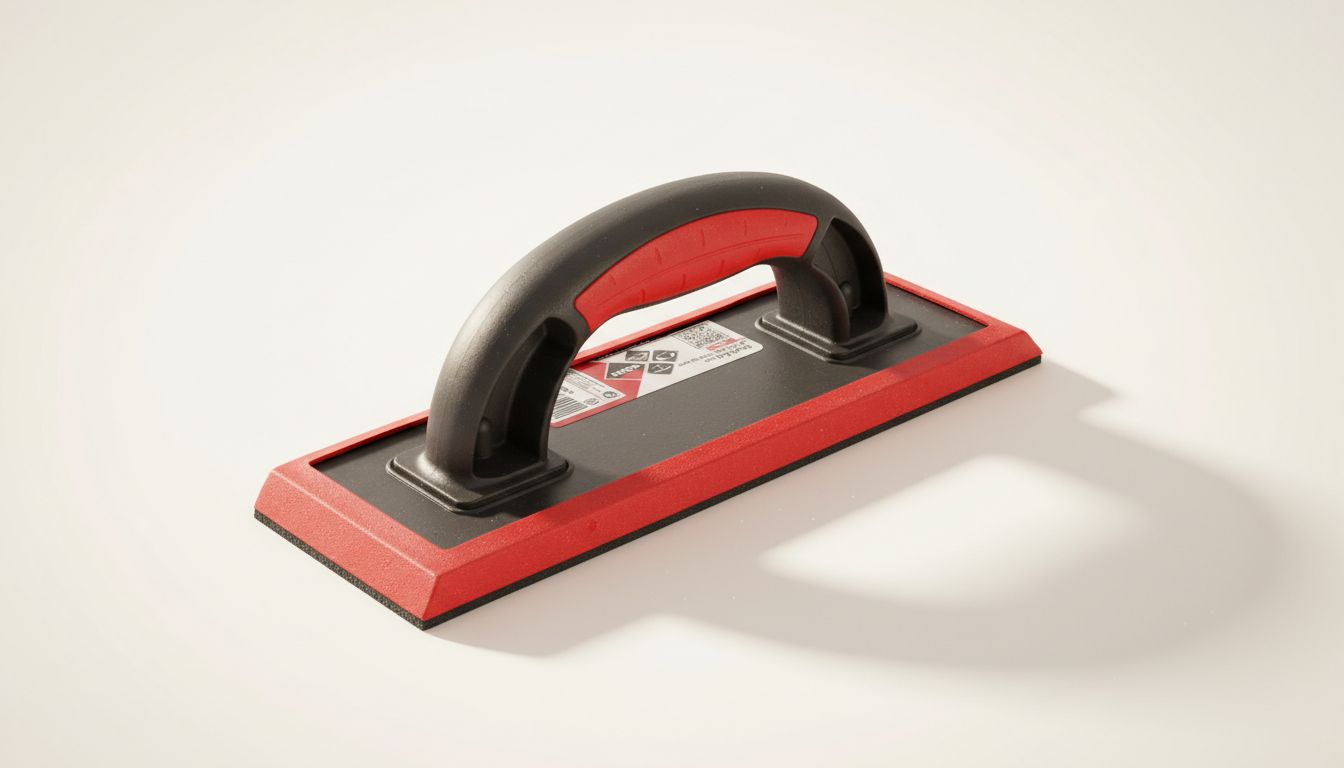
The rubber grout float is the primary grouting tool — it pushes material into joints while the flat face spreads and removes excess. A margin trowel is the secondary tool for working compound into tight areas the float can’t reach and for scooping grout from the bucket. A grout sponge (large, coarse cell) removes haze from the tile face during cleanup — standard household sponges are too soft and leave more residue than they remove. For removing existing grout before replacement, a grout saw (manual) or oscillating multi-tool with a grout blade cuts the old grout cleanly without damaging tile edges.
Green Grout: Color Options and Uses
Green grout is a standard cement grout with green pigment added during manufacturing. Popular colors include sage, forest, and seafoam. These work well with natural stone tile in earthy-toned bathroom designs, outdoor tile with organic materials, and Mediterranean-style kitchen backsplashes. Applying a green-toned grout follows the same technique as any other grout color. Green grout shows haze differently than neutral colors — the tinted residue can be harder to spot during cleanup, so wipe carefully and check at multiple angles before the cleanup window closes.
Drywall Texture Tools
Texture hopper guns are spray-applied texture tools that connect to a compressor. The hopper holds thinned joint compound and the air pressure determines spray pattern and aggregate size. Adjusting pressure and tip size produces anything from fine orange peel to heavy knockdown splatter. A knockdown knife — a wide, flexible drywall trowel — follows the hopper spray to flatten the high points before full cure. Stomp brushes and roller covers create hand-applied pattern textures on ceilings. For small patch work, canned texture spray products replicate orange peel without a compressor — useful for matching existing texture on repair areas rather than re-texturing an entire room.
Next steps: Before any tile or drywall texture work, assemble the full tool kit before starting. Running to the hardware store for a missing margin trowel or grout sponge mid-project costs time and risks quality when material starts setting while you’re away.