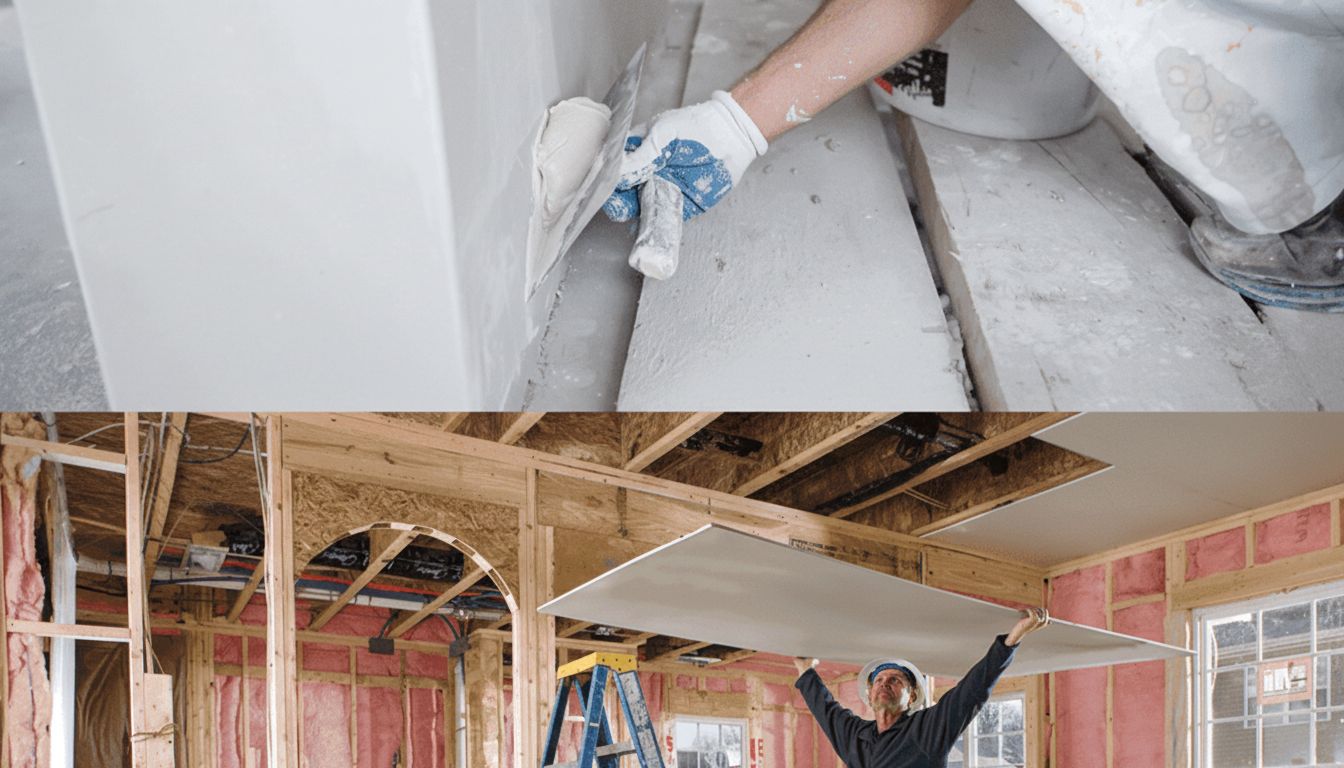
How to Fix Drywall: DIY Drywall Repair Guide for Every Type of Damage
Knowing how to fix drywall is one of the most practical skills a homeowner can have. Repairing drywall covers a wide range of situations—from small nail holes that take two minutes to fix, to larger damage from doorknobs, water leaks, or removed fixtures that require patching and re-taping. A DIY drywall repair doesn’t require expensive tools or professional experience; it requires the right materials and understanding which technique matches the size of the damage.
This guide walks through how to do drywall repair for every common damage type, from tiny holes to full panel replacements. Each method uses standard materials available at any hardware store.
Small holes: nail and screw repairs
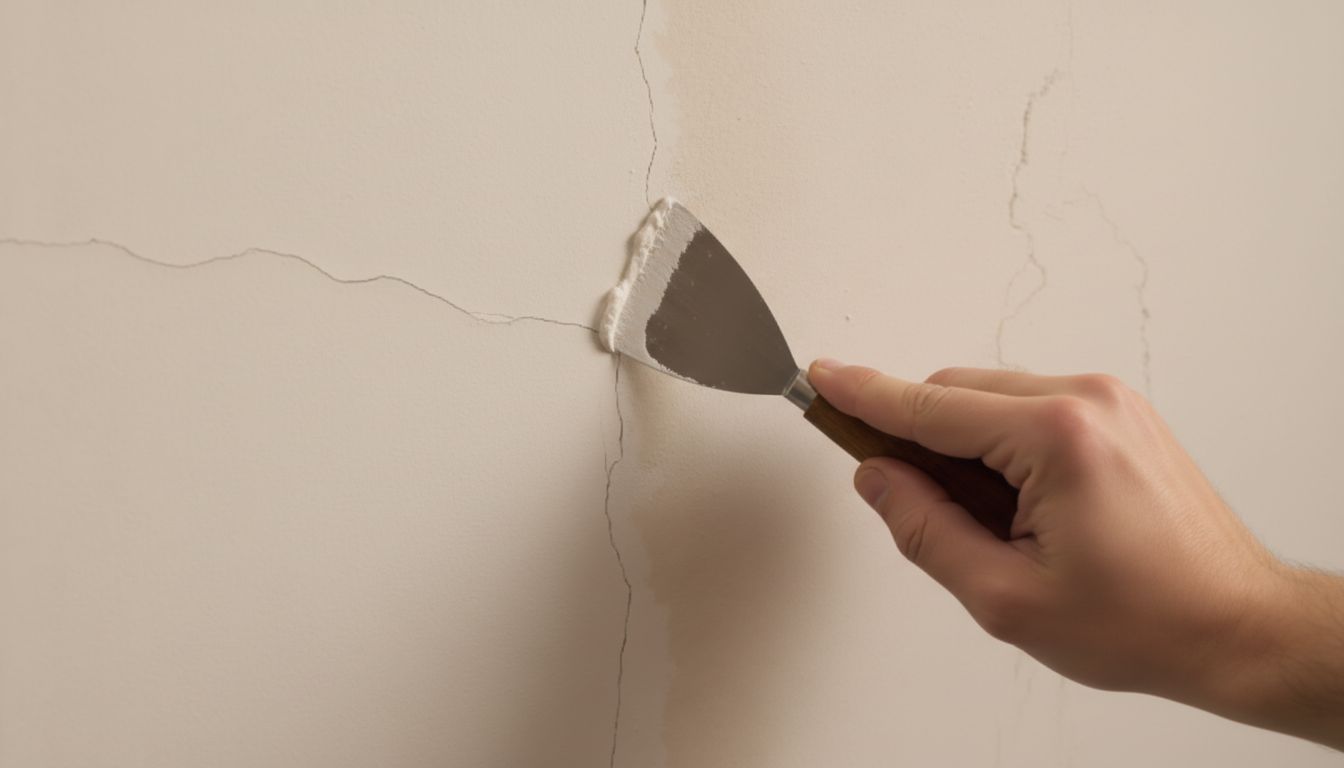
For nail holes and small screws up to about 1/4 inch in diameter, spackling compound or lightweight joint compound is all you need. Apply with a putty knife, press it in slightly overfilled, let it dry, then sand flush and paint. One coat usually works; two coats on deeper holes.
For holes up to about 3/4 inch—typical of wall anchors—use the same approach but score the edges of the hole lightly with a utility knife first to give the compound something to grip. Sand with 120-grit after the first coat, apply a second thin coat, sand to 220-grit, then prime and paint.
Matching texture before painting
If your walls have a texture (orange peel, knockdown, skip trowel), you’ll need to replicate it before painting or the repair will show as a flat spot. For orange peel, a can of spray texture applied at the right distance replicates the pattern on small repairs. For knockdown, apply a thin coat of joint compound and partially flatten it with a wide knife before it fully dries.
Medium damage: mesh patch method
Holes from 1 inch to about 4 inches across are best handled with a self-adhesive fiberglass mesh patch. Peel the backing, center the patch over the hole, and press it firmly to the wall. Then apply joint compound over the mesh in thin coats, feathering out 4–6 inches beyond the patch edges. Three coats are typically needed: a base coat to fill the mesh, a wider second coat to blend, and a final skim coat.
Mesh patches are faster than traditional methods but can crack over time if joint compound is applied too thick in one coat. Keep each coat to 1/8 inch or less and let each coat dry completely before applying the next.
Using setting-type compound for large mesh patches
For mesh patches over 3 inches, use a setting-type compound (like Durabond 45 or 90) for the first coat rather than standard all-purpose compound. Setting compounds harden chemically rather than air-drying, which prevents them from cracking as they cure over mesh on larger spans. Switch to all-purpose compound for the second and third coats for easier sanding.
Large holes: California patch and backing board
For holes larger than about 4 inches, you need a solid backing. Two standard methods work:
California patch: Cut a rectangular piece of new drywall slightly larger than the hole. Score the back of the patch piece, snap off the gypsum, and peel away the paper facing on three sides. Cut the hole in the wall to match the gypsum core of the patch. The paper flanges glue to the wall surface, providing a backing without requiring any additional support. This technique works well for holes up to about 6 inches.
Backing board method: Cut two pieces of 1×4 or plywood to fit inside the wall cavity, then screw them through the wall surface to create a backing behind each edge of the cut-out opening. Cut a drywall patch to fit the opening, screw it to the backing boards, and tape the seams with paper tape and joint compound. This is the most durable repair for holes over 6 inches.
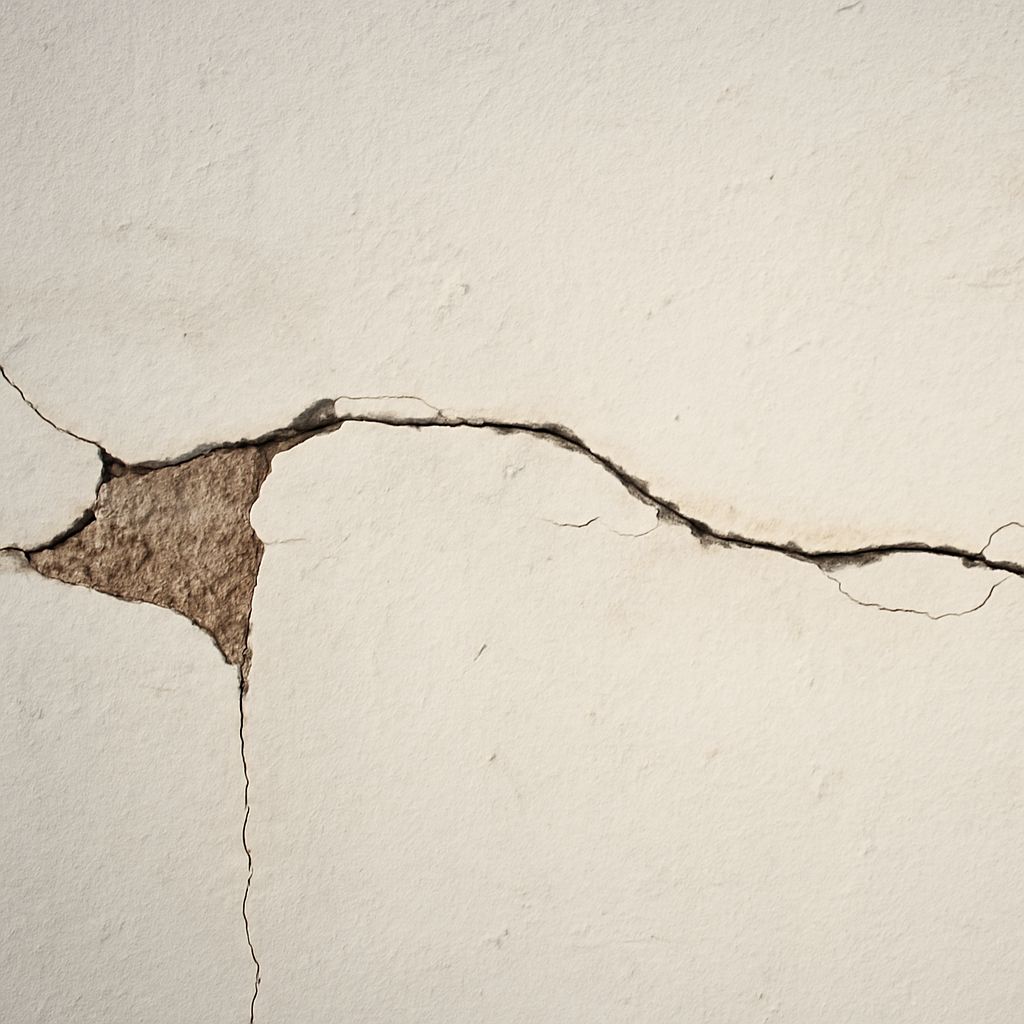
Corner and edge repairs
Damaged corner bead—the metal or vinyl angle on outside corners—is a common drywall repair. If the bead is dented but still attached, you can sometimes straighten it with pliers and re-coat. If it’s badly damaged, cut out the affected section with tin snips, pry it off, and install a new piece of bead crimped or screwed in place.
For inside corners, paper tape applied in the crease and coated with compound gives clean, sharp corners when done correctly. Run the tape in a single length, press it into the corner, and coat each side of the corner separately to maintain the crispness of the angle.
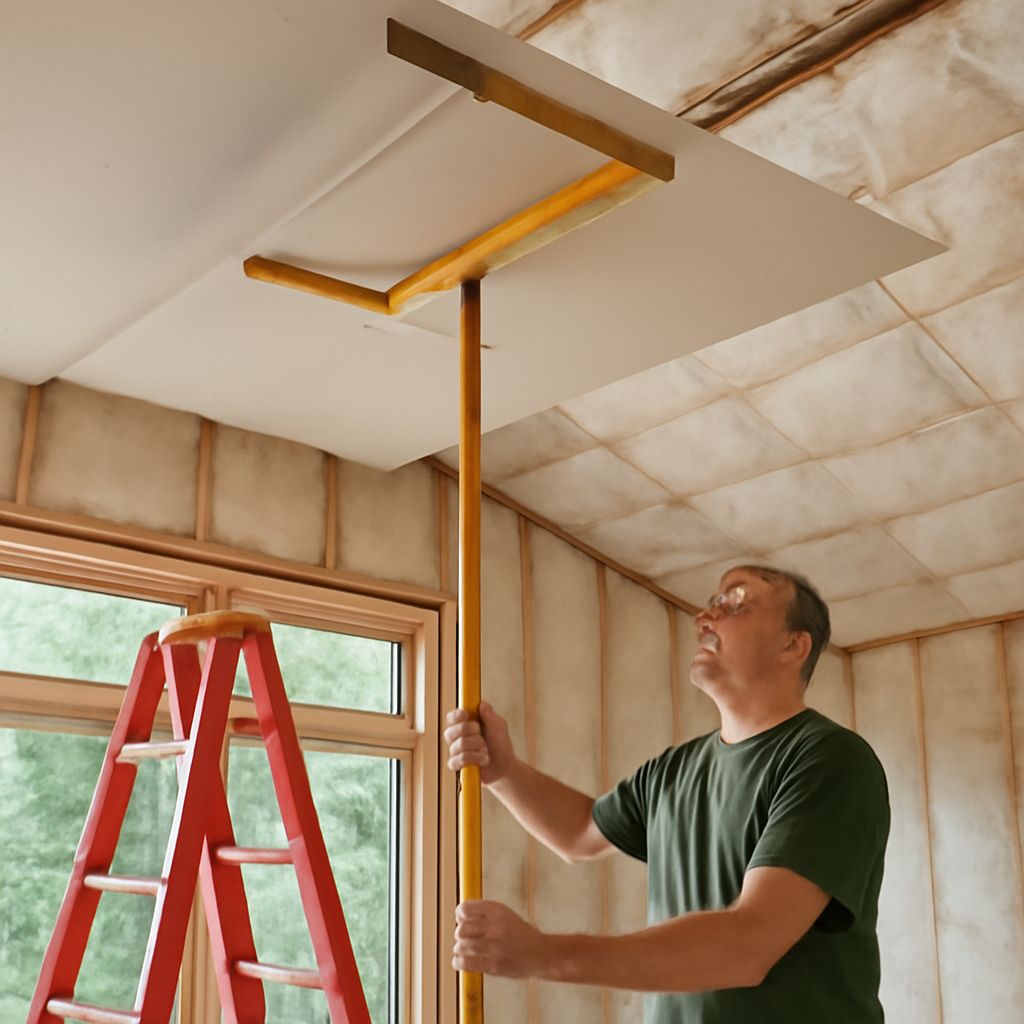
Finishing and painting
After all coats are dry and sanded, prime the repair area before painting. Unprimed joint compound absorbs paint differently than surrounding painted drywall—if you skip primer, you’ll see the repair through the finished paint as a sheen variation or dull spot. Use a PVA drywall primer or a shellac-based primer on water-damaged areas before applying your topcoat.
Sand the final coat with 220-grit paper or a fine drywall sanding screen to avoid scratching the paper facing on surrounding drywall. Wipe dust off with a dry cloth before priming.
Next steps: Match the paint color precisely before you start—this means taking a chip to the paint store for a spectrophotometer color match if you don’t have the original formula. A perfect repair with mismatched paint is still visible. For large repairs spanning multiple sheets, consider skim-coating the entire wall for a uniform finish.