White Subway Tile with Gray Grout: Design Tips for Backsplash & Bathroom
White subway tile with gray grout is one of the most dependable design choices available—it photographs well, ages gracefully, and works in traditional, transitional, and contemporary spaces alike. If you’re planning a kitchen backsplash with grey grout or a bathroom tile project and wondering how to get the most out of this classic combination, the details matter more than most people realize.
This guide covers subway tile with grey grout design decisions—from choosing the right grey shade to getting clean lines on a white subway tile backsplash with grey grout—and explains what makes subway tile gray grout combinations hold up over time.
Choosing the grey grout shade
The contrast level between white tile and grey grout defines how graphic or subtle the finished installation looks. With subway tile grey grout combinations, three tiers of contrast are available:
- Light grey: Silver, pale pewter. Subtle—grout lines are visible but quiet. Creates a softer, more unified field that reads almost monochromatic from a distance. Works well in small spaces.
- Medium grey: Charcoal light, dove, warm pewter. The most common choice for white subway tile with gray grout in kitchens. The grid is defined clearly without dominating.
- Dark charcoal to graphite: High contrast—very graphic. Strong visual statement, especially with larger tiles. More visible in dirt accumulation but less likely to look dingy from calcium deposits than white grout.
Test your grout color with a sample board before committing. Grout lightens 10–20% as it cures. The shade you see at installation is not the final color.
Backsplash design and layout
A white subway tile backsplash with grey grout works in nearly every kitchen style, but the layout pattern and tile size affect the final look significantly. The standard 3×6 tile in a stacked or running bond (brick) pattern with medium grey grout is the baseline. Here’s how variations change the character:
- Running bond (offset 1/3): More dynamic than standard 50% offset. The irregular break pattern makes the grout grid less repetitive.
- Vertical stacked: Very modern, elongates the wall visually. Works especially well when carried from counter to ceiling with no grout line interruption at a range hood.
- Herringbone: More labor-intensive but dramatically changes the visual weight of the same tile. Grey grout lines in herringbone read as a texture rather than a grid.
For backsplash height, running subway tile to the bottom of upper cabinets is standard. Running it to the ceiling creates a more finished, high-end look—especially in kitchens with open shelving or no upper cabinets.
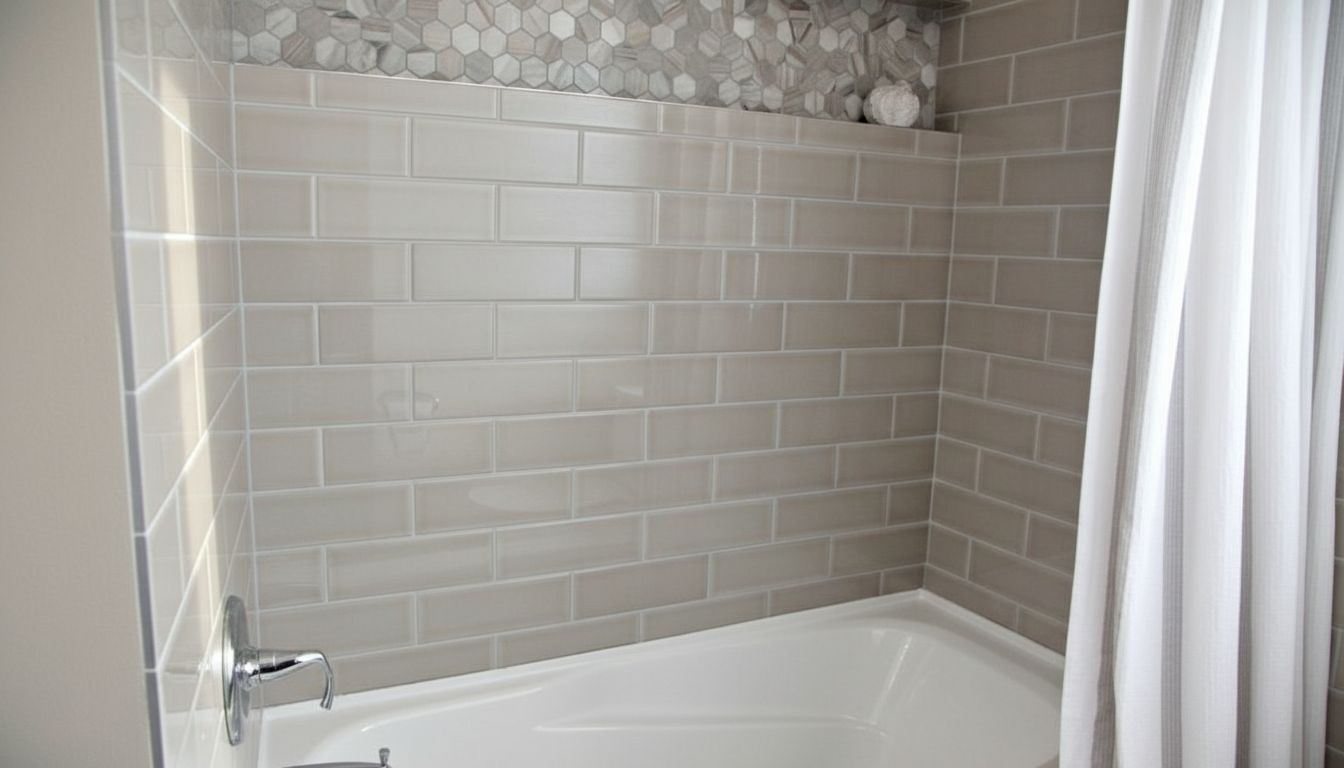
Bathroom shower and wall applications
Subway tile gray grout in bathroom showers performs well because the grout color conceals soap residue and hard water deposits that make white grout look perpetually dirty. A medium grey grout—not too light, not too dark—hits the practical sweet spot: maintenance-friendly without the starkness of very dark grout lines.
In shower enclosures, carry the subway tile and grey grout to the ceiling for maximum impact and minimum cleaning difficulty at the top edge. Install a schluter strip or pencil liner transition at outside corners and where tile meets a different surface. These trim pieces matter—they’re what distinguishes a professional installation from a DIY result.
Floor tile paired with subway tile grey grout walls should be coordinated, not matched exactly. A large-format light grey porcelain floor with the same grey grout tone used on the walls creates a cohesive look without being overly matchy.
Grout maintenance and sealing
Medium grey grout is practical: it doesn’t show every water drip and soap splash the way white grout does, and it doesn’t age as unevenly as very dark grout can when some sections wear faster than others. Seal it with a penetrating silicone grout sealer 28–30 days after installation (once fully cured).
Reapply sealer every 12–18 months in shower areas, every 2–3 years in backsplash areas. Routine cleaning with a pH-neutral cleaner and a soft brush removes calcium deposits before they build up. Avoid bleach or acidic cleaners—they’re hard on both the grout and any sealant.
Keys to clean installation
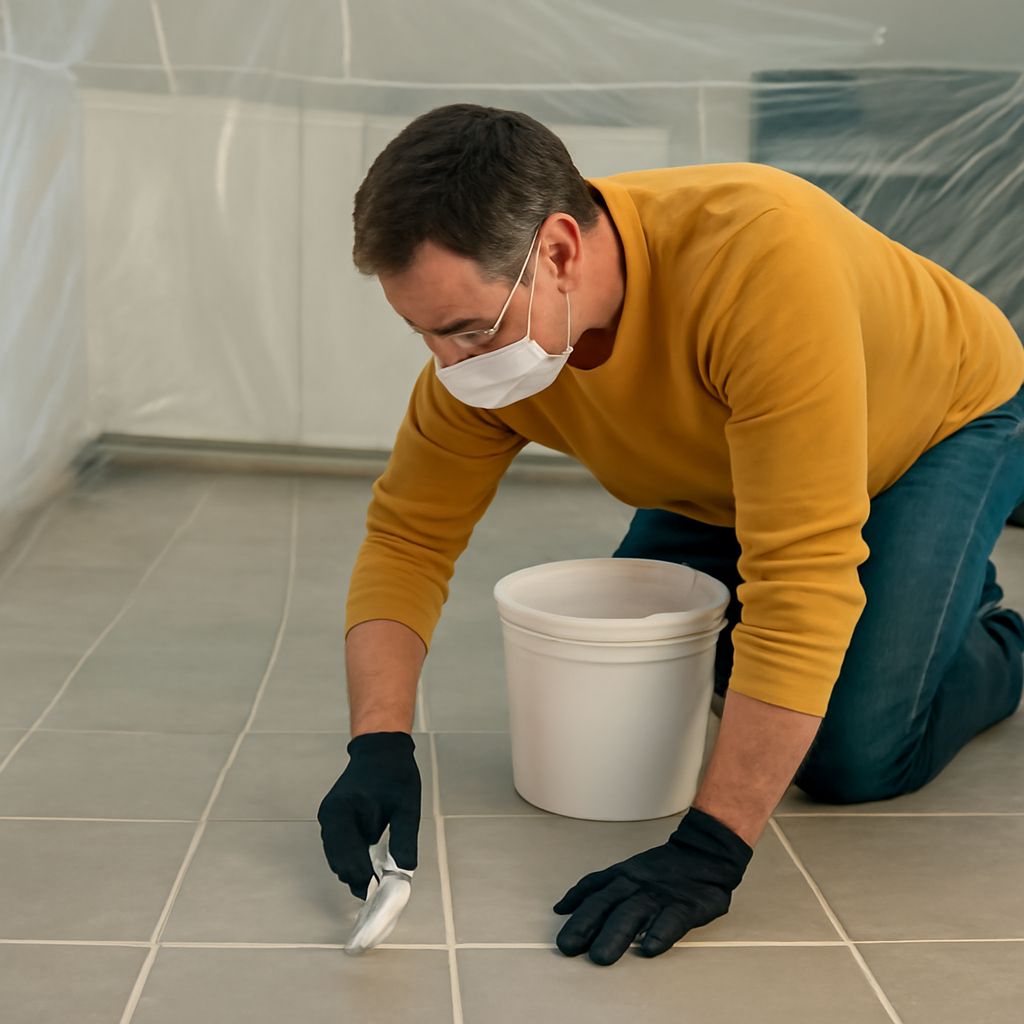
A clean white subway tile with gray grout installation requires consistent spacing and level coursing throughout. Use 1/16-inch spacers for tight modern joints or 1/8-inch for a more traditional look. Verify level every 4–5 courses with a 4-foot level—subway tile’s horizontal lines make any deviation immediately visible.
Mix grout to a consistent peanut butter consistency. Too dry and it won’t press fully into joints; too wet and grey grout will lighten as water migrates to the surface while curing. Clean grout haze from white tile within 20–30 minutes of application—dried haze on white tile is stubborn and requires a diluted sulfamic acid cleaner to remove without scratching the glaze.
Next steps: Decide your grout shade with a physical sample against your tile before purchasing. Order 10–15% extra tile for cuts and future repairs. For shower installations, use a polymer-modified tile setting mortar rated for wet applications—standard mastic adhesive is not suitable for shower walls.