Drywall Repairs: A Comprehensive Guide to Fixing Your Walls
Drywall damage can occur in any home due to a variety of reasons, and knowing how to address these issues is crucial for maintaining the aesthetic and structural integrity of your walls. Whether you’re dealing with minor imperfections or you’re looking to replace a section of drywall entirely, understanding the basics is the first step. This guide will walk you through the process of efficiently replacing drywall, ensuring seamless repairs that blend beautifully with your existing walls. From identifying damage to executing the repair, learn how to replace drywall like a pro.
Understanding drywall repairs
Common causes of drywall damage
Drywall can be damaged by several common factors, such as accidental impacts, water leaks, or settling foundations. Dents and dings often result from furniture or door handles, while water damage may arise from plumbing issues. Recognizing these causes can help you determine the best course of action and prevent future occurrences.
When to repair or replace drywall
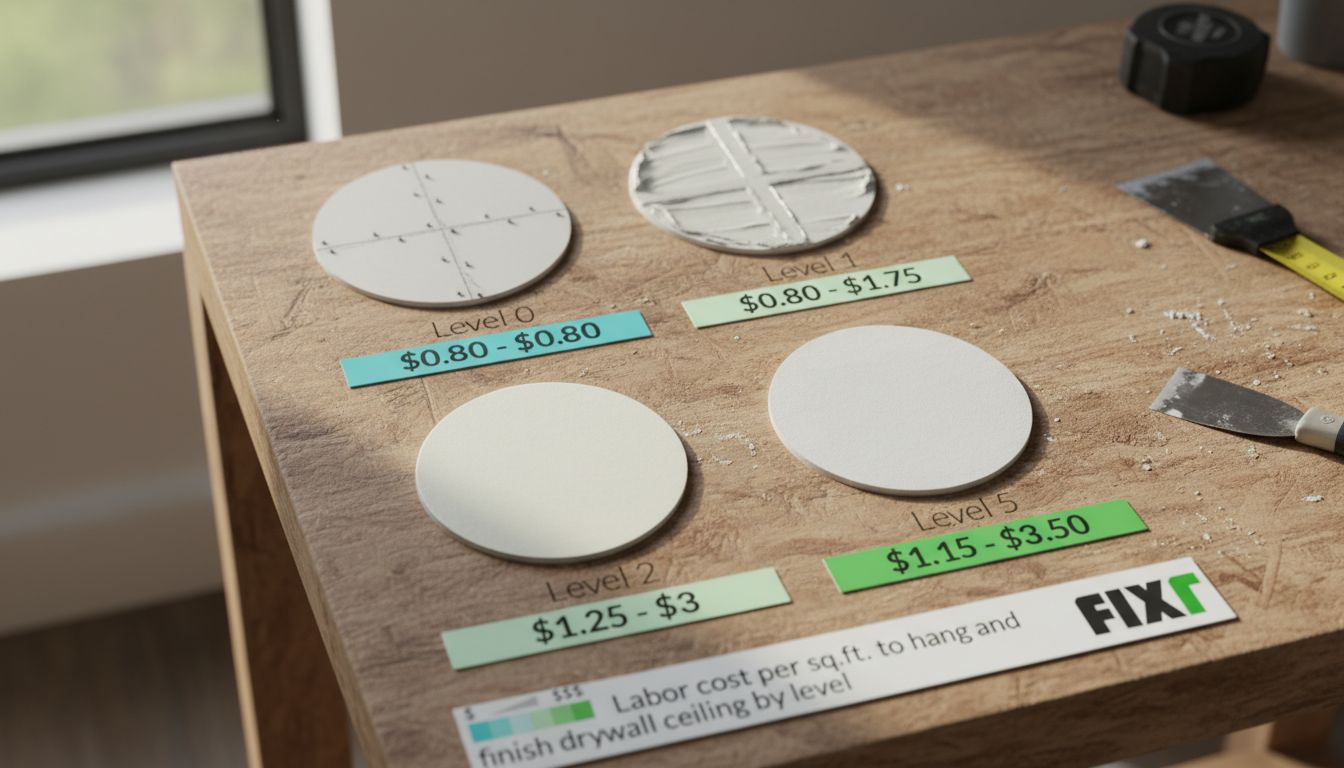
Deciding whether to repair or replace drywall hinges on the extent of the damage. For minor holes and cracks, simple patching may suffice. However, for large holes or extensive water damage, replacing the drywall might be necessary. Consider factors such as the age of the drywall, the size of the affected area, and the cause of the damage when making your decision.
How to replace a section of drywall
Tools and materials needed
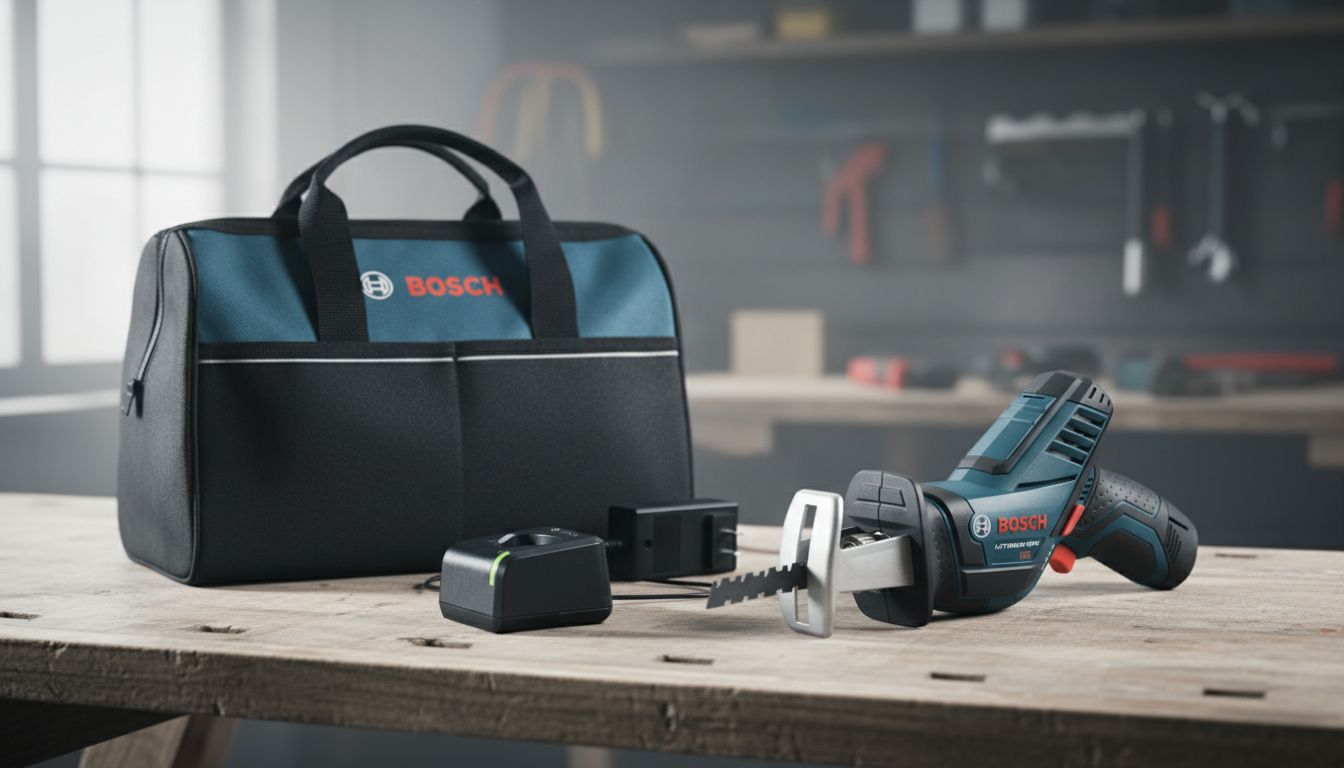
To replace a section of drywall, you’ll need specific tools and materials. Essential items include a utility knife, drywall saw, measuring tape, drywall screws, joint compound, and a drywall panel. Additionally, having a sanding block and putty knife on hand will facilitate a smoother finish.
Step-by-step guide to replacing drywall
- Start by measuring the damaged area and cutting out the damaged section using a drywall saw.
- Cut a new piece of drywall to fit the hole, ensuring it matches the thickness of the existing wall.
- Screw the new drywall piece into place, using drywall screws to secure it to the studs.
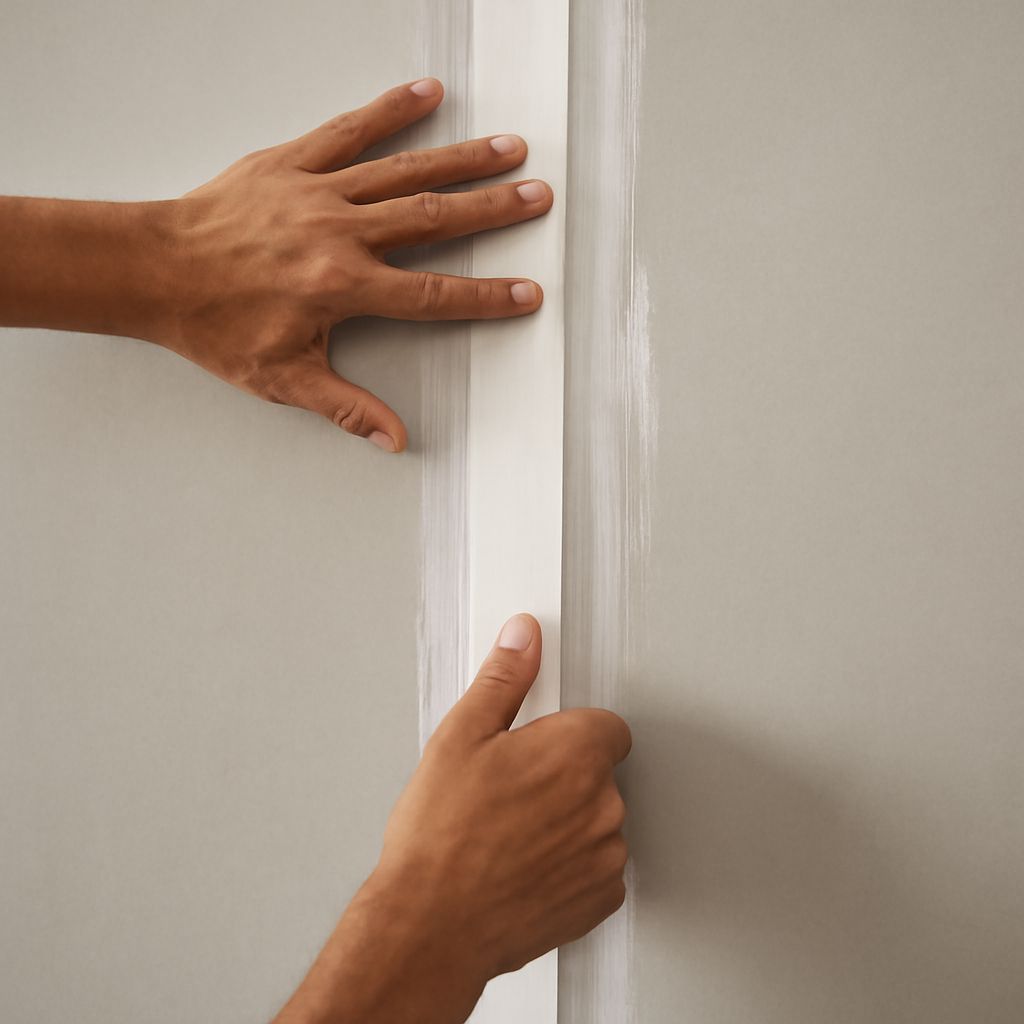
- Apply joint compound over the seams, feathering it out to blend with the surrounding wall.
- After the compound dries, sand it smooth, then apply another coat if necessary until the surface is flush.
- Prime and paint the repaired area to match the rest of the wall.
Mistakes to avoid when you replace drywall
Avoid common pitfalls such as cutting uneven patches or neglecting proper sanding between compound layers. Ensure you don’t overuse joint compound, as this can lead to noticeable bulges. Moreover, always match the drywall thickness exactly to prevent unsightly ridges.
Tips for successful drywall repairs
Finishing touches
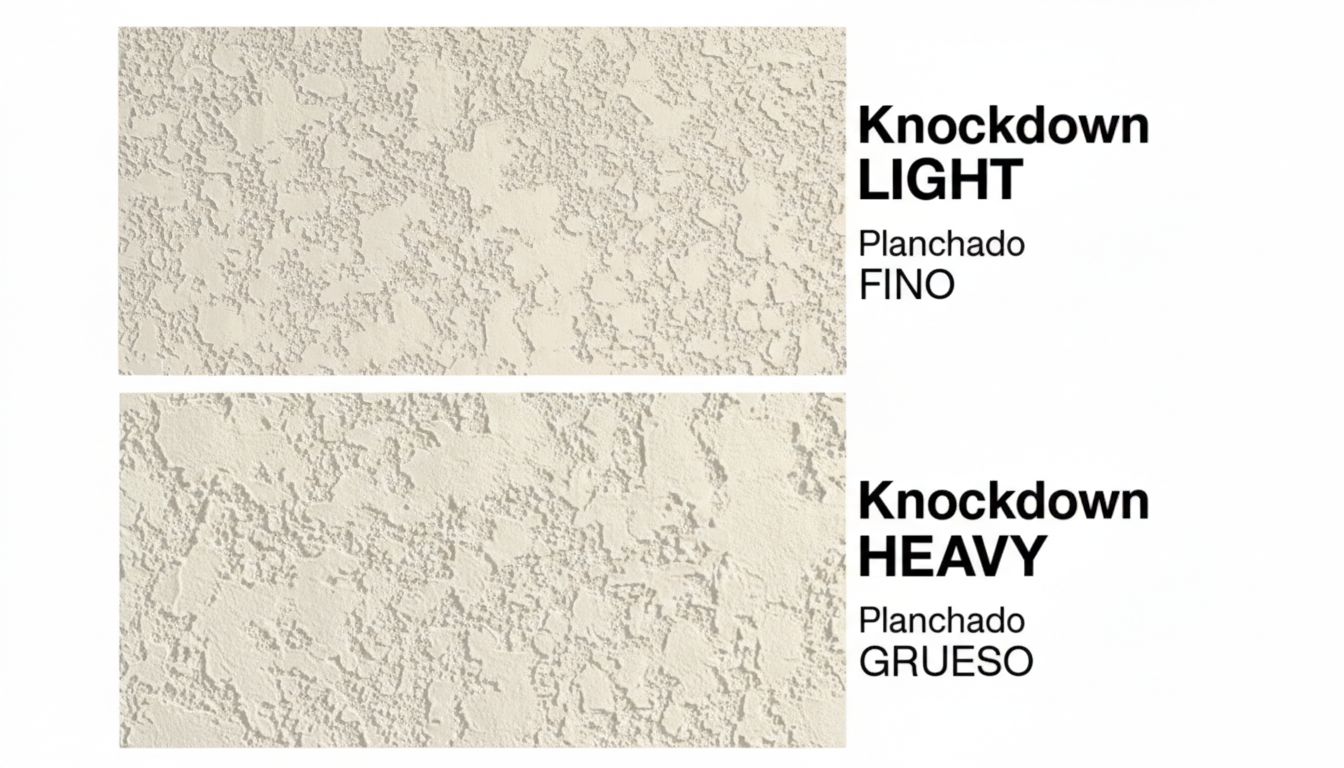
For a seamless finish, pay attention to the details. Sand gently between coats of joint compound, and use primer before painting to ensure even color. These finishing touches will make all the difference in achieving a professional look.
Maintaining your repaired drywall
Once your drywall is repaired, keep it in top condition by regularly inspecting for new damage and addressing moisture issues promptly. Simple maintenance will extend the life of your repairs and keep your walls looking pristine.
Pro tips recap: Measure and cut carefully, use the right tools, and apply joint compound with precision for a flawless drywall repair. If you’re unsure about complex issues, consult a professional to ensure the best results. Consistent maintenance helps prevent future damage and preserves your hard work.