White Subway Tile Gray Grout: A Comprehensive Guide
White subway tile is a timeless choice that can enhance any space, and pairing it with gray grout adds a modern twist. Whether you’re dealing with an imperfect smooth drywall texture or considering the use of a caulking backer rod, this guide will help you perfect your installation. Additionally, understanding the plumbing angle stop and learning how much grout you need for tile installation are crucial steps in ensuring a successful project. Dive into this comprehensive guide to transform your interiors with ease.
Choosing the Right Grout for White Subway Tile
Benefits of Gray Grout
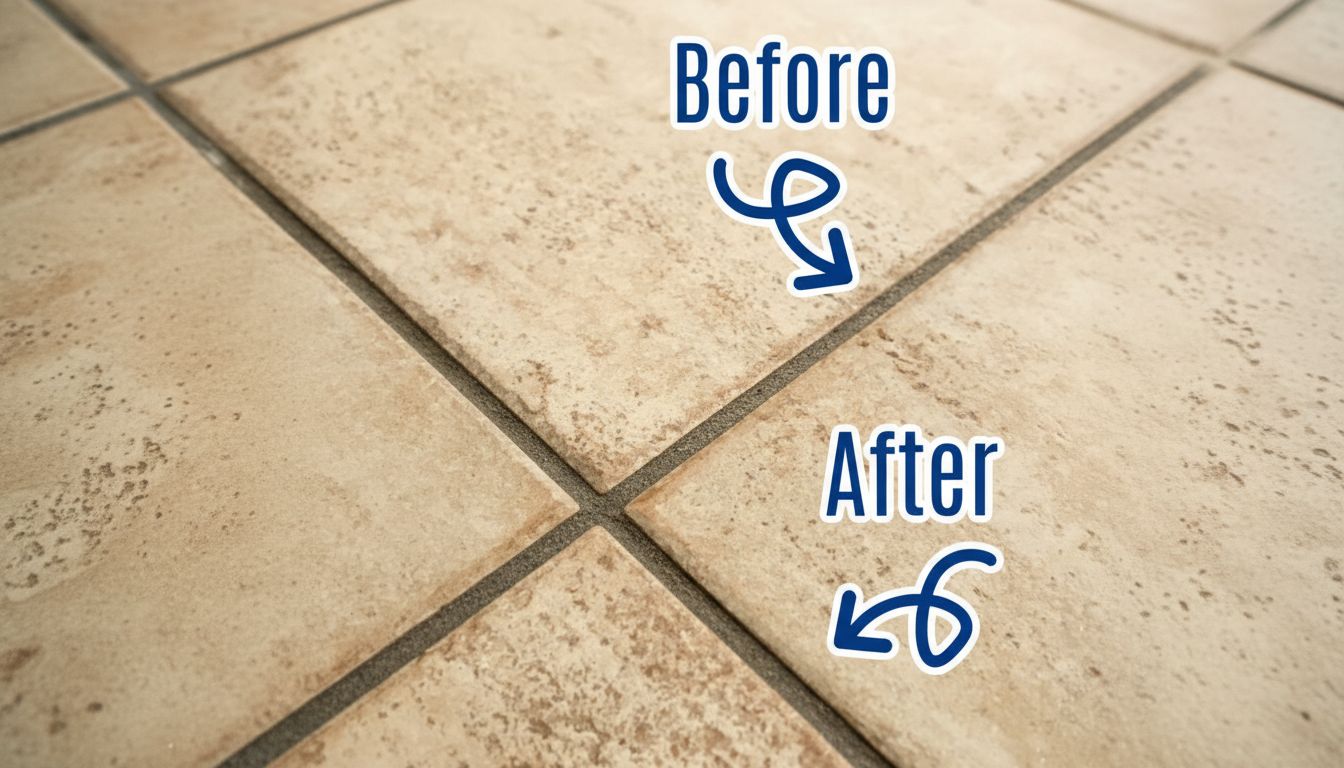
Gray grout offers several advantages when paired with white subway tiles. It helps mask dirt and stains more effectively than white grout, maintaining a cleaner appearance over time. This darker hue provides a striking contrast that accentuates the clean lines of your tiles, adding depth and interest to your design.
Opting for gray grout can also enhance the aesthetic appeal of your tiling project by highlighting the tile layout. This choice works well in various settings, from contemporary to traditional, allowing flexibility in your design plans.
How to Select the Perfect Shade
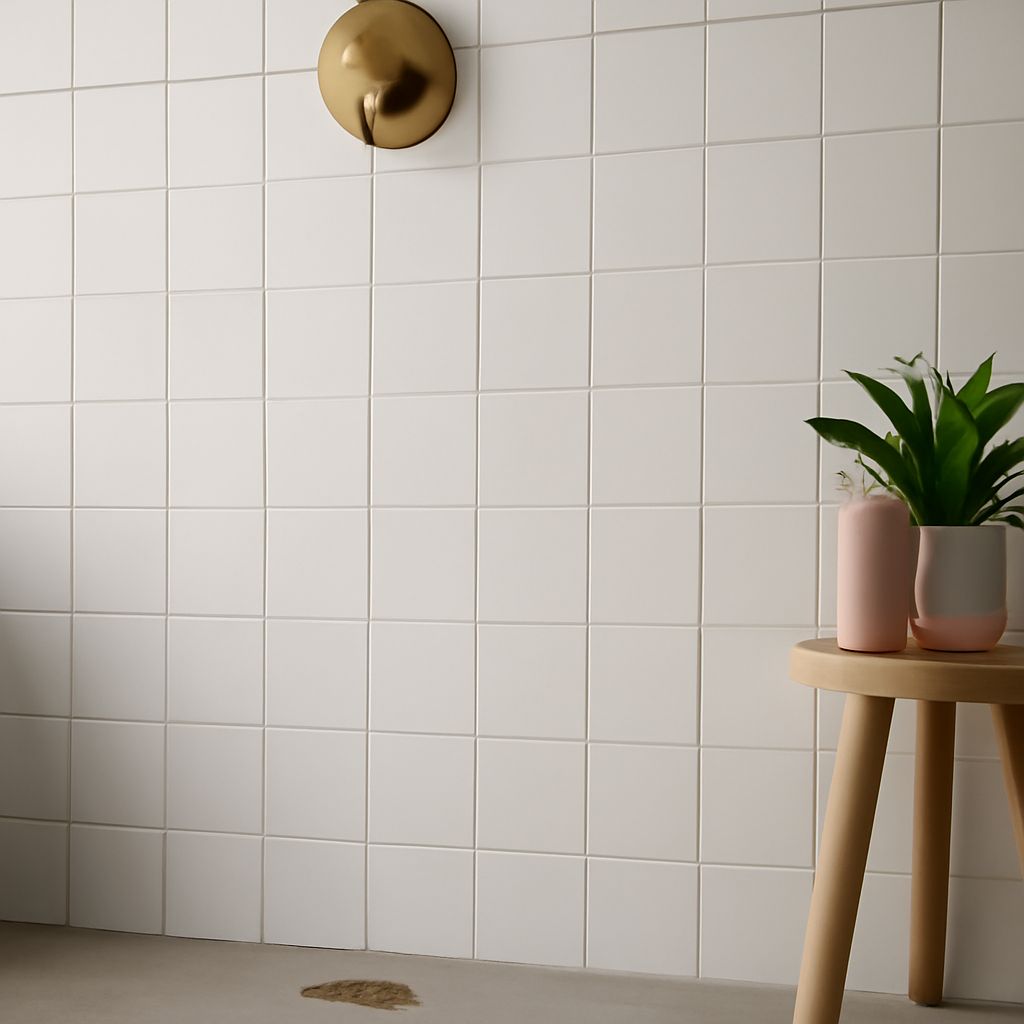
Choosing the right shade of gray grout involves considering the overall look you want to achieve. Lighter shades provide a subtle contrast and a softer look, while darker grays offer a bold statement. Test grout samples in your space to see how they interact with your lighting and tiles.
It’s essential to consider the other elements in the room, such as cabinets and flooring, to ensure a cohesive look. Consulting with a licensed stylist might be beneficial if you’re uncertain about color choices.
Preparing Your Walls for Tile Installation
Understanding Imperfect Smooth Drywall Texture
Before installing tiles, it’s important to assess the condition of your walls. An imperfect smooth drywall texture can impact the final appearance of your tile installation. Smoothing out any inconsistencies can help achieve a polished look.
Filling in holes and sanding down bumps ensures a level surface, allowing tiles to adhere properly without uneven gaps.
Ensuring a Stable Surface
Preparation is key, and ensuring your walls offer a stable surface is crucial. Reinforcing weak areas and applying a primer can help improve adhesion. This step minimizes the risk of tiles loosening over time.
Consulting a professional might be necessary if you’re unsure about the wall’s stability or if extensive wall repairs are needed.
The Role of Caulking Backer Rod in Tile Projects
Why You Need a Backer Rod
A caulking backer rod is a vital component in tile projects, particularly when caulking joints. It acts as a filler, reducing the amount of caulking needed and helping form the ideal joint shape.
Its use increases the longevity of the seal by protecting against moisture and movement, ensuring your tiles remain securely in place.
Installation Tips
When installing a backer rod, ensure it is appropriately sized for the gap. Compressing it slightly before inserting ensures a snug fit, enhancing its effectiveness.
Firmly position the rod at the correct depth before applying caulking to create a smooth finish that’s both functional and aesthetically pleasing.
Installing Plumbing Angle Stop with Your Tiles
The plumbing angle stop is a small but crucial component to include during tile installation. It controls water flow to fixtures, making it an essential consideration for bathroom and kitchen projects.
When installing, consider the tile layout to ensure the angle stop is accessible yet discreet. Proper placement affects both functionality and appearance.
If dealing with complex plumbing scenarios, consulting a licensed plumber is advisable to avoid potential leaks or installation errors.
Calculating How Much Grout Do You Need for Tile
Factors Affecting Grout Quantity
Several factors influence how much grout you’ll need for your project. These include tile size, joint width, and the overall area you’re tiling.
Smaller tiles with narrow joints typically require more grout than larger tiles, as do installations with intricate patterns.
Step-by-step Calculation Guide
Begin by measuring the total area to be tiled. Multiply the length by the height to get the square footage. Next, consider the tile size and joint width, which are crucial for calculating grout volume.
Using a grout calculator or consulting product guidelines can offer precise amounts, ensuring you purchase the correct quantity without excess.
Next Steps: With your tiles and grout in place, regular maintenance will keep them looking vibrant. Clean with appropriate products to avoid damaging the grout or tiles. Re-sealing grout periodically can protect against moisture and stains, extending its lifespan. Consider professional advice for any significant repairs or enhancements.