Understanding the Different Drywall Finish Levels
When working on any construction or renovation project, the levels of drywall finish are integral to creating a polished and visually appealing surface. Whether you’re a seasoned professional or a DIY enthusiast, knowing how to achieve the perfect finish can make all the difference in your project’s outcome. From using the right tools like a drywall hook to selecting the appropriate drywall nail, each step is crucial in ensuring a seamless result. Additionally, exploring flexible drywall options can offer greater versatility and ease of installation.
Introduction to drywall finish levels
Why drywall finish levels matter
Understanding the varying levels of drywall finish is essential in achieving a professional appearance. Each level corresponds to a specific stage of completion, ensuring that the drywall is adequately prepared for paint, wallpaper, or other finishes. Choosing the correct level depends on the desired final look and the function of the room.
Overview of different levels
The drywall finish levels range from 0 to 5, each representing a different state of completion and surface preparation. Knowing these levels helps you decide what is necessary for your specific project, whether it’s a quick job or a more detailed and demanding one.
Detailed explanation of the levels of drywall finish
Level 0: Unfinished
At Level 0, the drywall is completely raw, with no joint compound or tape applied. This level is usually chosen for temporary construction or when there is no concern for appearance, as it leaves the surface unfinished and exposed.
Level 1: Joint tape
Level 1 involves applying joint tape over seams and corners, but with little concern for aesthetics, leaving tool marks visible. It is typically used in areas hidden from view, like attics or service corridors, where a rough and basic finish suffices.
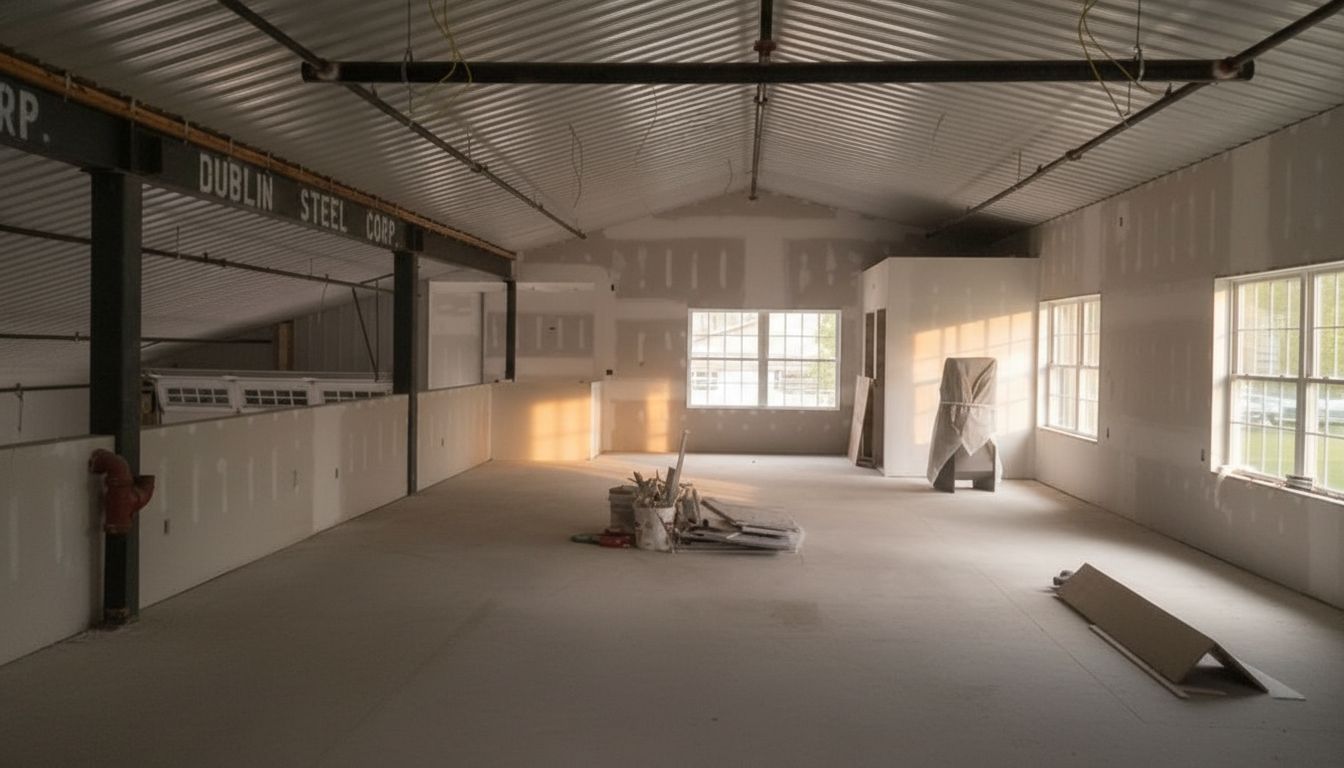
Level 2: Thin coat
In Level 2, a thin layer of joint compound is applied over the tape, covering the surface more uniformly. This level is suitable for garages and warehouses where some finish is necessary, but high visual standards are not required.
Level 3: Additional coat
Level 3 involves a second coat of compound, providing a more complete covering of seams and fasteners. It’s a midpoint choice, often used when applying heavy textures or thick wall coverings.
Level 4: Ready for paint
Level 4 is the most common finish for residential interiors, as it prepares the wall for flat paint or light textures. Here, three layers of compound create a smooth and even surface, minimizing any visible imperfections.
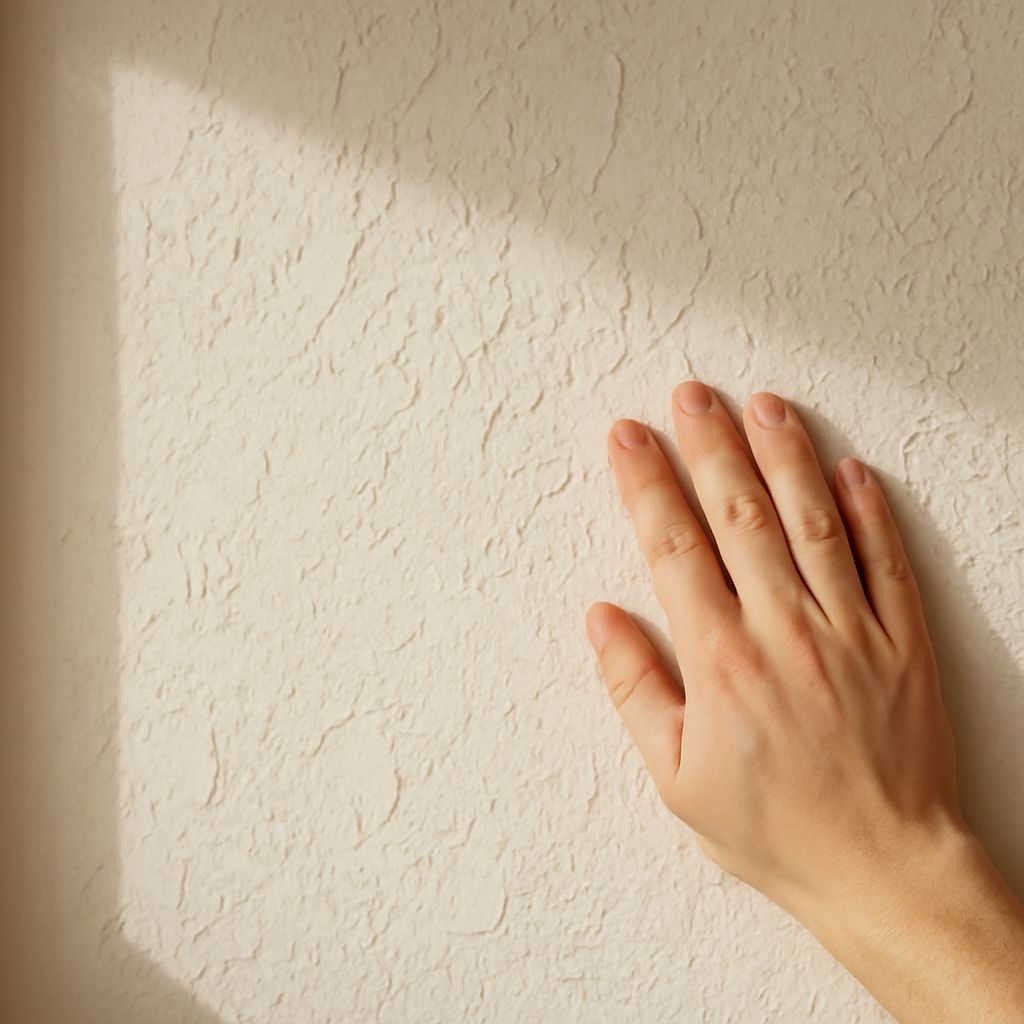
Level 5: Highest quality
Level 5 is the ultimate finish level, involving an additional skim coat to achieve an exceptionally smooth surface. It is ideal for areas with critical lighting conditions or high-gloss paints, ensuring an absolutely flawless appearance.
Tools and techniques for achieving quality finishes
Using a drywall hook effectively
A drywall hook is an invaluable tool for managing and maneuvering sheets of drywall with ease. Its utility is especially apparent when positioning drywall onto walls or ceilings, minimizing strain and ensuring precision in placement.
The role of a drywall nail
Selecting the right drywall nail is crucial in securing the boards without causing damage. These nails are designed to hold the drywall securely in place, allowing for a stable and reliable installation.
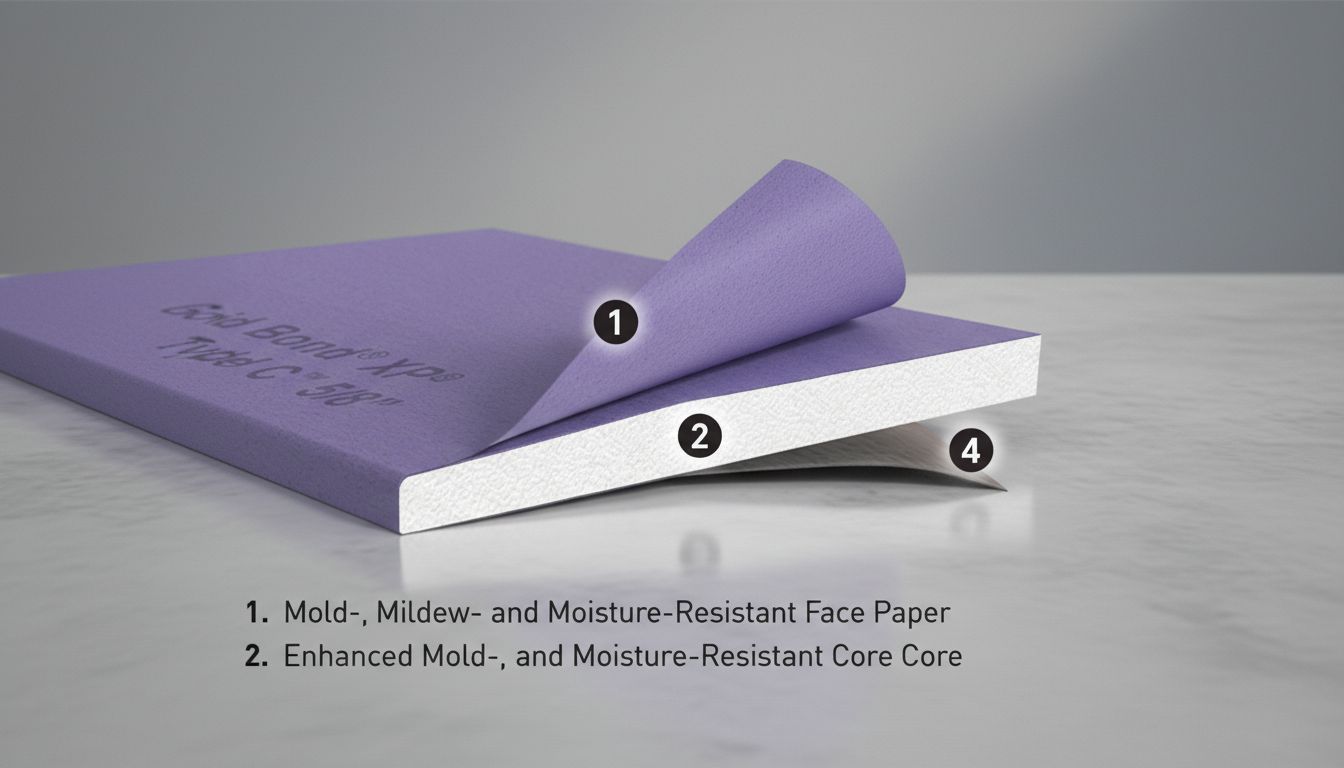
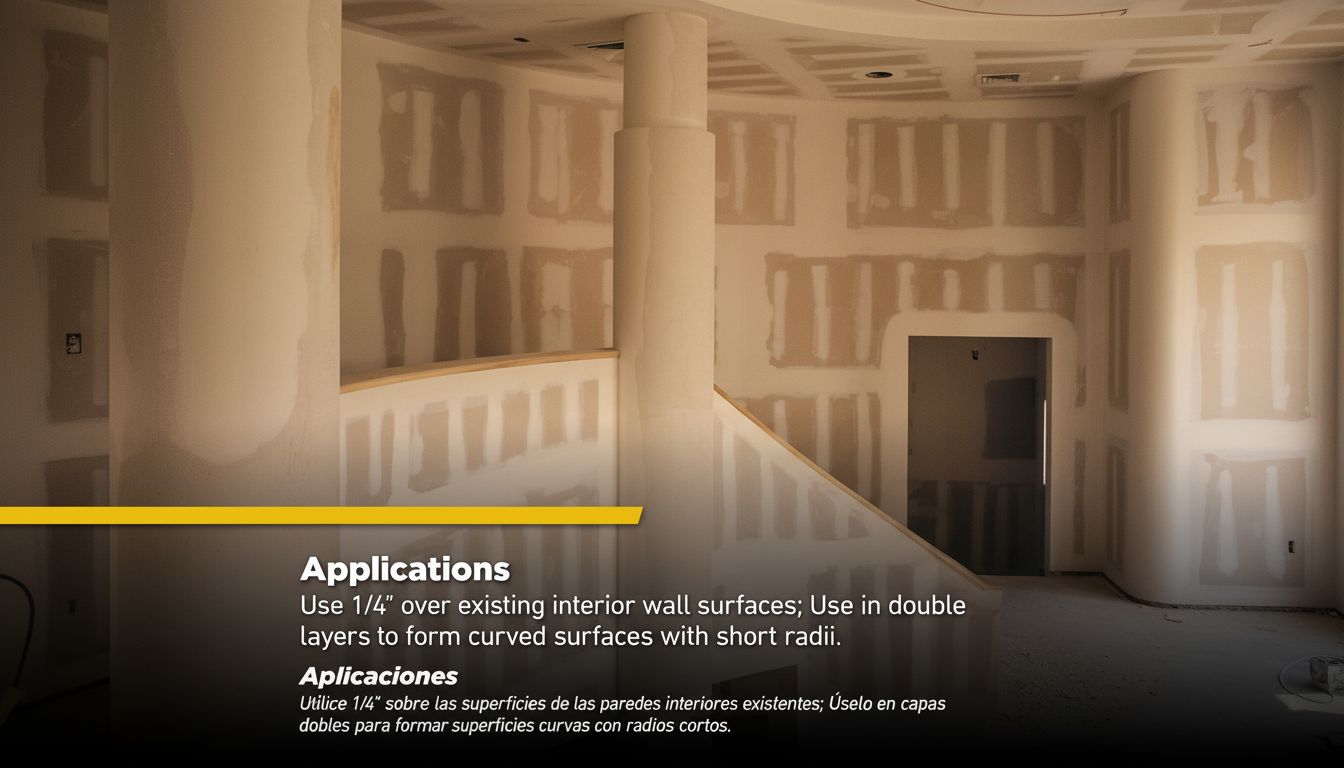
Benefits of flexible drywall
Flexible drywall offers a versatile solution for curved surfaces and challenging layouts. Its adaptability makes it easier to achieve a smooth finish on non-standard architectural elements, reducing the need for excessive cutting or patching.
Common issues and solutions
Dealing with imperfections
Imperfections in drywall can result from various factors such as uneven compound application or improper sanding. Addressing these issues promptly with additional smoothing and sanding can help restore the desired finish.
Ensuring even application
To achieve a consistently smooth finish, applying joint compound evenly and with care is essential. Using the right tools and techniques can prevent issues such as bubbling or cracking, leading to a pristine final appearance.
Conclusion
Recap of key points
Understanding the levels of drywall finish is key to achieving a professional look. Proper use of tools like a drywall hook, selection of the right drywall nail, and consideration of flexible drywall can greatly enhance your results.
Final tips for success
For the best outcomes, always consider the specific requirements of your project and consult a licensed professional when dealing with complex installations. A thorough preparation and understanding of drywall finish levels can ensure a successful and visually pleasing result.
Key takeaways: Mastering the levels of drywall finish is crucial for achieving a perfect surface. Selecting appropriate tools and techniques is essential for a seamless result. For complex tasks, consulting professionals is advisable.