No Grout Tile: Everything You Need to Know About Tile Without Grout
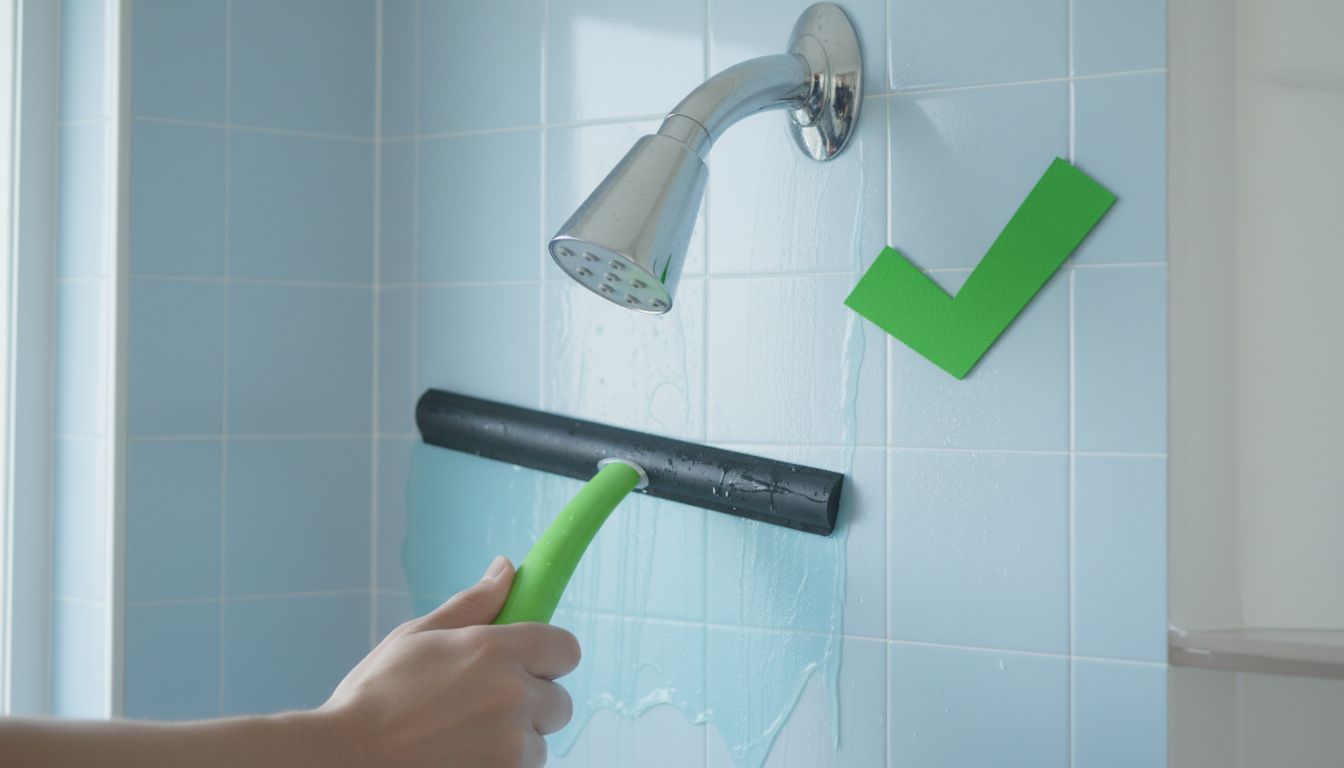
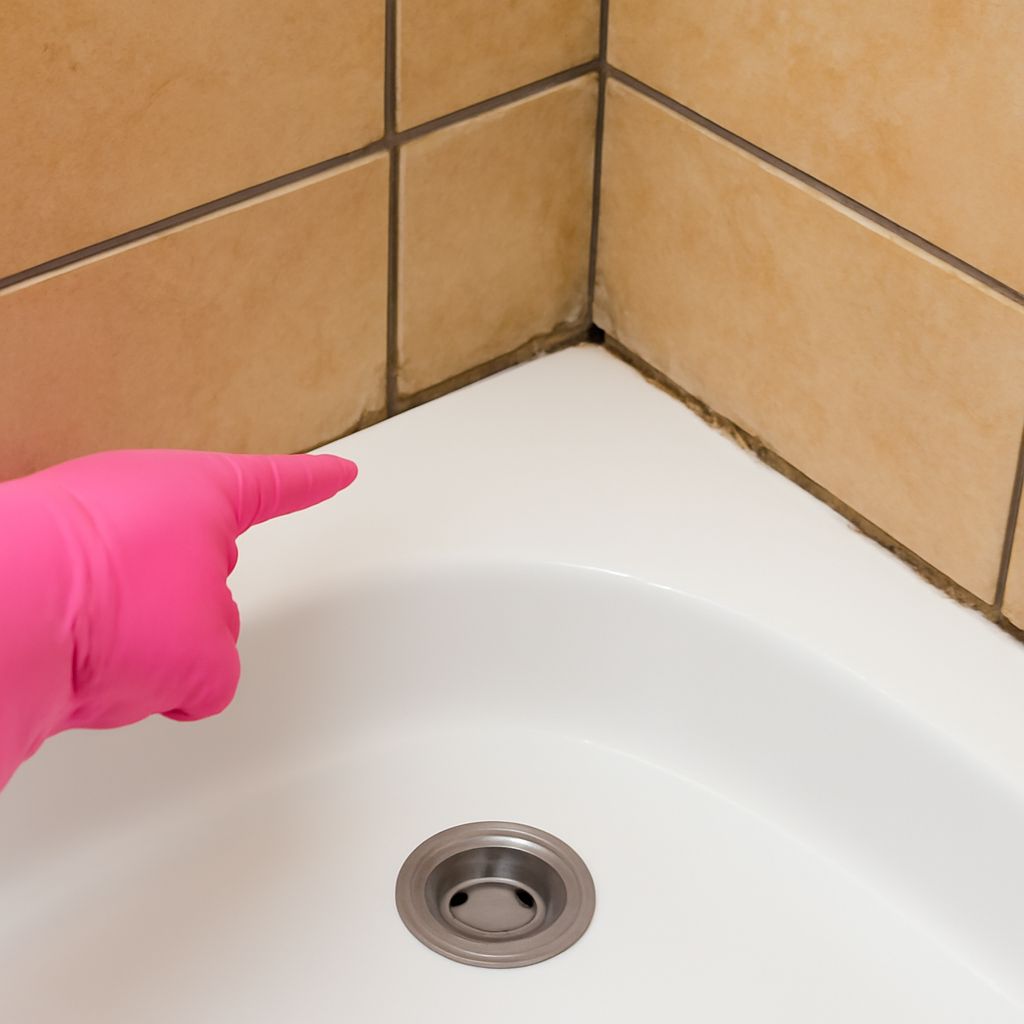
No grout tile has moved from design concept to practical reality, appealing to homeowners who want cleaner lines, less maintenance, and a modern seamless aesthetic. Traditional tiled surfaces with grout lines require regular cleaning and periodic sealing to prevent staining and mold growth. Tile without grout eliminates those maintenance tasks while creating a continuous visual surface that makes spaces feel larger and cleaner.
This guide covers what no grout tile really means, the difference between extremely tight grout joints and true grout-free systems, no grout tile flooring options, no grout tile shower considerations, and how a floating tile floor no grout system works.
What Is No Grout Tile and How Does It Work
Rectified tile and tight grout joints
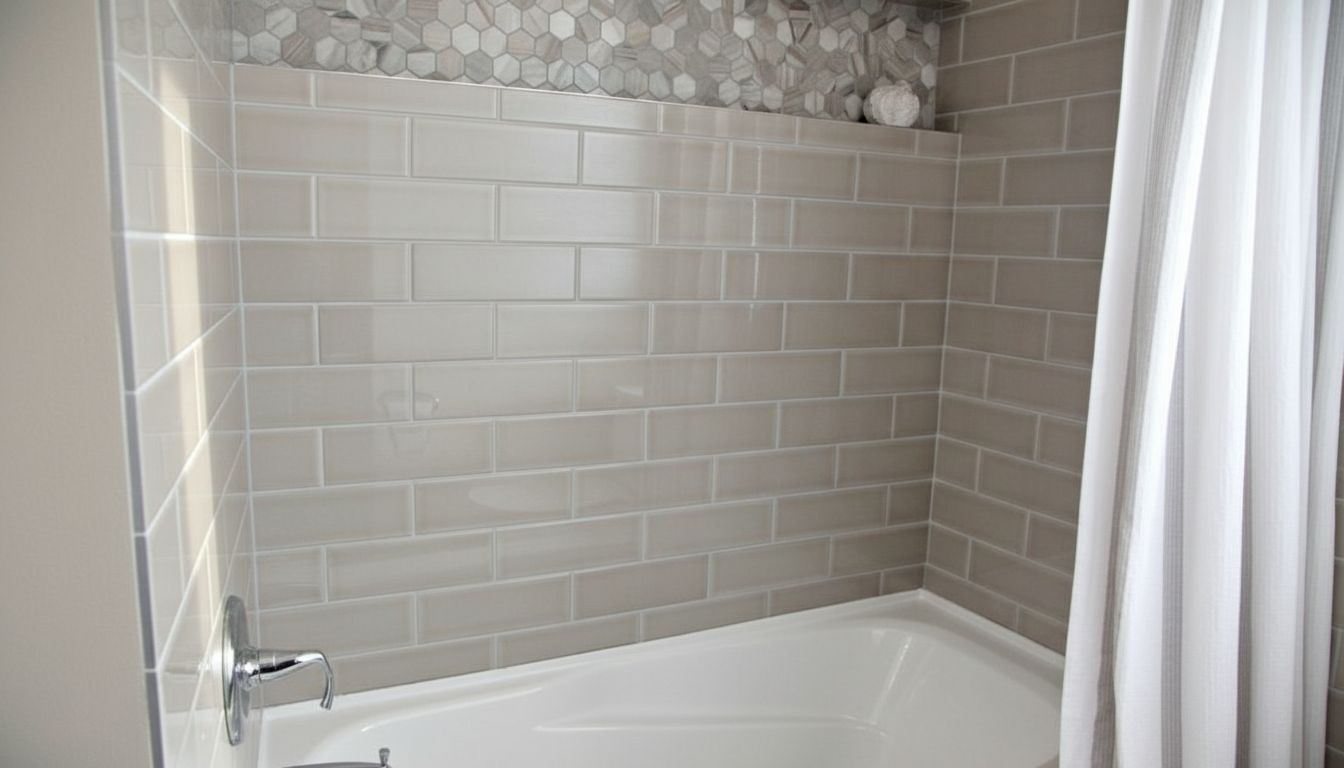
Most products marketed as no grout tile are actually rectified tiles installed with very tight joints — typically 1/16 inch or less. Rectified tiles are precision-cut to exact dimensions after firing, giving them consistent edges that can butt nearly flush against each other. With such minimal joint width, grout nearly disappears visually and the surface reads as nearly seamless. However, some minimal grout fill is still needed to prevent tile edge chipping and to seal the joint against moisture intrusion. This grout is colored to match the tile body, rendering it nearly invisible.
True grout-free tile systems
True tile without grout systems use interlocking tiles that snap or click together, similar to floating laminate flooring. These systems are most common in floor tile format and are installed over a flat substrate without mortar. The interlocking mechanism maintains joint alignment without requiring grout. Some manufacturers use a silicone or flexible sealant in the joints instead of cementitious grout — this accommodates movement and maintains a watertight seal without the rigidity that causes cracked grout in dynamic substrates.
No Grout Tile Flooring: Options and Installation
Installing no grout tile flooring using rectified large-format porcelain requires an exceptionally flat substrate. For every 10 feet of floor, the variation should be no more than 3/16 inch. Self-leveling underlayment fixes uneven concrete slabs before tile goes down. The use of large-format tiles — 24×24 or 24×48 inch format — with minimal grout joints is currently one of the most popular flooring aesthetics in new construction and remodels.
For snap-together floating tile systems, installation is more forgiving because the tiles are not bonded to the substrate. Most systems require only that the substrate is clean, flat, and dry. The floating installation allows for natural expansion and contraction with temperature changes and makes future removal and replacement straightforward. These systems are particularly useful in rental properties, finished basements subject to seasonal humidity changes, and any space where future access to the substrate may be needed.
No Grout Tile Shower: What You Need to Know
A no grout tile shower is achievable but requires careful material selection and installation. In wet shower environments, any gap between tiles — however small — must be completely sealed against water infiltration. Large-format shower panels in porcelain, glass, or composite materials that are caulked at the seams rather than grouted have become the practical realization of the no-grout shower concept.
Solid surface shower panels — acrylic, composite stone, or quartz-surfaced products — eliminate grout entirely by covering the shower walls in continuous or minimal-seam panels. These systems are more expensive than tile but provide true grout-free maintenance. For tiled showers with near-invisible joints, choosing an unsanded grout in a shade that matches the tile body creates the closest visual to a no-grout appearance while maintaining proper waterproofing.
Floating Tile Floor No Grout: Systems and Installation
A floating tile floor no grout installation uses click-lock porcelain or stone tile systems that install without adhesive or grout. The Schluter Ditra tile system and similar products provide an uncoupling membrane that allows tiles installed with mortar above to float over the substrate, though these still require grout. True click-lock floating tile systems such as Droptile or similar products click together like floating wood flooring and install over any flat surface.
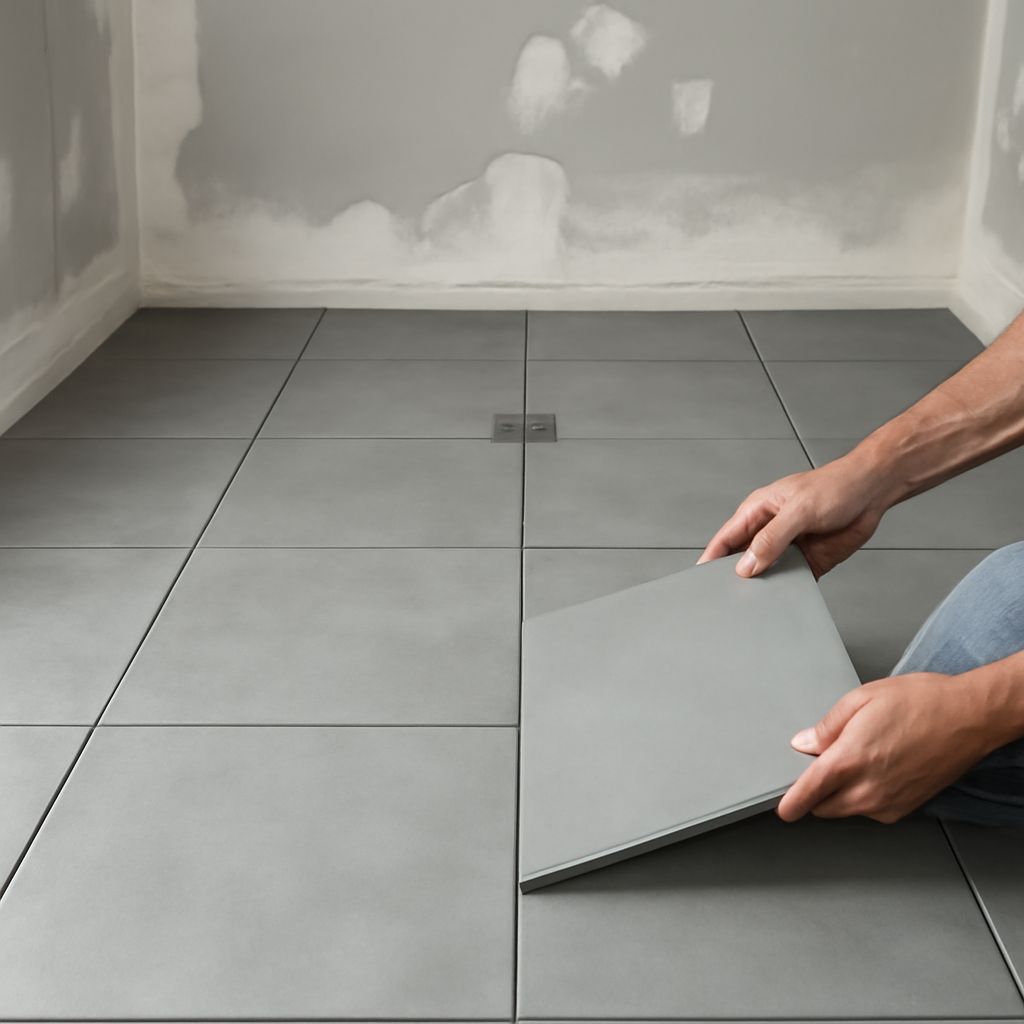
Installation sequence for a floating click-lock tile system: confirm the substrate is flat (within 3/16 inch over 10 feet), clean and dry. Acclimate tiles to room temperature. Begin at the center of the room or at the most visible wall. Click tiles together following the manufacturer installation pattern, maintaining expansion gaps at all walls. No mortar, no grout, no drying time.
Next steps: Before committing to a no grout approach in a shower, consult with a tile installer experienced in large-format work and waterproof membranes. For floors, request a sample of the click-lock tile system you are considering and test the installation mechanism yourself — ease of snap-together connection varies significantly by product quality and can reveal practical installation challenges before you purchase full materials.