Plumbing Camera Inspections: Tools, Techniques, and When to Use Them
A plumbing camera lets you see what’s actually inside your pipes instead of guessing. Before modern drain cameras, diagnosing a slow kitchen plumbing issue meant digging or pulling fixtures — expensive and often unnecessary. Now a flexible camera head on a cable can travel 75 feet or more through your drain system and tell you exactly what you’re dealing with. This guide covers how these tools work, how to use a plumbing snake for basic clogs, when a plumbing snake with camera is worth the extra investment, and what basement bathroom plumbing with ejector pump involves.
If you’re dealing with a persistent drain problem or planning a new bathroom addition below grade, read through each section — the right tool and approach depends heavily on what the specific situation actually is.
What a Plumbing Camera Does and Why It Matters
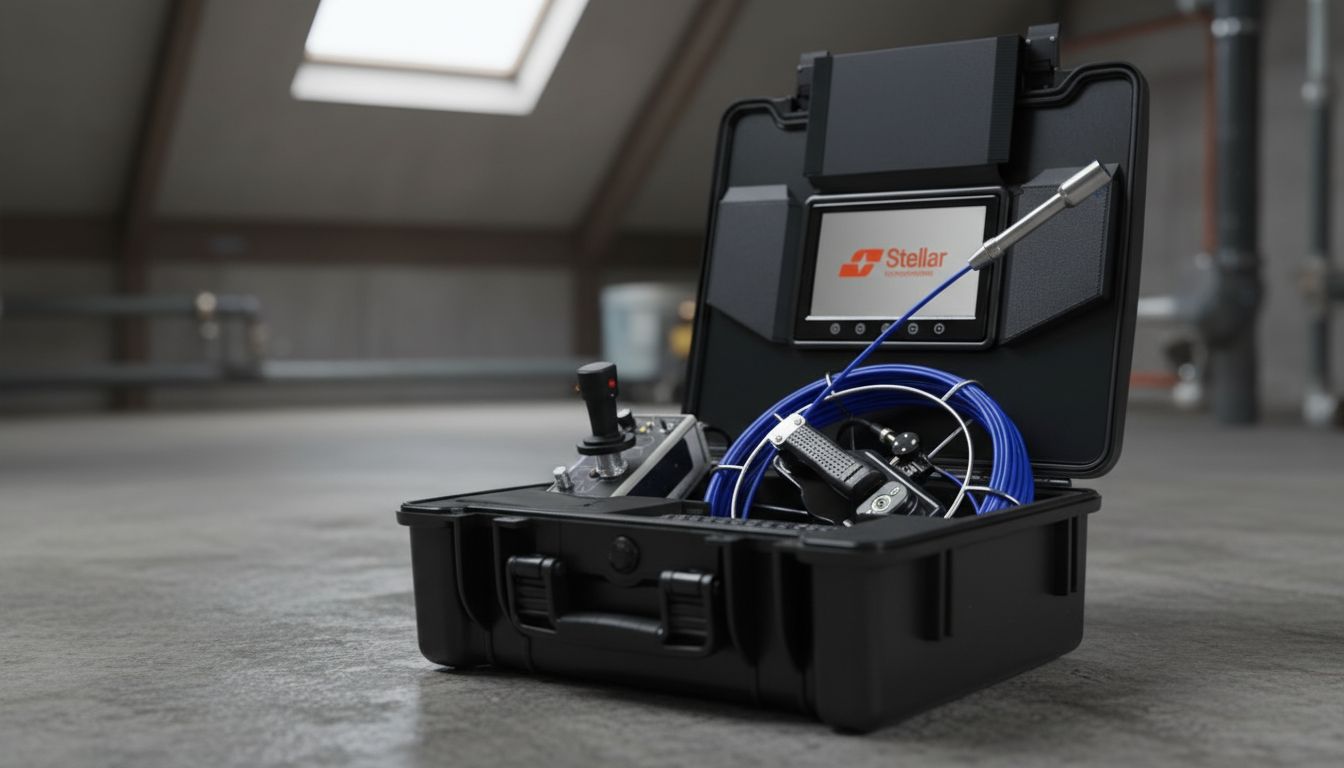
A drain inspection camera consists of a waterproof camera head attached to a flexible steel cable, paired with a monitor or tablet display. You feed the cable into a cleanout, floor drain, or toilet flange and watch the feed in real time. The camera records exactly what it finds: root intrusion, scale buildup, cracked pipe sections, offset joints, or a completely blocked line.
The biggest value of camera inspection is certainty. Rather than snaking a line repeatedly hoping the clog clears, you know whether you’re dealing with a soft blockage (grease, paper) that a snake handles, or a collapsed pipe that needs replacement. That saves you money on repeated service calls and helps you make the right repair decision the first time.
Camera rental runs $50-$150/day at most equipment yards. Professional inspection service typically costs $150-$400 depending on your market and pipe access.
Kitchen Plumbing Diagnostics: Common Issues Found on Camera
Kitchen plumbing lines take a beating. Grease, food particles, and soap build up steadily in the horizontal drain runs behind your cabinets. Camera inspection of kitchen plumbing lines most commonly reveals:
- Grease accumulation narrowing the pipe by 50% or more
- Sagging horizontal runs (belly) where water and debris pool
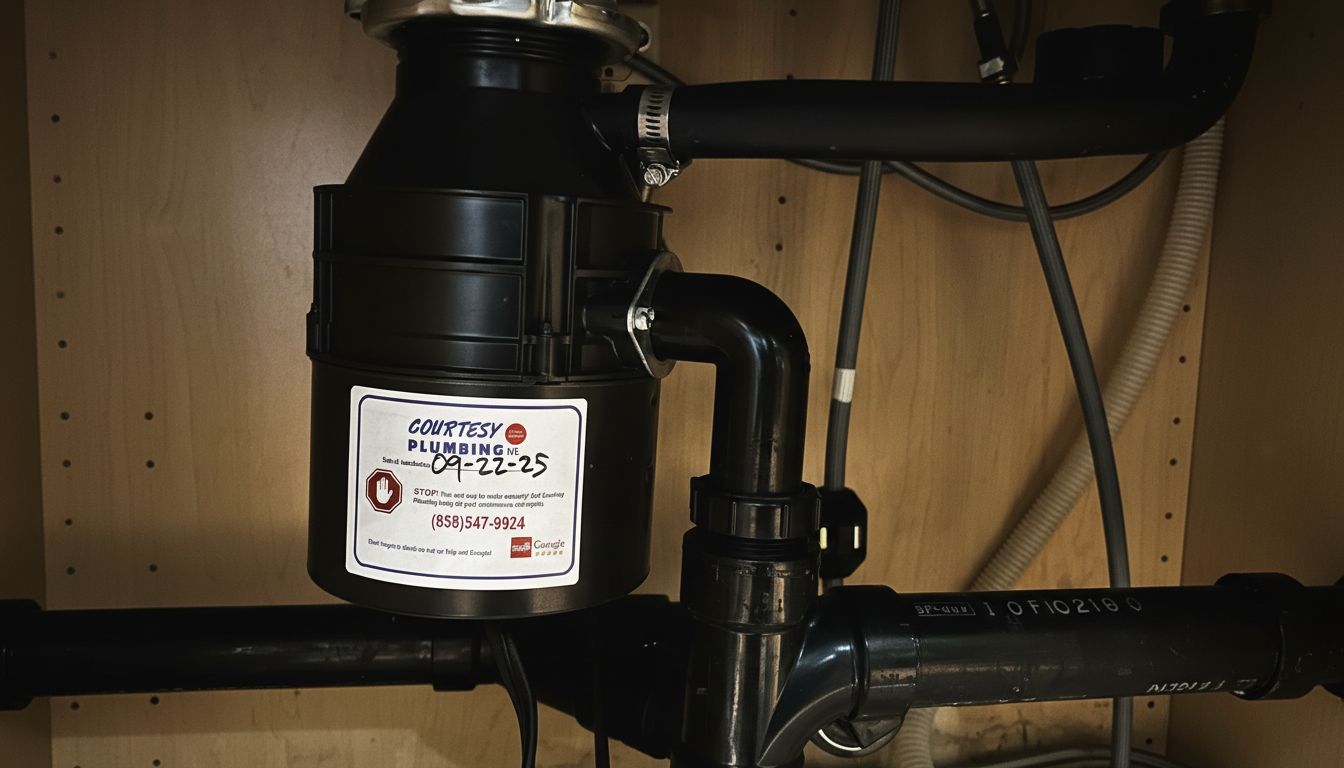
- Disconnected or cracked P-trap connections
- Root intrusion on older cast iron drain stacks
If your kitchen sink drains slowly and a standard auger hasn’t fixed it, getting your kitchen drain line on camera tells you whether the problem is in the trap arm, the wall stub-out, or further down the stack. Each of those requires a different fix.
How to Use a Plumbing Snake Effectively
Knowing how to use a plumbing snake correctly makes the difference between clearing a clog and pushing it further in. For a hand auger (the most common DIY tool):
- Remove the drain stopper or P-trap for direct access.
- Feed the snake cable into the drain opening while rotating the handle clockwise.
- When you feel resistance, keep rotating — don’t force straight through.
- Once past the blockage, rotate counterclockwise to retrieve, bringing debris with the cable.
- Flush with hot water for 30 seconds before reassembling.
Using a plumbing snake works well on soft organic clogs within 15-25 feet of the fixture. Beyond that, or with hard mineral deposits, you need a machine-driven drum auger or a camera to understand what you’re dealing with. Never use a drain snake on a completely blocked toilet without first checking whether the blockage is in the toilet trap or further in the drain line — forcing the cable can scratch the porcelain or damage the wax ring seal.
Plumbing Snake with Camera: Is It Worth the Upgrade?
A plumbing snake with camera combines the mechanical clearing power of a drain auger with a camera head at the tip, so you can see where the blockage is and confirm it’s cleared before you pull the cable back. These cost $200-$600 for consumer-grade units and $1,500 or more for professional-quality equipment.
For a homeowner doing occasional drain maintenance, a basic auger with camera makes sense if your home has a history of root intrusion or unexplained slow drains. You get diagnostic capability without paying for separate inspection visits. For one-time clogs, rent rather than buy — the economics are much better at that usage level.
Professional plumbers using a camera-equipped snake during a service call charge more per hour but often finish faster because they’re not guessing at the source. If your plumber recommends a drain camera snake setup, ask to watch the monitor — that video is your evidence for what repair is actually needed.
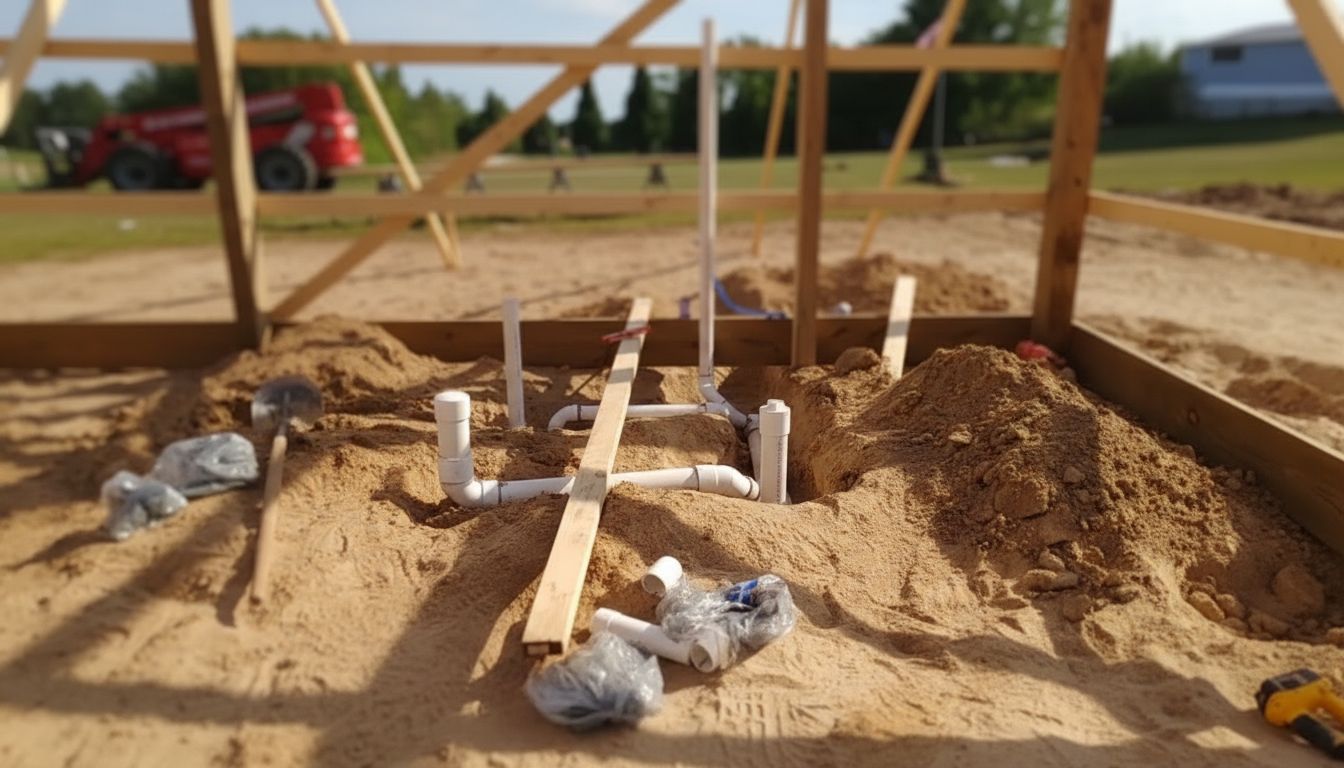
Basement Bathroom Plumbing with Ejector Pump: A Special Case
When you add a bathroom below the municipal sewer line elevation — typical in a basement — gravity drainage isn’t possible. Basement bathroom plumbing with ejector pump solves this by collecting waste in a sealed basin, then pumping it up and into the main drain stack at a point above the sewer line.
An ejector pump system includes a sealed pit (usually 30-gallon), a submersible sewage pump rated for solid waste (up to 2-inch solids), a check valve to prevent backflow, and a vent line through the roof. The pump activates automatically when the pit fills to a set level.
Installing a basement ejector pump setup is not a DIY project in most cases. It requires cutting into the concrete floor for the basin, proper venting to code, and connection to the main stack at the correct height. Consult a licensed plumber before starting this kind of project — permits are required in virtually every jurisdiction, and an improperly installed system creates sewage backup risk inside your finished space.
Bottom line: Camera inspection removes the guesswork from diagnosing drain problems, whether in your kitchen line or a basement system. Match the tool to the job — use a basic snake for routine clogs, upgrade to a camera snake for recurring issues, and call a licensed plumber the moment your basement plumbing needs a pump system or when camera footage shows pipe damage that requires excavation.