Log Siding: Options, Costs, and Installation Guide for Homeowners
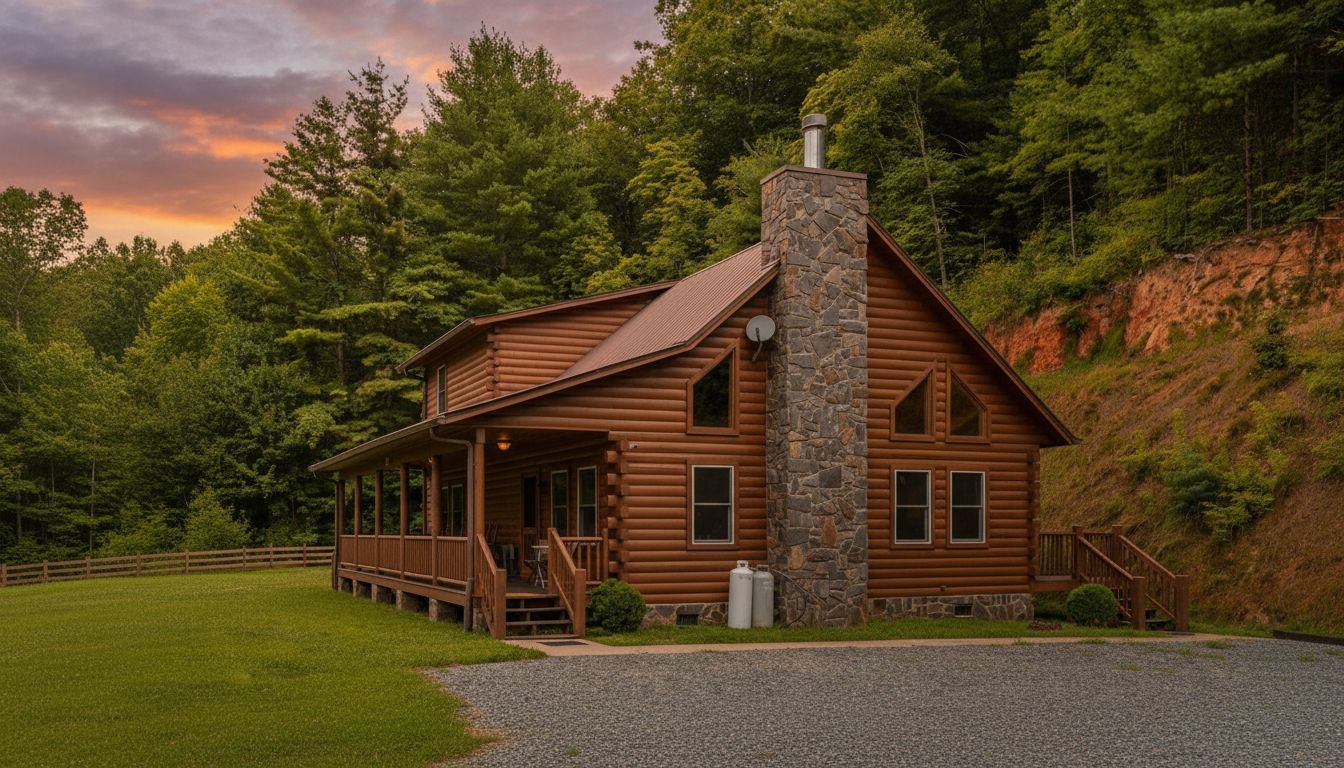
Log siding gives any home the look of a handcrafted timber cabin without the structural complexity of full log construction. You can put it on a new build, a garage, or an existing stick-frame home, and the result reads as authentically rustic from the street. This guide covers what types of log siding for homes are actually available, what to look for when browsing log siding for sale, how log siding panels go up, and how to keep the exterior looking good for years afterward.
If you’re undecided between solid wood log siding and engineered alternatives, the comparison here breaks down the real trade-offs in cost, maintenance, and durability — so you can make a practical decision rather than just buying based on looks.
Types of Log Siding for Homes
Solid Wood Log Siding Panels
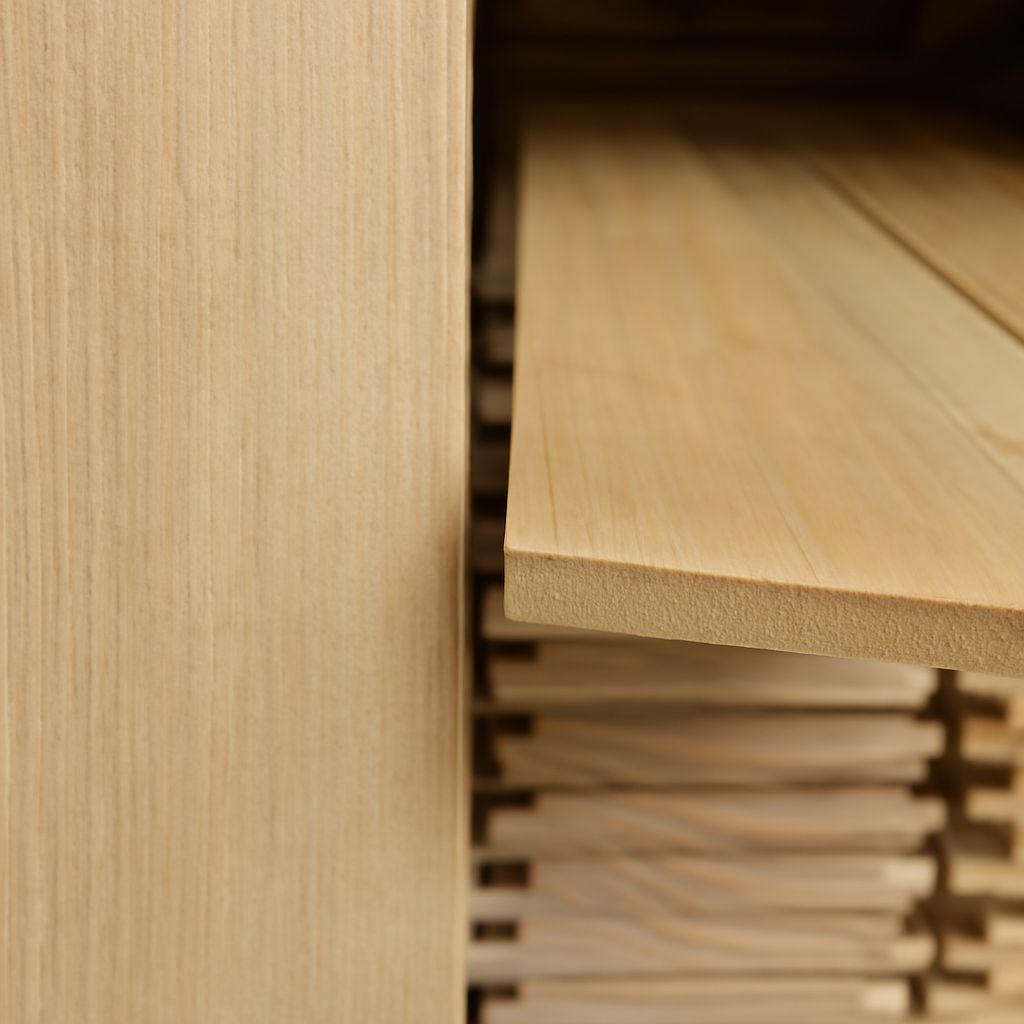
Solid wood log siding panels are milled from full-dimension timber — most commonly pine, cedar, or white oak — and shaped into a half-round or D-profile. The rounded face creates the stacked-log appearance, while the flat back sits flush against the wall sheathing. You can buy pre-finished panels or raw wood that you stain and seal after installation.
Real wood log siding for homes requires honest maintenance commitment. Budget for re-staining every 3-5 years depending on sun and moisture exposure. Check the chinking or caulking at joints annually and replace any sections showing gaps or cracking. In climates with hard freeze-thaw cycles, even treated wood can check (develop surface cracks) between the seasonal extremes.
Engineered and Vinyl Wood Log Siding
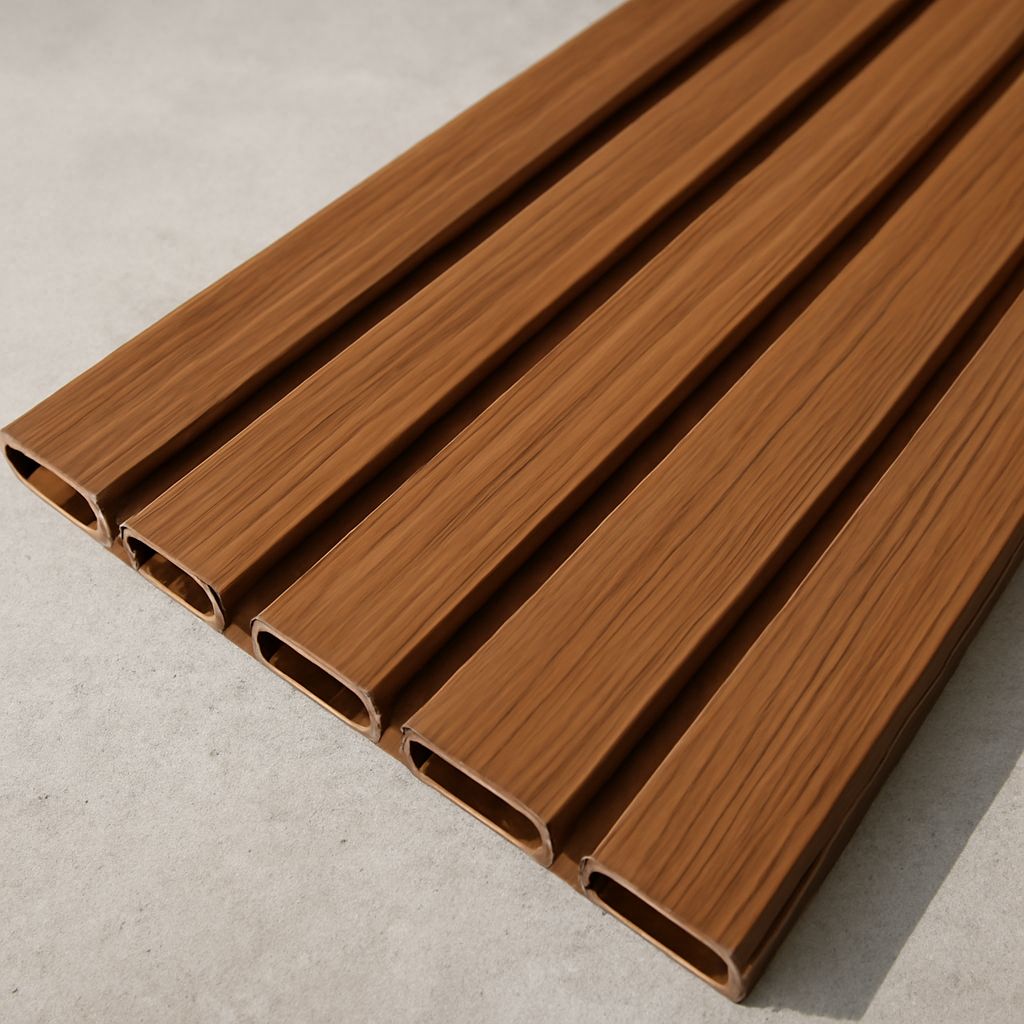
Engineered wood log siding — products like LP SmartSide or fiber cement in a log profile — looks convincingly like real wood log siding from 10 feet away, resists rot and insects, and takes paint or stain the same way. It costs less per square foot than solid cedar or pine and installs faster because the panels are lighter and more uniform.
Vinyl wood log siding is the most budget-friendly option. It won’t rot, never needs painting, and is genuinely maintenance-free beyond occasional washing. The visual shortcoming is that vinyl doesn’t hold shadow and texture detail as well as wood or fiber cement, and some profiles look plasticky up close. For a vacation cabin or outbuilding where low maintenance beats authenticity, vinyl log siding for homes works well.
How to Shop for Log Siding for Sale
What to Look for When Comparing Prices
When you browse log siding for sale, the listed price per square foot rarely tells the whole story. Solid wood panels sold green (unseasoned) cost less upfront but shrink and check as they dry — sometimes significantly. Kiln-dried panels cost more but are dimensionally stable from day one.
Compare installed price (materials plus labor) rather than just the product cost. Labor for log siding panels runs $3-$6 per square foot for standard profiles, with complex corner wraps adding time and cost. Get at least two quotes that include the same scope of work.
Finding Quality Log Siding Panels
For solid wood log siding panels, buying from a local sawmill or regional lumber yard gives you the ability to inspect the material — check for excessive knots, twist, or warp before it goes on the truck. Online log siding for sale is convenient but you’re committing to material sight unseen. At minimum, request a sample piece before ordering a full pallet.
For engineered products, stick to brands with documented fire ratings, third-party testing (ICC-ES reports), and at least a 5-year finish warranty. Cheap engineered wood log siding that fails within three years costs more in replacement than the premium product would have in the first place.
Installing Log Siding: Step-by-Step Overview
Whether you’re using solid wood or engineered log siding panels, the installation sequence is similar:
- Prepare the wall: Install house wrap or 30-lb felt over the sheathing. Tape all seams and around window and door openings.
- Install a level starter strip: This sets the angle of the first course and keeps subsequent log siding panels aligned.
- Nail the first course: Drive fasteners through the top flange only, into studs, with appropriate spacing (typically 16 inches on center).
- Overlap and interlock: Each upper course overlaps the lower by the profile’s designed amount. Check for level every third course.
- Handle corners carefully: Inside and outside corners need either special milled corner pieces or mitered joints. Corner gaps are the most common source of water infiltration.
- Caulk and seal: Use a flexible paintable sealant at all penetrations, corners, and butt joints between panel sections.
If you haven’t done log profile siding before, practicing corner details on a small outbuilding first is worth the time — corners on a log home look very different from vinyl lap siding corners and require a different technique.
Maintaining Log Siding for Homes Over Time
Real wood log siding needs a full inspection every spring. Walk the perimeter and probe any areas that look discolored or soft. Soft wood means moisture has gotten in and the substrate is compromised. Address it immediately — waiting allows rot to spread into the wall framing behind the siding.
Apply penetrating oil-based stain rather than a thick film finish. Film-forming finishes trap moisture that can’t escape, which speeds up checking and peeling. Penetrating stains let the wood breathe while still blocking UV degradation.
Engineered and vinyl wood log siding need much less attention. Wash the surface once a year, touch up paint chips on fiber cement before they expose the substrate to moisture, and re-caulk any joint showing a visible gap. That’s usually the full maintenance list.
Next steps: Measure your square footage and get material samples before committing to a product. For solid wood, choose kiln-dried and budget for regular staining. For a low-maintenance exterior, compare fiber cement and vinyl log siding panels side by side in your specific climate. Proper corner and flashing details at installation prevent the majority of long-term problems.