Cedar Siding: Types, Benefits, and Installation Tips
Cedar siding has been a go-to choice for homeowners who want natural beauty combined with real weather resistance. If you’re comparing cedar wood siding against composite or vinyl options, the difference shows up in grain character, longevity with proper care, and the way the wood ages. This guide walks you through the main types of cedar plank siding, what makes this material perform well, installation basics, and what to watch for over time.
You’ll also find answers to the common spelling question about ceder siding (it’s cedar, but search engines catch both), and a breakdown of how cedar siding planks differ by profile and thickness. Whether you’re re-siding an entire house or adding an accent wall, the decisions you make upfront determine how long your investment lasts.
Types of Cedar Siding Profiles
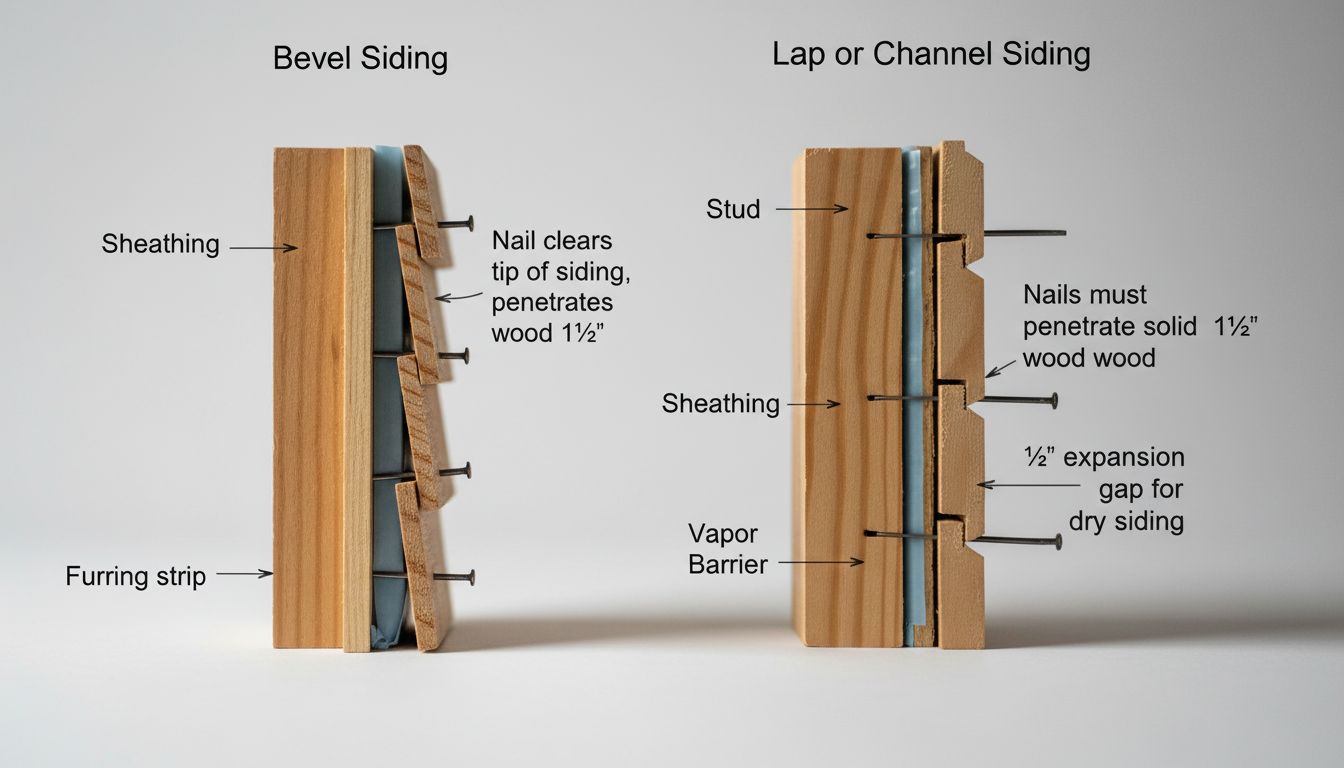
Bevel and Lap Profiles
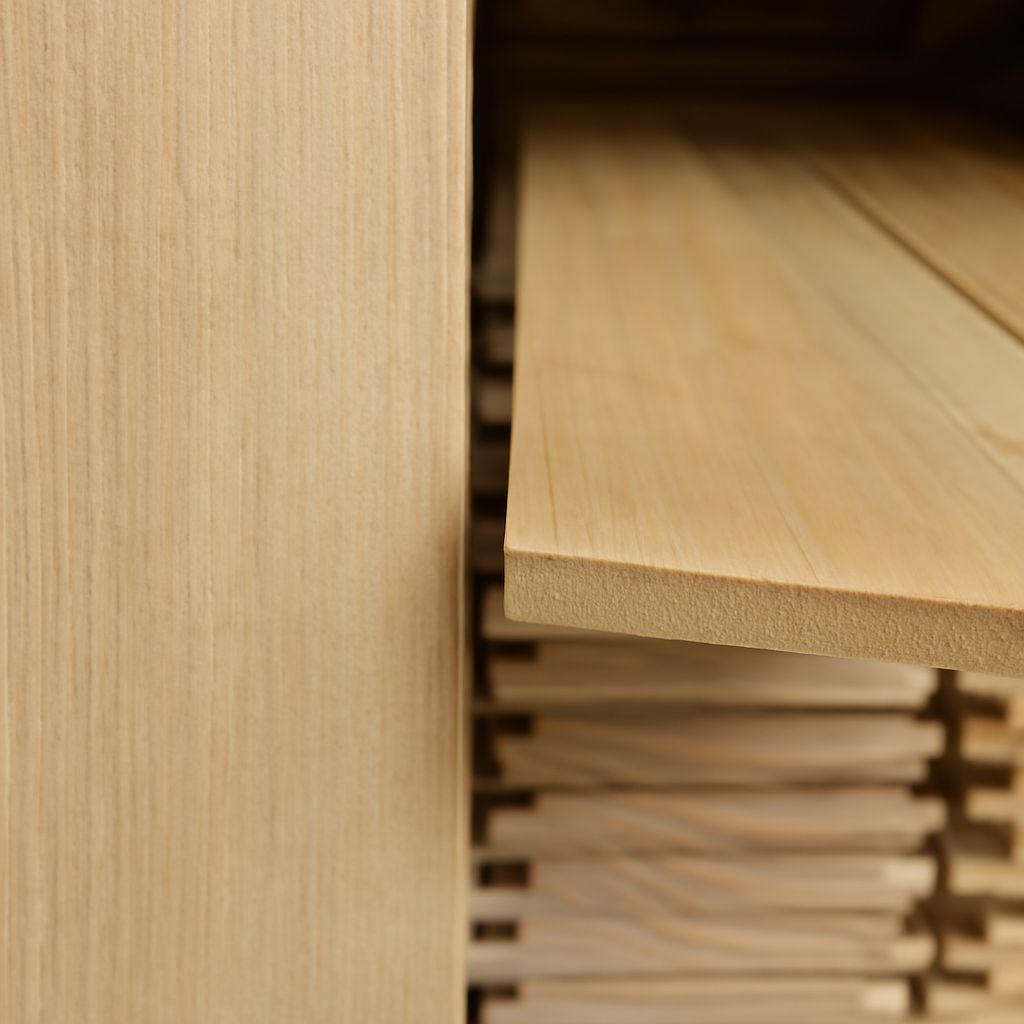
Bevel siding, also called clapboard, is the classic horizontal profile most people picture when they think of wood siding. Each cedar plank is thicker at the bottom edge and tapers toward the top, creating an overlapping installation that sheds water effectively. Standard bevel cedar wood siding runs in widths from 4 to 12 inches. Wider planks give a more contemporary look; narrower boards read as traditional.
Lap profiles are similar but often cut with a more uniform thickness. Both styles work well in climates with seasonal moisture swings because cedar’s natural oils slow moisture absorption compared to most other softwoods.
Shiplap and Channel Profiles
Shiplap cedar siding planks interlock with a rabbet cut on each edge, creating a tight joint that still allows for wood movement. Channel rustic, a variation with a deeper reveal, adds shadow lines that make the siding pop visually. These horizontal profiles suit contemporary and farmhouse-style homes. Vertical installations using board-and-batten cedar wood siding work well on barns, cabins, and modern architectural designs.
Shingles and Shakes
Cedar shingles are machine-cut to uniform thickness; shakes are hand-split and have a rougher face. Both deliver the textured look associated with coastal and craftsman-style homes. Shingles are easier to install in straight courses; shakes add more visual depth. Expect higher material costs than standard cedar siding planks, but the aesthetic payoff is significant on the right style of home.
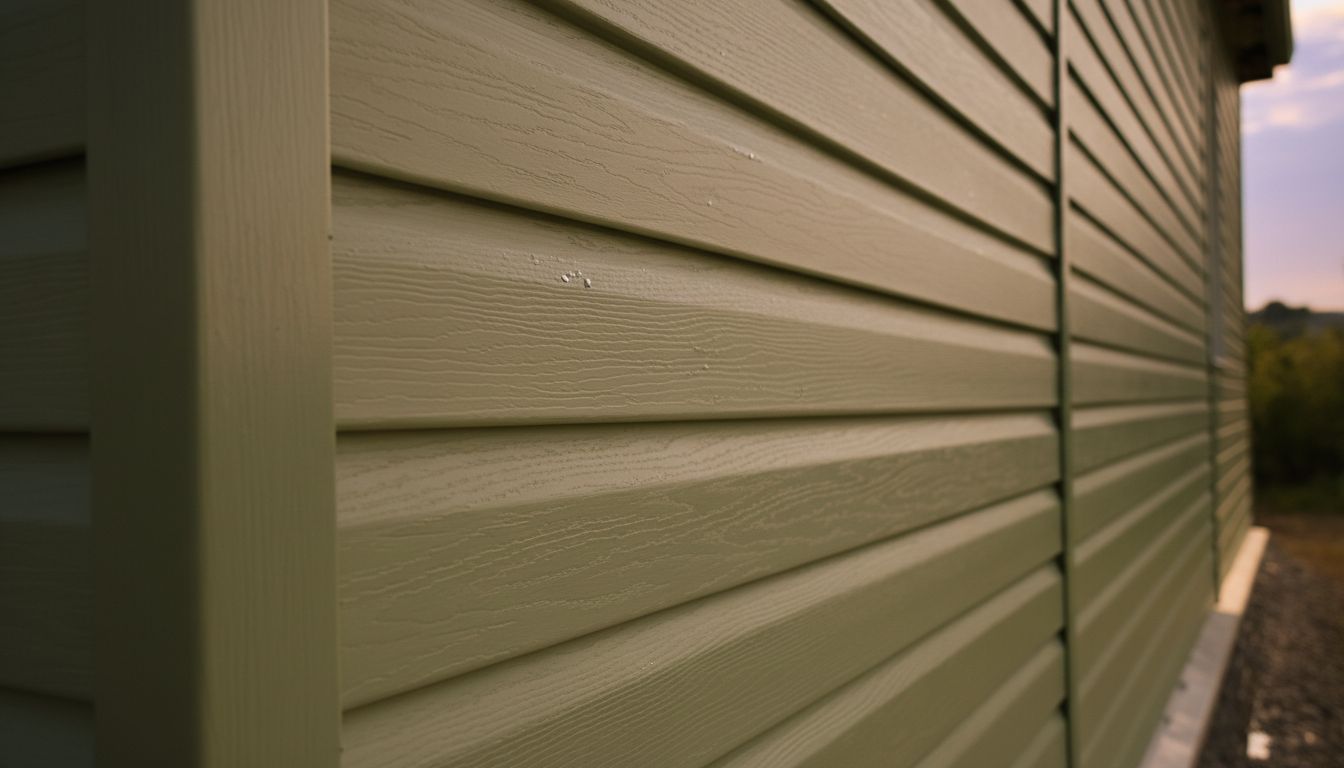
Why Cedar Performs Well as Exterior Siding
Cedar contains natural preservative oils that resist rot, insects, and moisture at a level most softwoods can’t match. That said, “natural resistance” isn’t the same as “maintenance-free.” Unfinished cedar siding left exposed will gray and eventually crack. A quality exterior stain or paint system applied every 5 to 8 years keeps the wood in good condition. Semi-transparent stains let the grain show through; solid stains and paints offer maximum UV protection.
Weight is another practical advantage. Cedar is lighter than most hardwoods and lighter than fiber cement siding, which matters for DIY installation and for structures where load is a consideration. Cedar plank siding also accepts nails and screws cleanly without pre-drilling in most cases.
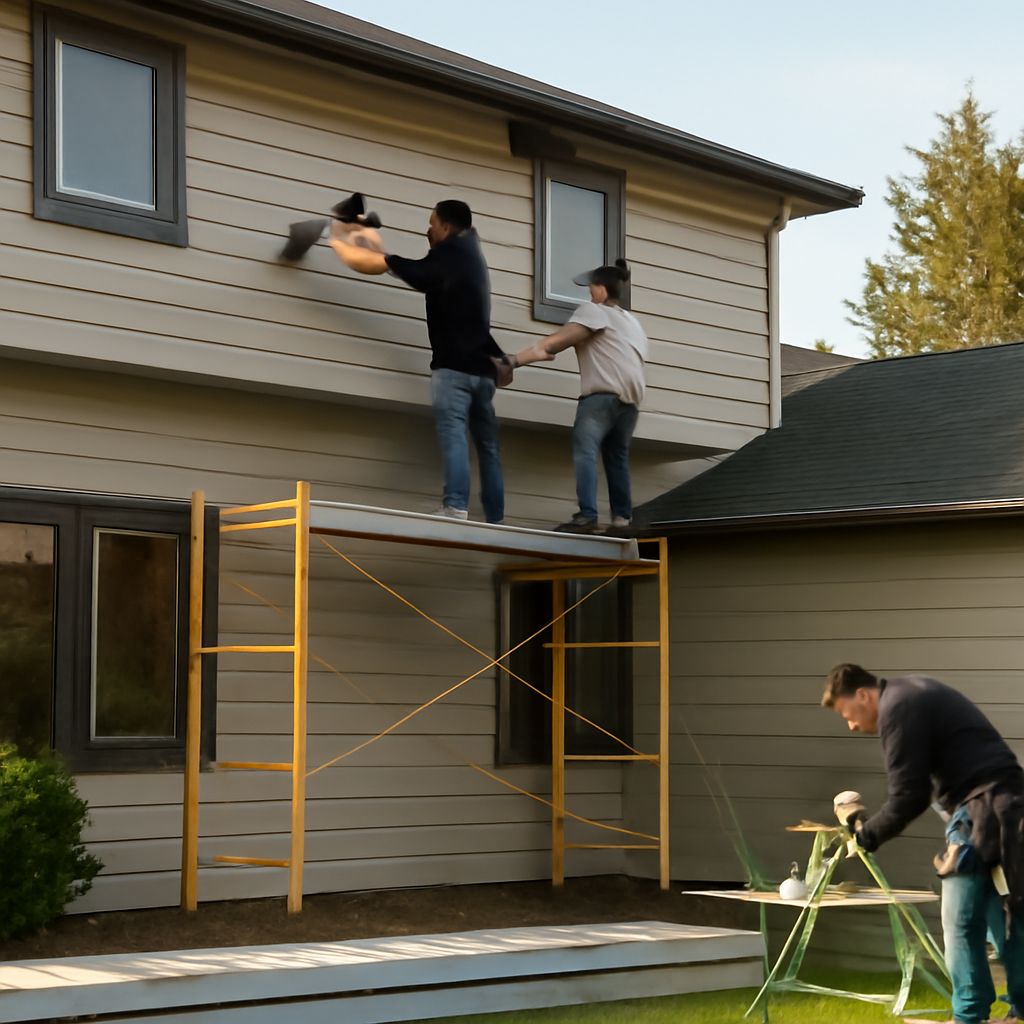
Installing Cedar Siding: What You Need to Know
Moisture Management
Proper installation of cedar wood siding starts before the first plank goes up. A continuous weather-resistant barrier behind the siding, along with a ventilated rainscreen gap, lets moisture escape instead of trapping it against the sheathing. Trapped moisture causes cupping, warping, and eventually rot, regardless of how good the cedar is. Priming all six sides of each board before installation, including the back and ends, dramatically extends service life.
Fasteners and Expansion Gaps
Use stainless steel or hot-dipped galvanized nails to avoid rust staining. Standard electroplated fasteners will streak cedar siding planks with orange within a few years. Leave a small gap at butt joints to allow for seasonal expansion. Drive nails at the correct depth, snug but not countersunk so deep that you crush the wood fibers. For cedar plank siding over 6 inches wide, blind-nailing (through the tongue) prevents face-nail splitting.
Maintenance and Long-Term Care
Inspect your cedar siding annually. Look for cracked or split planks, failed caulk at trim joints, and any areas where finish has worn through. Spot-prime bare wood immediately; exposed cedar degrades faster than finished cedar. Clean the siding with a low-pressure wash before refinishing. Avoid high-pressure washing, which can drive water behind planks and damage wood fibers.
If sections are badly checked or rotted, replacing individual boards is straightforward. That’s one of the practical advantages of installing cedar wood siding in the first place: you don’t have to replace the whole wall to fix one bad section.
Next steps: Get samples of different cedar siding profiles before committing to a full order. Compare the look in natural light on your home’s actual walls. Choose a finish system rated for exterior wood in your climate, and plan your maintenance schedule from day one. Well-maintained cedar siding can last 30 years or more.