Spray Foam Insulation Kit: DIY Kits, Closed Cell Options, and How to Choose
A spray foam insulation kit puts professional-grade air sealing and insulating capability in your hands for targeted DIY projects. Spray foam insulation kits come in open-cell and closed-cell formulas, in sizes ranging from small gap-fill canisters to large two-component tank sets. DIY spray foam insulation kits are appropriate for rim joists, small wall cavities, around penetrations, and other spots where batt insulation cannot seal effectively. Foam insulation kits bridge the gap between professional spray foam contractors and standard DIY products like canned foam. Closed cell foam insulation kits offer the highest R-value and vapor control in the same package. This guide explains what is available, how to choose, and how to use these products safely.
DIY spray foam kits are not replacements for full professional spray foam systems on large projects. They are targeted sealing and insulation tools best suited to specific problem areas in existing buildings.
Types of DIY Spray Foam Insulation Kits
Two-Component Tank Kits
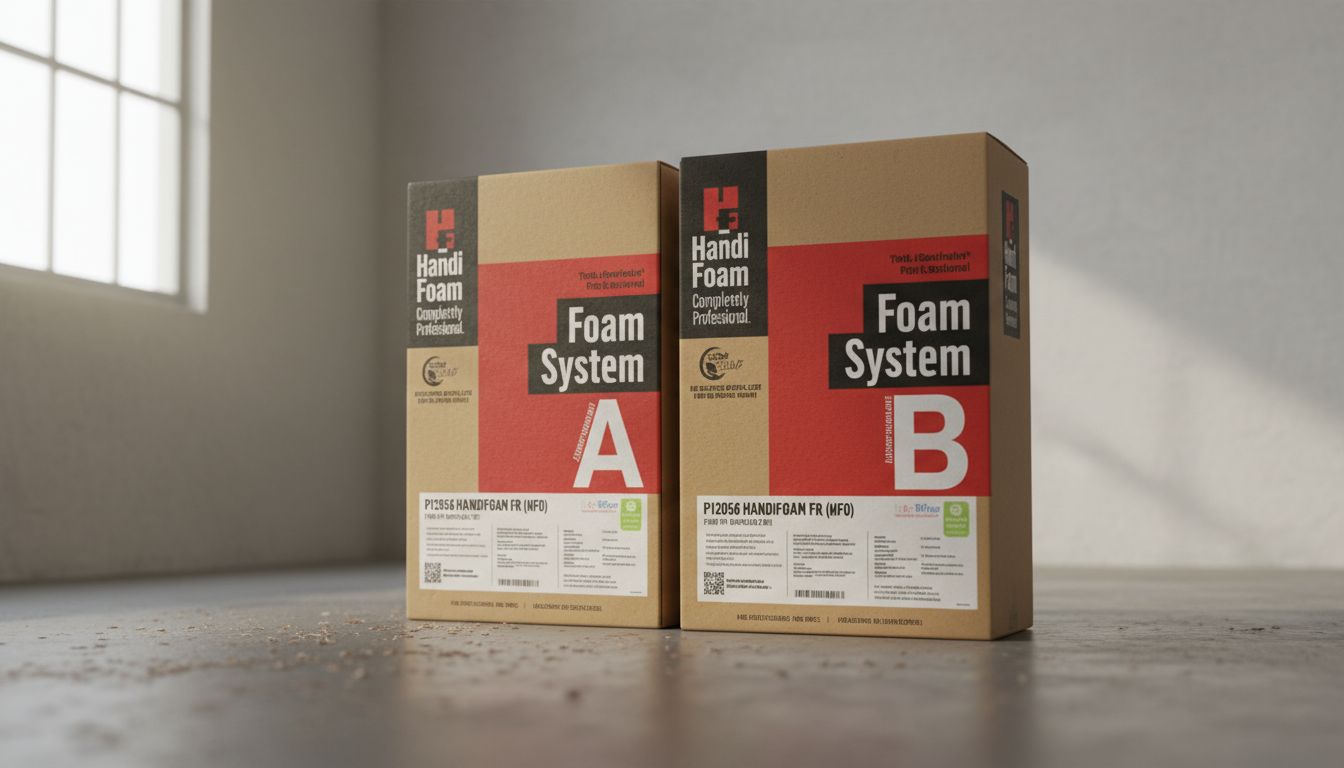
Two-component spray foam insulation kits are the most capable DIY option. They consist of two pressurized tanks, one containing the A-component (isocyanate) and one the B-component (polyol resin), connected to a spray gun that mixes the components at the nozzle. When triggered, the two chemicals react and expand into foam in seconds. These spray foam insulation kits are available in coverage sizes from 15 board feet to 600 or more board feet per set, with prices ranging from $50 to $500 depending on kit size and cell type.
The larger tank-based foam insulation kits are appropriate for insulating a full crawl space rim joist, adding foam to wall cavities opened during renovation, or insulating around ductwork and pipes in an attic. Using larger DIY spray foam insulation kits requires learning proper technique, including correct spray distance, pass thickness, and avoiding the application defects that cause poor adhesion or inadequate expansion.
Closed Cell Foam Insulation Kits
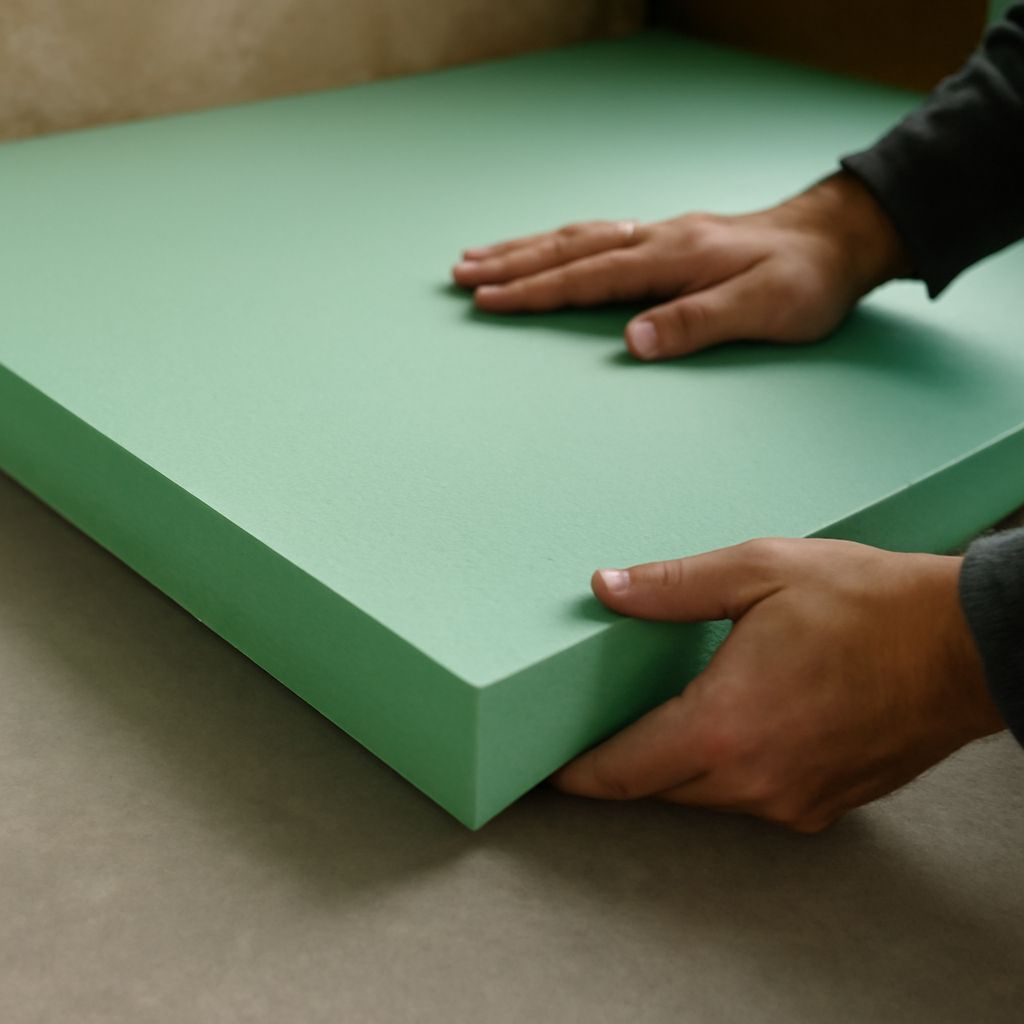
Closed cell foam insulation kits produce a dense, rigid foam with R-values around R-6 to R-7 per inch. Closed-cell foam acts as both an insulator and a vapor retarder simultaneously, making it valuable in applications where moisture control is needed alongside thermal performance. Closed cell spray foam kits are harder to apply than open-cell because the foam sets faster, requiring a more practiced technique to avoid lumpy or under-expanded areas.
Open-cell foam insulation kits produce a softer, more flexible foam at about R-3.7 per inch. Open-cell foam is excellent for air sealing because it expands to fill irregular cavities, but it does not provide vapor retardancy. For rim joists in cold climates where both air sealing and vapor control matter, closed cell spray foam kits are the better choice despite their higher cost per board foot.
Safety Requirements for DIY Spray Foam Application
Spray foam insulation kits expose you to isocyanate chemistry during application. Isocyanates are respiratory sensitizers that can cause permanent asthma with repeated exposures. Proper respiratory protection is not a suggestion. You need a full-face respirator with organic vapor and P100 combination cartridges or a supplied-air respirator for any spray foam work. A dust mask does not provide adequate protection. Wear chemical-resistant nitrile gloves, safety glasses or goggles, and a Tyvek coverall or old clothing you will discard after the job.
Ventilate the work area during application and for at least two to four hours afterward. Curing foam off-gases until the reaction completes. In tight spaces like crawl spaces and enclosed rim joist areas, set up a fan to draw fresh air into the work zone before and during spraying.
Getting the Most from Your Spray Foam Kit
Temperature affects spray foam insulation kit performance significantly. Both the components and the substrate must be within the temperature range specified by the manufacturer, typically 60 to 90°F for the tanks and 40°F minimum for the surface being sprayed. Cold tanks produce slow-reacting, poorly expanding foam. Warm the tanks in a heated space if working in cold conditions.
Apply foam in thin passes of 1 to 2 inches per lift for closed-cell kits, allowing each pass to react before applying the next. Thick single passes generate excessive heat during reaction, which can damage substrate materials and reduce final foam quality. Work methodically and track your board-foot coverage to avoid running out of material mid-project.
Pro Tips Recap
Choose closed cell foam insulation kits for applications needing both R-value and vapor control, like rim joists and below-grade walls. Use open-cell DIY spray foam insulation kits for large cavities where air sealing matters more than vapor control. Never skip respiratory protection when applying two-component spray foam. Warm your tanks before application in cold weather. Plan your board-foot coverage before starting to avoid material shortages. For projects larger than a few hundred square feet, compare DIY kit costs against hiring a licensed spray foam contractor, as professional equipment applies product more efficiently on large areas.