Insulation Blower Guide: How Blow-In Machines Work and What to Expect
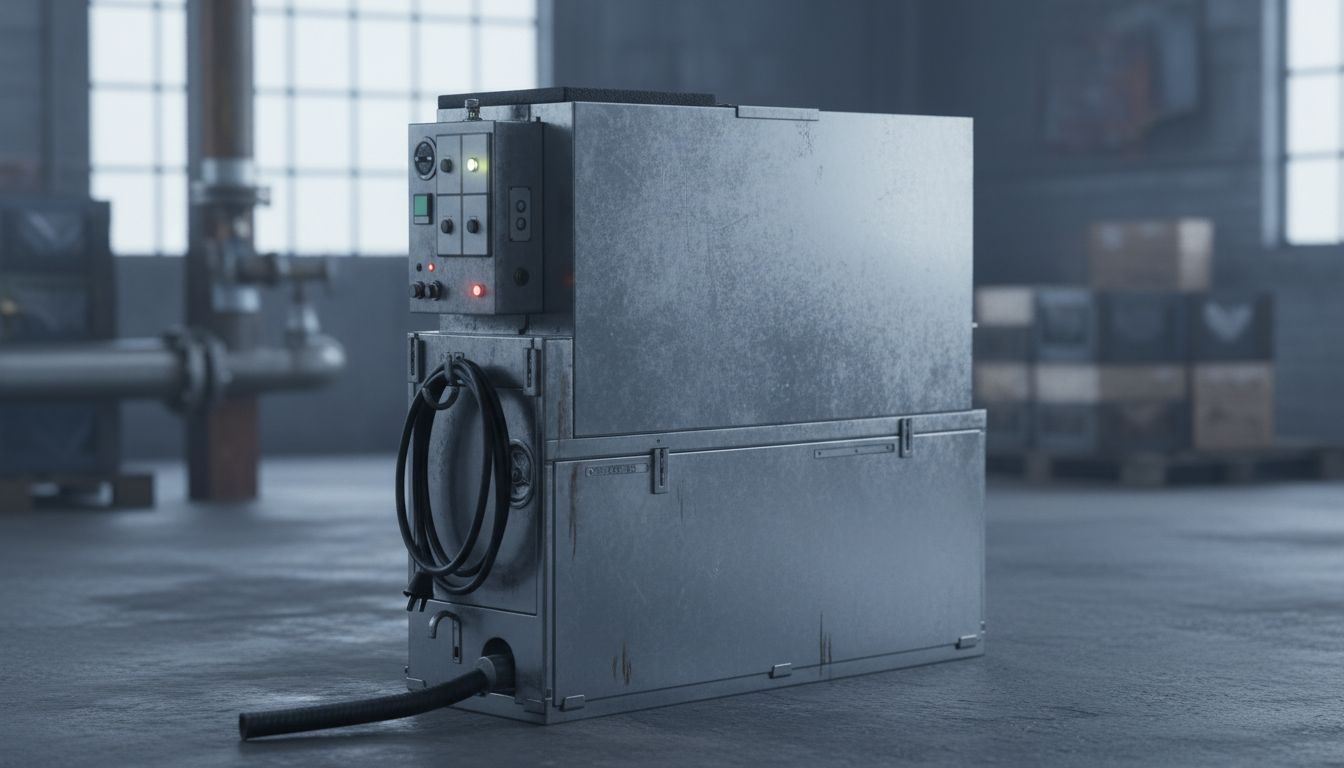
An insulation blower converts loose-fill insulation material into an airborne stream that fills wall cavities and attic floors faster than any batt product. A blow in insulation machine combines a shredding mechanism, a motor, and a flexible hose that reaches into tight spaces. The insulation machine you choose or rent depends on the material you are installing: cellulose and fiberglass loose-fill require different shredder speeds. A blown in insulation machine can cover an average attic in a few hours when operated by two people. Understanding how an insulation blower machine works helps you plan the project, set up efficiently, and avoid the common mistakes that lead to thin spots and failed coverage.
This guide covers machine types, operating technique, safety requirements, and material-specific settings.
Types of insulation blowers
Entry-level and rental machines
Entry-level blow in insulation machine units use a single-speed motor and a paddle shredder. These machines handle bagged cellulose and fiberglass loose-fill adequately for residential attic applications. Home improvement stores and insulation distributors rent these insulation machines for $60 to $150 per day, often at no charge when you purchase a minimum quantity of bags. The trade-off is lower airflow volume and pressure compared to professional-grade equipment, which means slower coverage rates and occasional bridging in tighter wall cavities.
Professional-grade insulation blower machines
A professional-grade insulation blower machine uses a higher-horsepower motor, variable-speed control, and a more aggressive shredding system that processes material faster without clumping. These machines deliver higher air volume at the nozzle, which is critical for dense-pack wall cavity installations. Renting professional-grade blown in insulation machine equipment runs $150 to $300 per day, but the output rate often makes the premium worthwhile for large attic jobs or whole-house wall cavity work.
Setting up and operating a blow-in insulation machine
Loading and starting the machine
Feed bags of insulation into the hopper one at a time, breaking up any clumps before they enter the shredder. Do not overfill the hopper. Most insulation machines run better with a consistent moderate feed rate than with heavy intermittent loads. Run the hose to the work area before starting the machine to avoid loose material blowing back toward the machine during startup. Keep the hose as straight as possible to maintain air pressure at the nozzle.
Coverage and depth
Manufacturers provide coverage charts that list the number of bags needed per square foot for each R-value target. These charts account for the settled depth that blown in insulation machine-installed material reaches after the initial fluff compresses slightly over time. Install at the chart depth, not the label depth, to ensure the finished settled value meets your code target. For attic floors, use depth rulers tacked to the joists as visual guides while working.
Safety when operating an insulation blower
Wear a P100 half-mask respirator, not a paper dust mask, when operating any blown in insulation machine for cellulose or fiberglass material. Safety glasses or goggles prevent particulate irritation to the eyes. Wear long sleeves and gloves to minimize skin contact with loose fiberglass. In attic work, use a firm attic walking board across the joists to prevent accidentally stepping through the ceiling below. Keep the hose moving at all times when the machine runs to prevent material buildup at the nozzle that can block flow or damage the machine.
Key takeaways: An insulation blower machine is the fastest way to install loose-fill insulation in attics and wall cavities. Match the machine type to your material and installation scope. Always follow the manufacturer’s coverage chart to hit your R-value target after settling.