Cedar Shake Siding: Wood Shakes, Costs, and Installation Guide
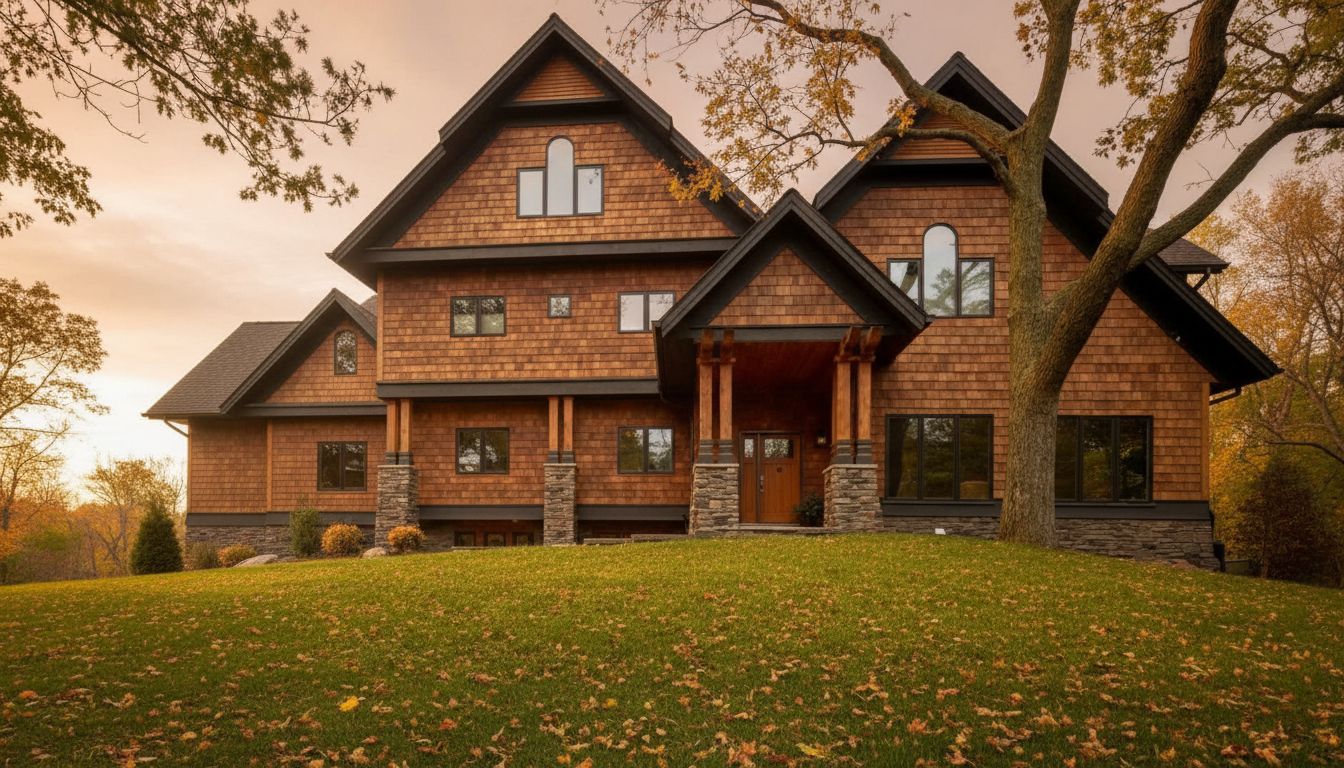
Cedar shake siding brings a natural, handcrafted texture to an exterior that no manufactured product fully replicates. Wood shake siding has been used on homes in the Pacific Northwest, New England, and throughout North America for generations — and the material holds up when installed correctly with proper maintenance. Cedar shakes siding refers to the same product category: thick, split-face cedar pieces that create deep shadow lines and visible grain variation on walls and roofs. Cedar siding shingles are the smoother, sawn version in the same product family. Wood shakes siding done right is one of the most durable exterior cladding systems available.
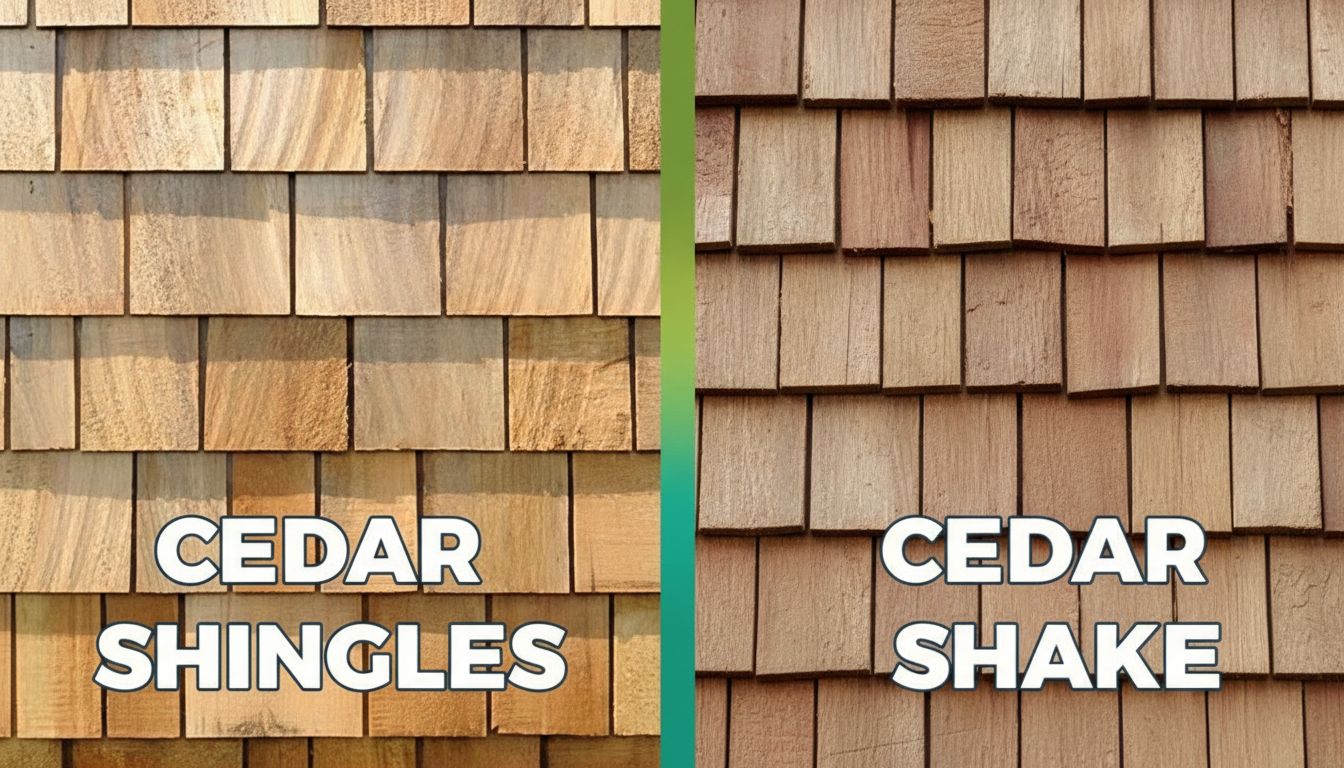
Cedar Shakes vs Cedar Shingles
Product Definitions
Cedar shakes are split on at least one face, creating a rougher surface with irregular thickness variation across the piece. Hand-split and resawn shakes have one split face and one sawn face. Taper-split shakes are split on both faces. Cedar shingles are sawn on both faces, giving a smooth, consistent surface and a uniform taper from butt to tip. On wall siding, shakes read as more rustic and substantial; shingles read cleaner and more refined. Both come from western red cedar — the species of choice for longevity and stability.
Grade Selection
Premium #1 Blue Label shakes are all clear cedar heartwood with no knots or sapwood in the exposed face. #1 Hand-split and Resawn is the standard grade for most residential siding applications. Lower grades include more sapwood and tight knots. For exterior siding in any climate, #1 grade pays for itself in lifespan — the heartwood’s natural oils resist rot and insect damage far longer than sapwood.
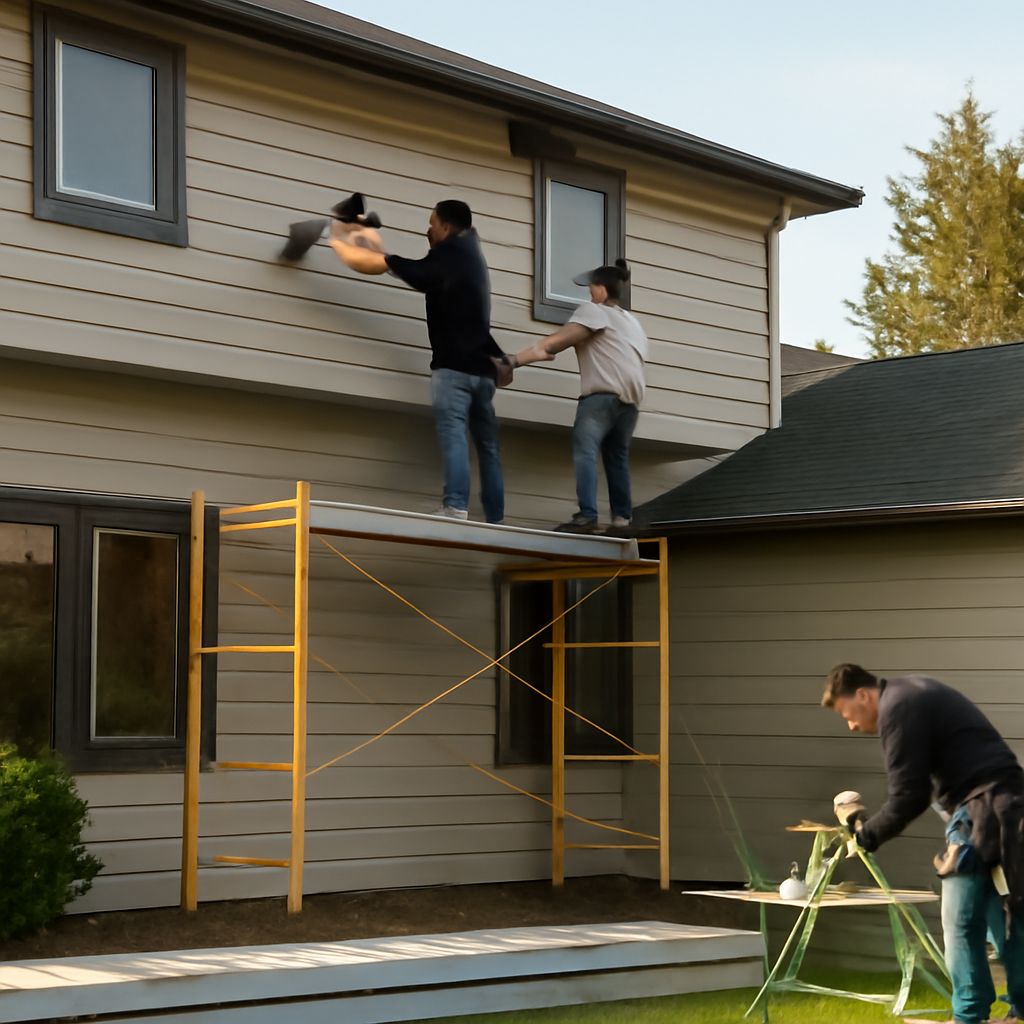
Wood Shake Siding Installation
Installing cedar shakes on wall siding requires a building wrap, sheathing, and a double first course at the bottom. Apply a course of shingles or a starter strip, then a full shake course over it — the double bottom course prevents wind uplift at the most vulnerable point. Each subsequent course overlaps the one below by approximately two-thirds. For 18-inch shakes, a 7.5-inch exposure is standard. For 24-inch shakes, exposures up to 11.5 inches are acceptable on siding.
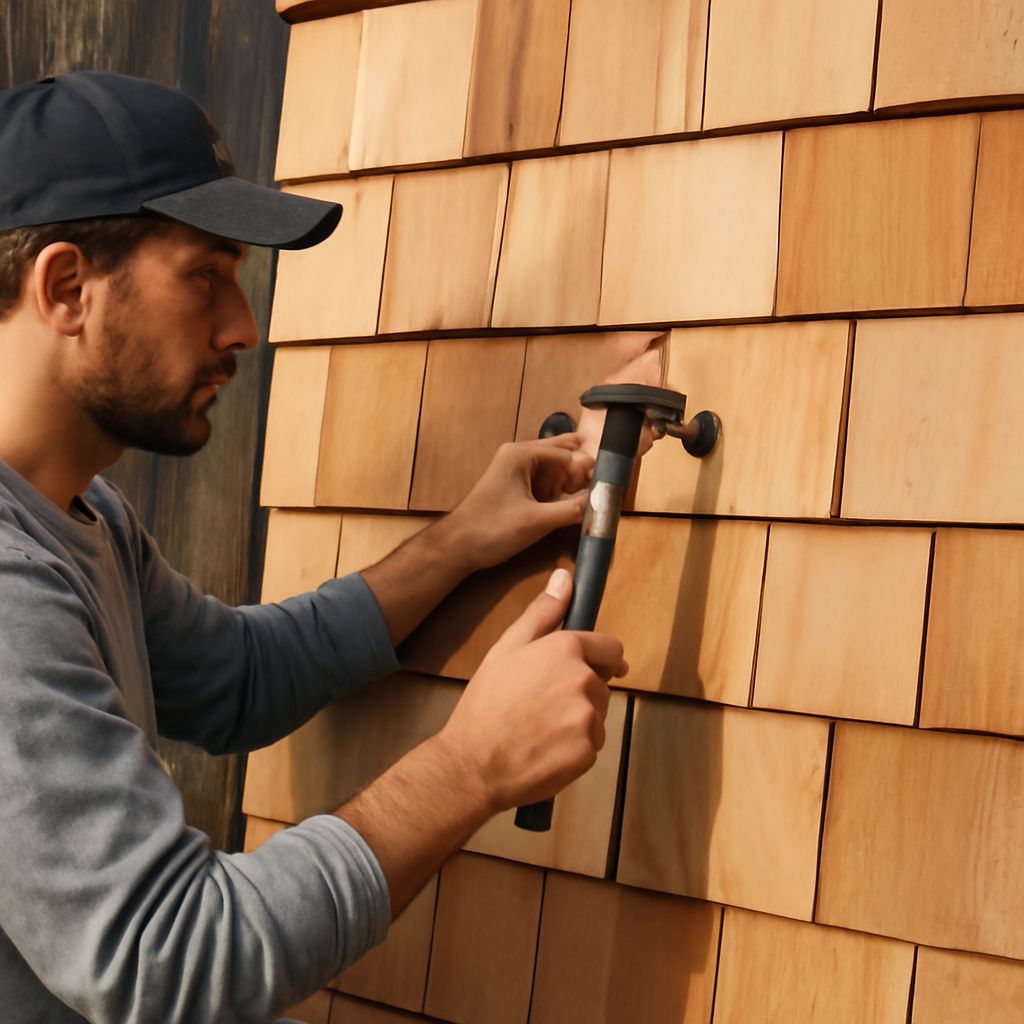
Fasten each shake with two stainless steel or hot-dipped galvanized nails positioned about an inch above the butt line of the shake being covered by the next course. Never use steel nails — they bleed tannin rust stains onto the cedar face within months. Leave 1/8 inch between adjacent shakes for seasonal expansion. Tight butting causes shakes to cup or buckle as the wood absorbs moisture in wet seasons.
Cedar Shake Siding Cost and Longevity
Material cost for #1 hand-split cedar shakes runs $200 to $400 per square (100 sq ft). Installation labor adds $150 to $300 per square. Total installed cedar shakes siding cost ranges from $12,000 to $25,000 for a typical 1,500-square-foot exterior surface, depending on home complexity and regional labor rates. Compare that to fiber cement at $8,000 to $15,000 or LP SmartSide at $7,000 to $14,000 — and the premium for real cedar becomes clear.
The maintenance picture: cedar shake siding needs staining or painting every 5 to 7 years (more frequently in sun-exposed locations) and annual inspection for any split or raised shakes. A well-maintained cedar shake exterior lasts 30 to 50 years. A neglected installation deteriorates within 10 to 15 years as the natural oils dry out and the wood becomes susceptible to rot and mold.
Key takeaways: Cedar shake siding delivers unmatched natural character but demands consistent maintenance. Use #1 grade material, stainless or galvanized fasteners, and a proper installation sequence to get the full lifespan from the material. Budget for staining every 5 to 7 years if you want the exterior to hold its appearance and longevity over decades.