Under Sink Plumbing Diagram: Slab, Drain, and Bathroom Rough-In
An under sink plumbing diagram shows the complete connection between the sink drain, P-trap, and wall or floor drain connection — the components inside the cabinet that most homeowners never look at until something leaks. Plumbing rough in slab diagrams add a layer of complexity because the drain lines emerge from concrete rather than from a framed wall. An under slab plumbing diagram is the planning document used before the concrete pour to position those drain stubs exactly right. A concrete slab plumbing diagram also shows the supply line locations embedded in or run through the slab. Rough plumbing a bathroom on a slab foundation is one of the few situations where getting it wrong means jackhammering finished concrete.
Under Sink Plumbing Components
Drain Assembly
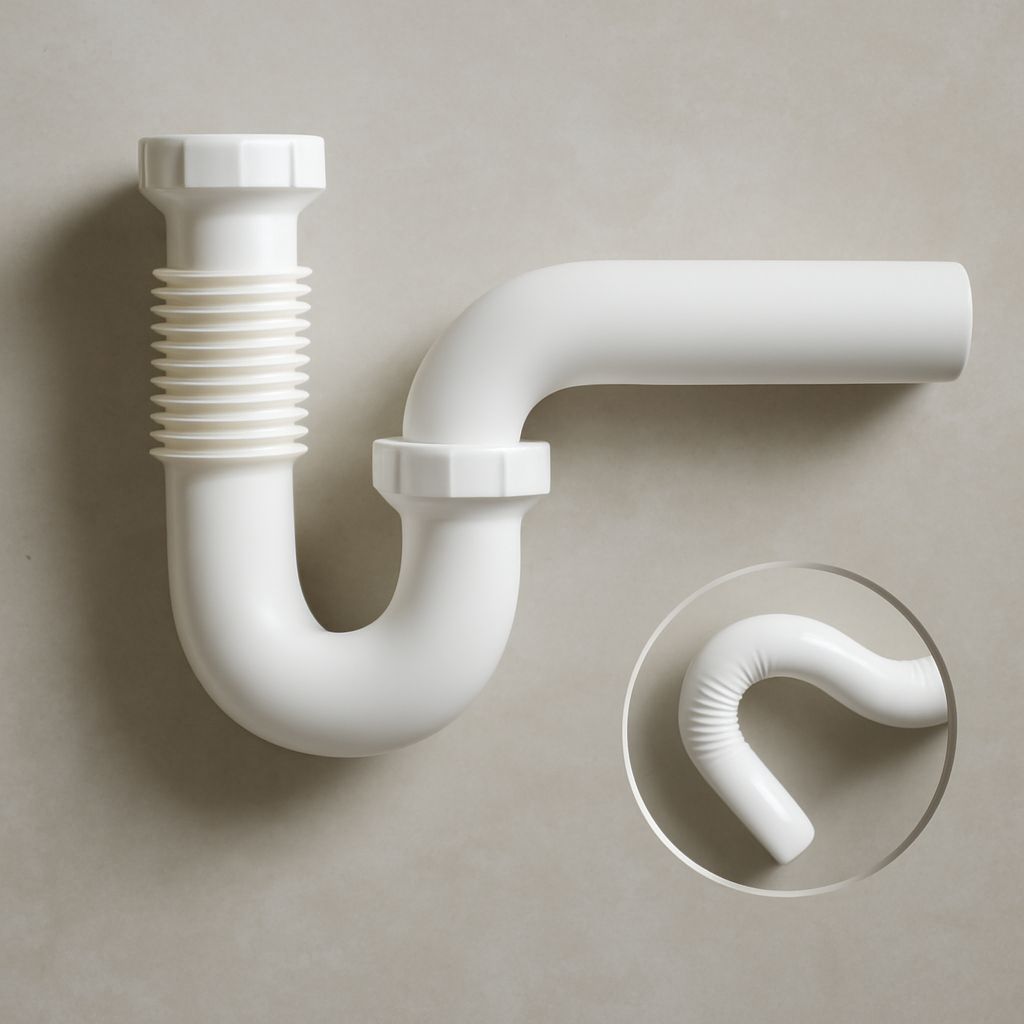
The under-sink drain starts at the strainer basket or drain assembly in the sink bowl. A vertical tailpiece drops from the drain to the P-trap below. The P-trap — a curved pipe section that holds water to block sewer gas — connects to a horizontal waste arm. The waste arm runs to the wall stub-out at the drain opening. Standard wall drain height for a kitchen sink is 18 to 20 inches above finished floor. Bathroom vanity drains sit slightly lower at 18 to 20 inches as well, though the exact position depends on the vanity cabinet depth and sink drop depth.
P-Trap Height and Slope
The P-trap outlet must sit at the correct height to allow the waste arm to slope down toward the wall drain at 1/4 inch per foot. If the wall drain stub is too high or the trap too low, you get a reverse-slope waste arm — which holds water and causes chronic clogs. Under-sink drain assembly diagrams show this relationship clearly: trap inlet (from tailpiece) at the top, trap outlet (to waste arm) angled slightly down toward the wall.
Under Slab Plumbing Diagram for New Construction
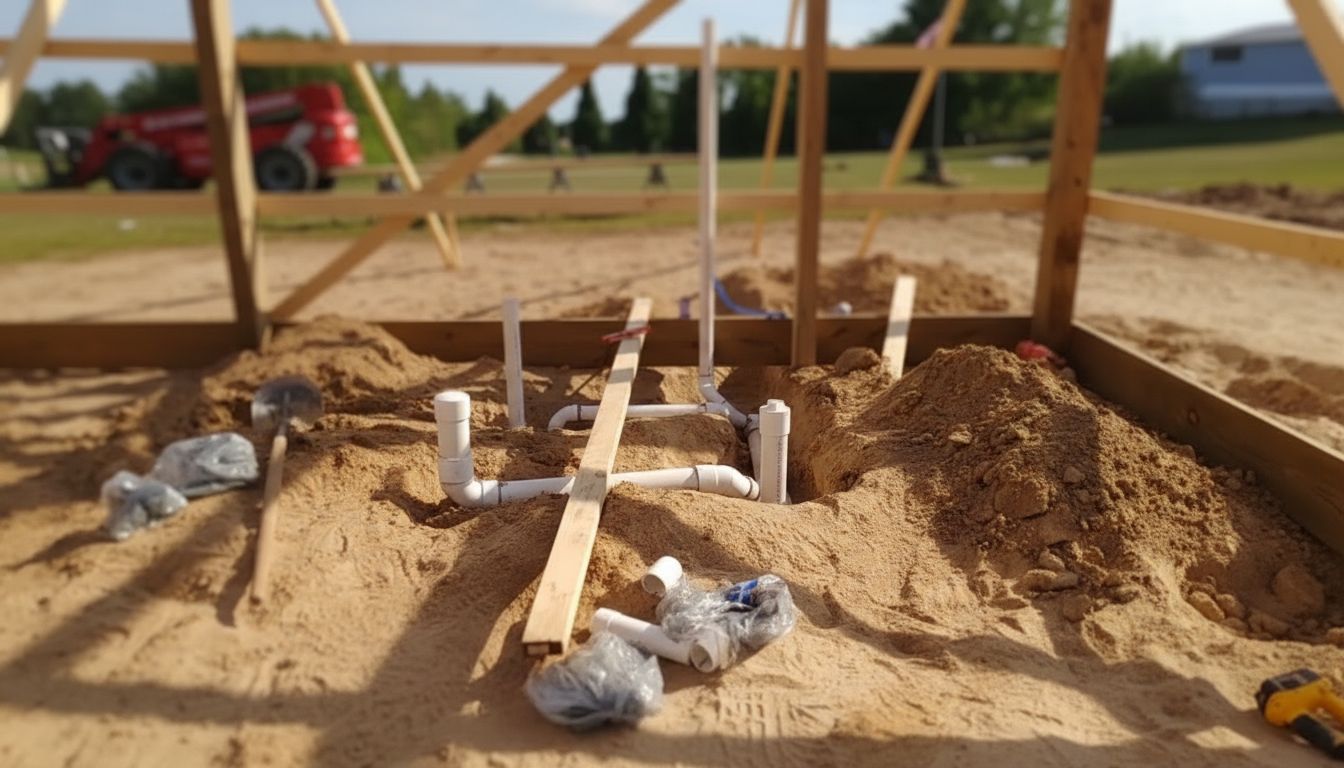
Slab plumbing rough-in requires laying out every drain position before the concrete is poured. The under slab plumbing diagram must show the toilet flange position, the shower drain location, the bathroom sink drain stub, and the kitchen sink drain stub — all at the precise finished floor height they need to hit when construction is complete. The finished floor adds thickness: tile typically adds 3/8 to 3/4 inch, hardwood flooring adds 3/4 inch, and floating laminate adds 3/8 to 1/2 inch. The plumber sets stub heights to account for the finished floor assembly.
Supply lines in slab construction typically run in sleeves or conduit through the slab so they can be pulled and replaced without jackhammering. PEX tubing has become the dominant material for slab supply runs because its flexibility allows it to be fished through conduit runs that copper would not navigate.
Concrete Slab Plumbing Diagram Requirements
A concrete slab plumbing diagram for permit purposes must show all drain and supply positions dimensioned from fixed reference points — typically from the face of framed walls or the edge of the slab. The toilet rough-in is measured from the finished wall face to the center of the closet flange — standard is 12 inches. Shower drains are positioned at the low point of the sloped shower floor. Bathroom sink drains are positioned under the planned vanity location.
Getting these positions even slightly wrong on a slab installation is expensive to correct. Some corrections — a sink drain a few inches off — can be managed with offset flanges and flexible drain extensions. Others — a toilet flange significantly off center — require saw-cutting the slab, repositioning the drain, and re-pouring concrete.
Rough Plumbing a Bathroom Step by Step
Rough plumbing a bathroom on any foundation type follows the same sequence: drain rough-in first, then vent connections, then supply stub-outs. On a slab, the drain rough-in happens before the pour. In a framed floor, drains are cut after framing is complete. Either way, all pipe work must pass a rough-in inspection before walls close. Test the system with a pressure test or water fill before that inspection to confirm there are no leaks at joints.
Bottom line: The under sink plumbing diagram is your guide for everything visible inside the cabinet. The under slab plumbing diagram is your guide for everything invisible below the floor. Both need to be right before the installation proceeds — corrections get progressively more expensive as the construction layers above them are completed.