Cellulose Blown-In Insulation: R-Value, Attic Performance & Installation
Cellulose blown in insulation is one of the most cost-effective ways to improve your home’s thermal envelope, yet it’s often overlooked in favor of more heavily marketed alternatives. If you’re insulating an attic, adding depth to existing insulation, or retrofitting walls without opening them up, blown-in cellulose attic insulation offers a strong combination of performance, sustainability, and installation speed.
This guide covers blown in insulation R value targets by climate zone, how to achieve the right blown in cellulose insulation R value for your attic, and what to expect during installation.
What is cellulose insulation
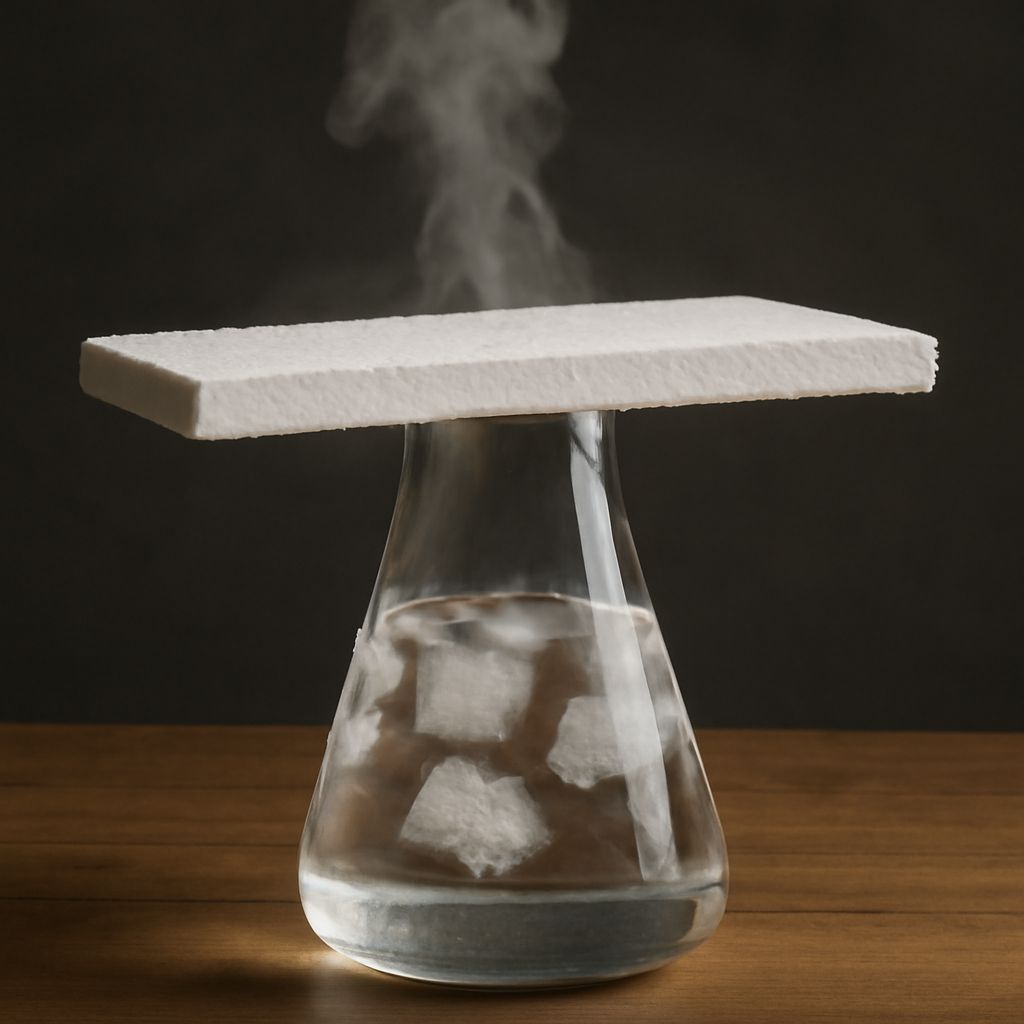
Cellulose insulation is made from 75–85% recycled paper fiber, most commonly newsprint, treated with borate compounds for fire resistance and pest deterrence. The manufacturing process uses significantly less energy than fiberglass or foam production, making it one of the most environmentally friendly insulation options available.
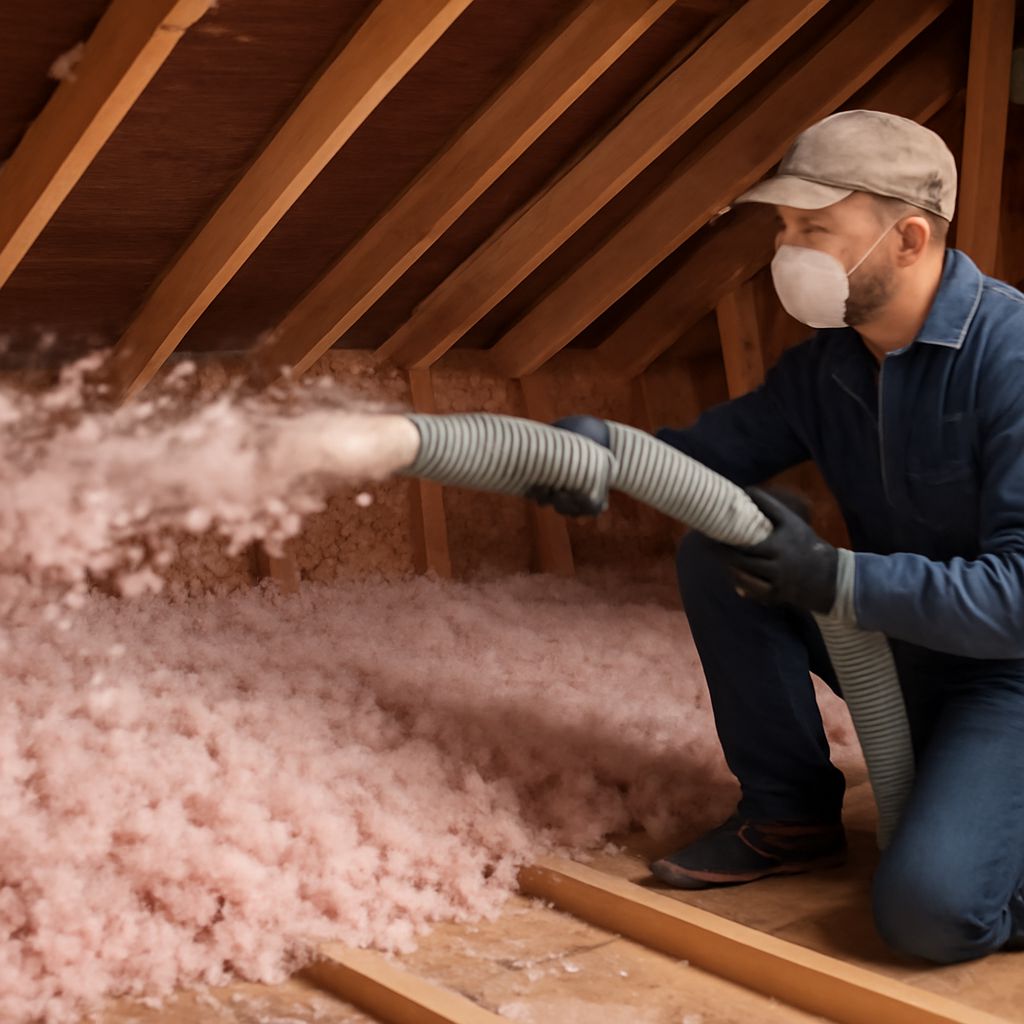
When blown in, cellulose fills irregular spaces, gaps around wiring, and tight corners that batt insulation misses. This coverage quality is a meaningful advantage in real-world applications where framing is inconsistent and penetrations are common.
R-value guide by climate zone
The blown insulation R value you need depends on your climate zone. The Department of Energy recommends the following attic R-value targets:
- Zones 1–2 (Southeast, Hawaii): R-30 to R-49
- Zones 3–4 (Mid-Atlantic, Pacific Northwest): R-38 to R-60
- Zones 5–7 (Midwest, Northeast, Mountain): R-49 to R-60
- Zone 8 (Alaska): R-60 to R-80
Loose-fill cellulose delivers approximately R-3.2 to R-3.8 per inch of depth, depending on density. To achieve R-49, you need roughly 13–15 inches of settled cellulose. To hit R-60, plan for 16–19 inches. Always account for settling—cellulose compacts about 20% after installation, so installers blow it in 20–25% deeper than the target settled depth.
The blown in cellulose insulation R value drops slightly if the material gets wet and doesn’t dry out completely. Proper attic ventilation and air sealing before installation protect the long-term performance of your insulation.
Attic installation process
Before blowing in cellulose, do these preparation steps:
- Air seal all penetrations at the top plate level—can lights, wiring holes, plumbing stacks, and HVAC chases are major thermal bypass points.
- Install depth gauges (simple ruler stakes) every 4–6 feet across the attic floor so you can verify settled depth during and after installation.
- If the attic has existing batt insulation, check for moisture damage. Wet batts need to be removed and the cause of moisture fixed before adding depth.
- Install insulation baffles at each rafter bay at the eaves to maintain ventilation channels from the soffit vents to the attic space.
Blowing cellulose involves a machine with a hose—either a truck-mounted blower from a contractor, or a rental blower from a home improvement store. Pull the hose back slowly and steadily to achieve even distribution. Start at the far end of the attic and work toward the access hatch.
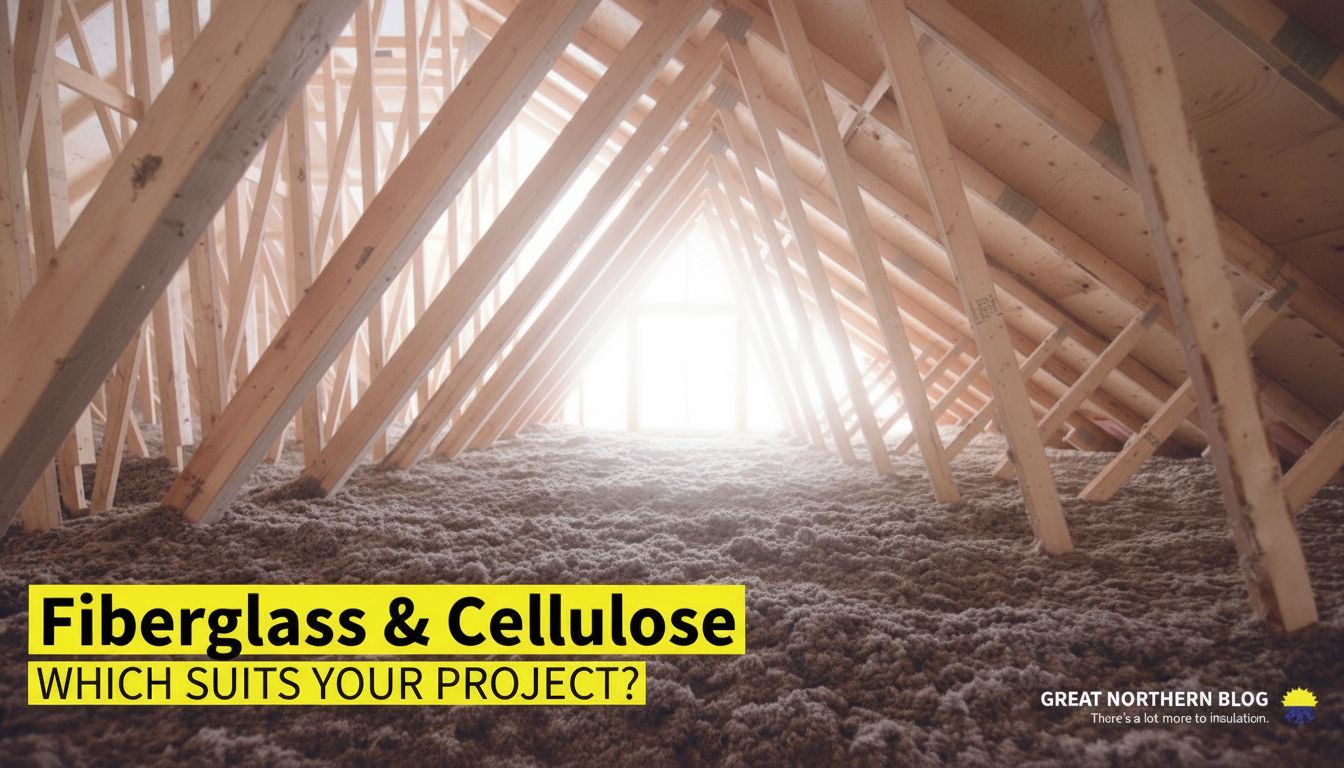
Cellulose vs. fiberglass blown-in
Both materials work well for attic applications, but they behave differently. Fiberglass blown insulation is lighter and doesn’t settle as much, but it provides less air resistance. Because individual fibers don’t pack together as tightly, air can move through fiberglass at a higher rate than through dense cellulose.
Cellulose’s higher density means it slows air movement more effectively, which is why it’s favored in retrofit wall applications where you’re trying to both insulate and reduce infiltration. In open attic floors, both materials perform comparably when installed to the same R-value depth.
Cost-wise, cellulose is typically 10–15% less expensive per bag than fiberglass blown-in material, though installation cost varies by contractor and region.
DIY vs. professional installation
Attic blown-in insulation is one of the more DIY-friendly insulation jobs if you’re comfortable in attic spaces and willing to spend a full day on air sealing prep. Home centers rent insulation blowers free or at low cost when you buy a minimum number of bags.
Wall retrofits are harder—the cellulose is blown through holes drilled in the siding or interior wall surface, and achieving even density requires technique and the right nozzle. Most homeowners hire professionals for wall applications.
Bottom line: Cellulose blown-in insulation delivers R-3.2 to R-3.8 per inch, handles air infiltration better than fiberglass at similar depths, and is made largely from recycled material. For most attics in climate zones 4–7, R-49 to R-60 is the target—that’s 13–19 inches of settled cellulose. Air seal thoroughly before blowing in depth, and plan for 20–25% overfill to account for settling.