How to Install a Circuit Breaker: Wiring Guide for Safe DIY Replacement
Knowing how to install a circuit breaker is useful when you’re adding a new circuit for a kitchen appliance, workshop outlet, or EV charger—or when you’re replacing a breaker that’s no longer holding its trip setting. Wiring a circuit breaker is a task that a careful DIYer can handle on a branch circuit, but it requires understanding how is a circuit breaker wired and following strict safety procedures around panel work.
This guide covers installing circuit breaker components step by step, explains what you can and can’t do yourself, and helps you understand when installing a circuit breaker is DIY territory and when it belongs to a licensed electrician.
Safety requirements before you start
Before any panel work, you must understand a critical fact: turning off the main breaker does NOT de-energize the service entrance conductors. The large wires at the very top of the panel—the ones connected to the main breaker’s line side—remain at full voltage (120/240V) even with the main breaker off. These conductors are the utility’s responsibility, and they are always live until the utility disconnects power at the meter.
For replacing a branch circuit breaker, the main breaker OFF position is sufficient protection as long as you stay clear of the service entrance area at the top of the panel. For work on the main breaker itself or on service entrance conductors, you need the utility to disconnect power—this is not DIY territory.
Wear rubber-soled shoes and use insulated tools. Work with one hand when possible to reduce the risk of current passing across your body.
Tools and materials
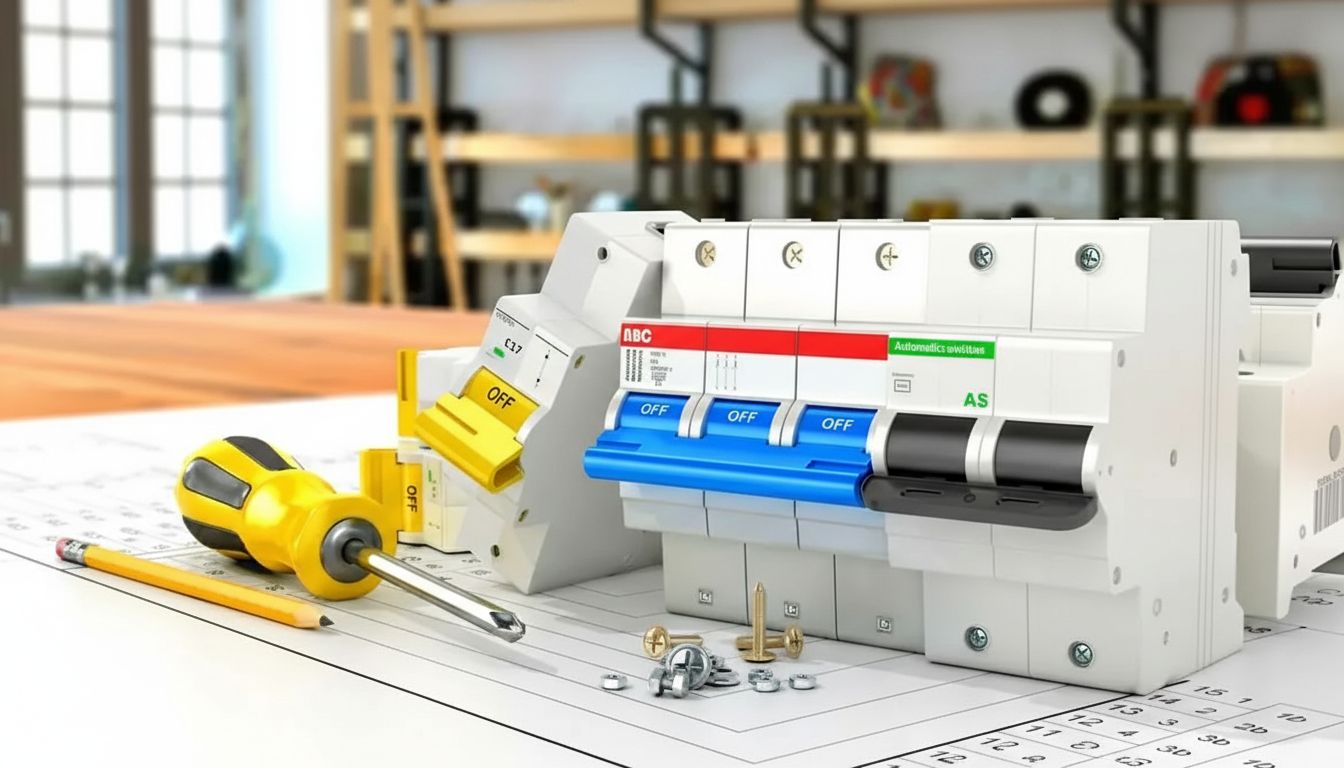
You need: a non-contact voltage tester, a flathead screwdriver and a Torx or Phillips driver (depending on your panel), wire strippers, needle-nose pliers, and the replacement breaker. The replacement breaker must be the correct brand and series for your panel—Square D, Eaton, Siemens, and Leviton breakers are not interchangeable even if the physical dimensions look similar. Check your panel’s label for approved breaker models.
How a circuit breaker is wired
How is a circuit breaker wired on a standard 120V single-pole branch circuit: one hot wire (black, typically) connects to the breaker’s load terminal; the neutral wire (white) connects to the neutral bus bar; the ground wire (bare copper or green) connects to the ground bus bar. The breaker clips onto the hot bus bar in the panel.
For a 240V double-pole breaker (used for dryers, ranges, EV chargers), two hot wires—one black, one red—connect to the breaker’s two load terminals. A neutral wire goes to the neutral bus if required by the appliance. Ground connects to the ground bus as always.
Step-by-step installation
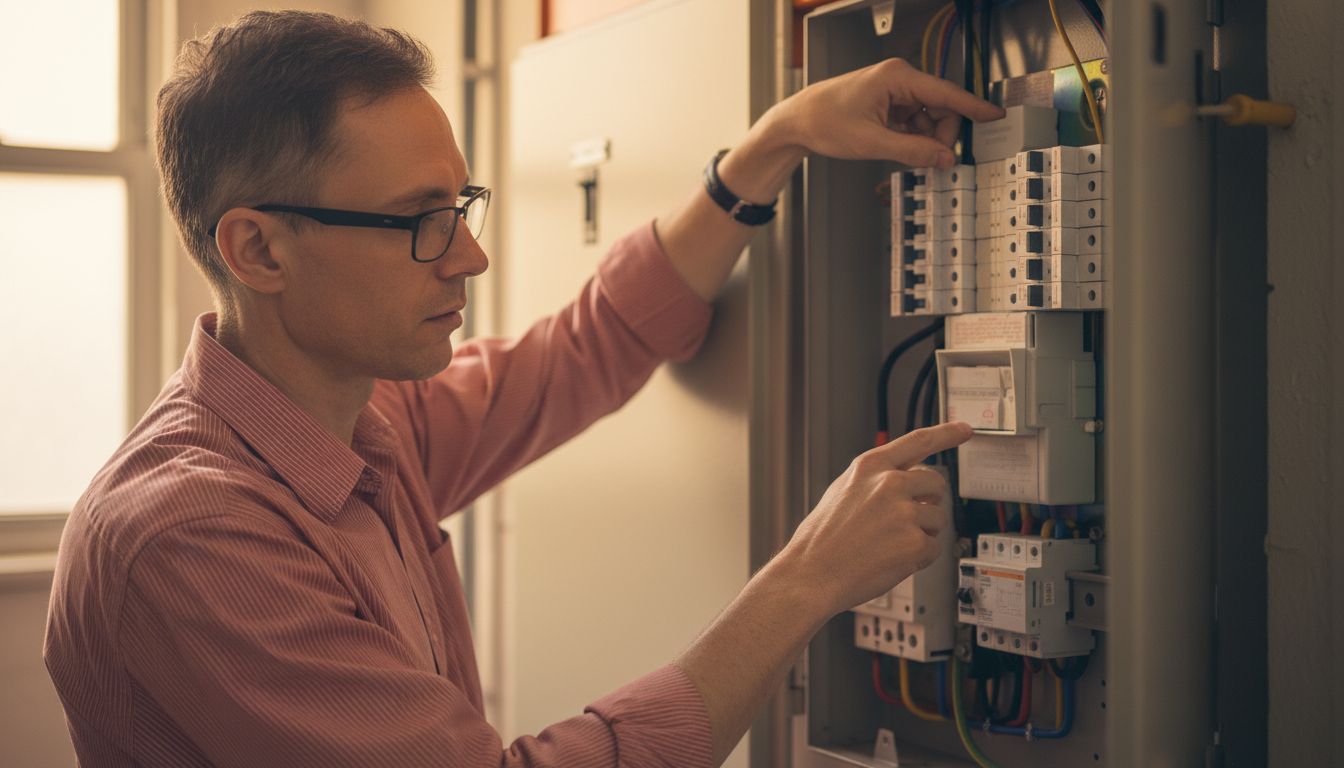
- Turn off the main breaker. Use your non-contact voltage tester to verify that the bus bars in the breaker slots are de-energized before proceeding. If the tester reads voltage at the bus bars when the main is off, stop—your panel may have a backfed configuration and you need an electrician.
- Remove the panel cover (the dead front). Set it aside carefully—the screws are easy to drop into the panel.
- Identify the circuit you’re working on and turn the breaker to OFF before removing it.
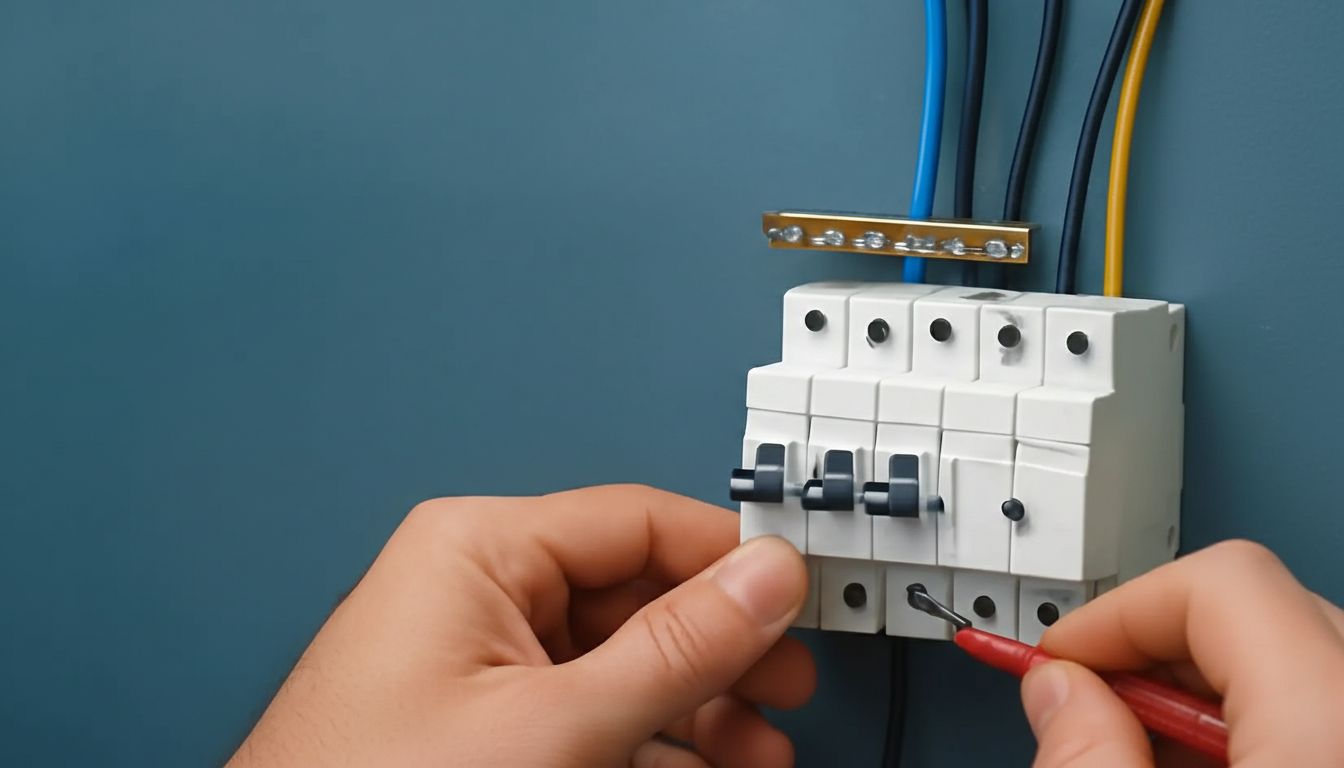
- Loosen the load terminal screw on the old breaker and remove the circuit wire. Note which terminal the wire came from.
- Unclip the old breaker from the bus bar by prying it straight out. Some panels require a slight rotation; check your panel’s instructions.
- Snap the new breaker onto the bus bar—it should click firmly into place.
- Connect the circuit wire to the new breaker’s load terminal and tighten to the torque value listed on the breaker (usually 20–35 in-lbs).
- Replace the panel cover, restore main power, and test the circuit.
Installing a new circuit breaker (not a replacement)
Installing a new circuit breaker for a new circuit follows the same steps, but also requires running new wiring from the panel to the outlet, fixture, or appliance location. The wiring must be the correct gauge for the breaker ampacity—14 AWG for 15A, 12 AWG for 20A, 10 AWG for 30A. Use the correct conduit or cable type for your installation location per your local code.
When to hire a licensed electrician
Hire a licensed electrician when: the work involves service entrance conductors; you need to upgrade the panel’s main breaker; you’re adding circuits that require a subpanel; the panel is older (Federal Pacific Stab-Lok, Zinsco, or fuse box) and needs evaluation; or when local code requires a permit and inspection that requires a licensed contractor.
In many jurisdictions, homeowners can legally do their own electrical work with a permit and inspection. Check your local rules before starting, and pull a permit when required—it protects you if you ever sell the home or make an insurance claim.
Next steps: Before purchasing a breaker, write down your panel brand, model number, and the amperage of the circuit you’re adding or replacing. Buy an exact match—not a “compatible” substitute unless the manufacturer explicitly lists it. Have your non-contact voltage tester charged and tested before you open the panel.